
 Bity
Bity
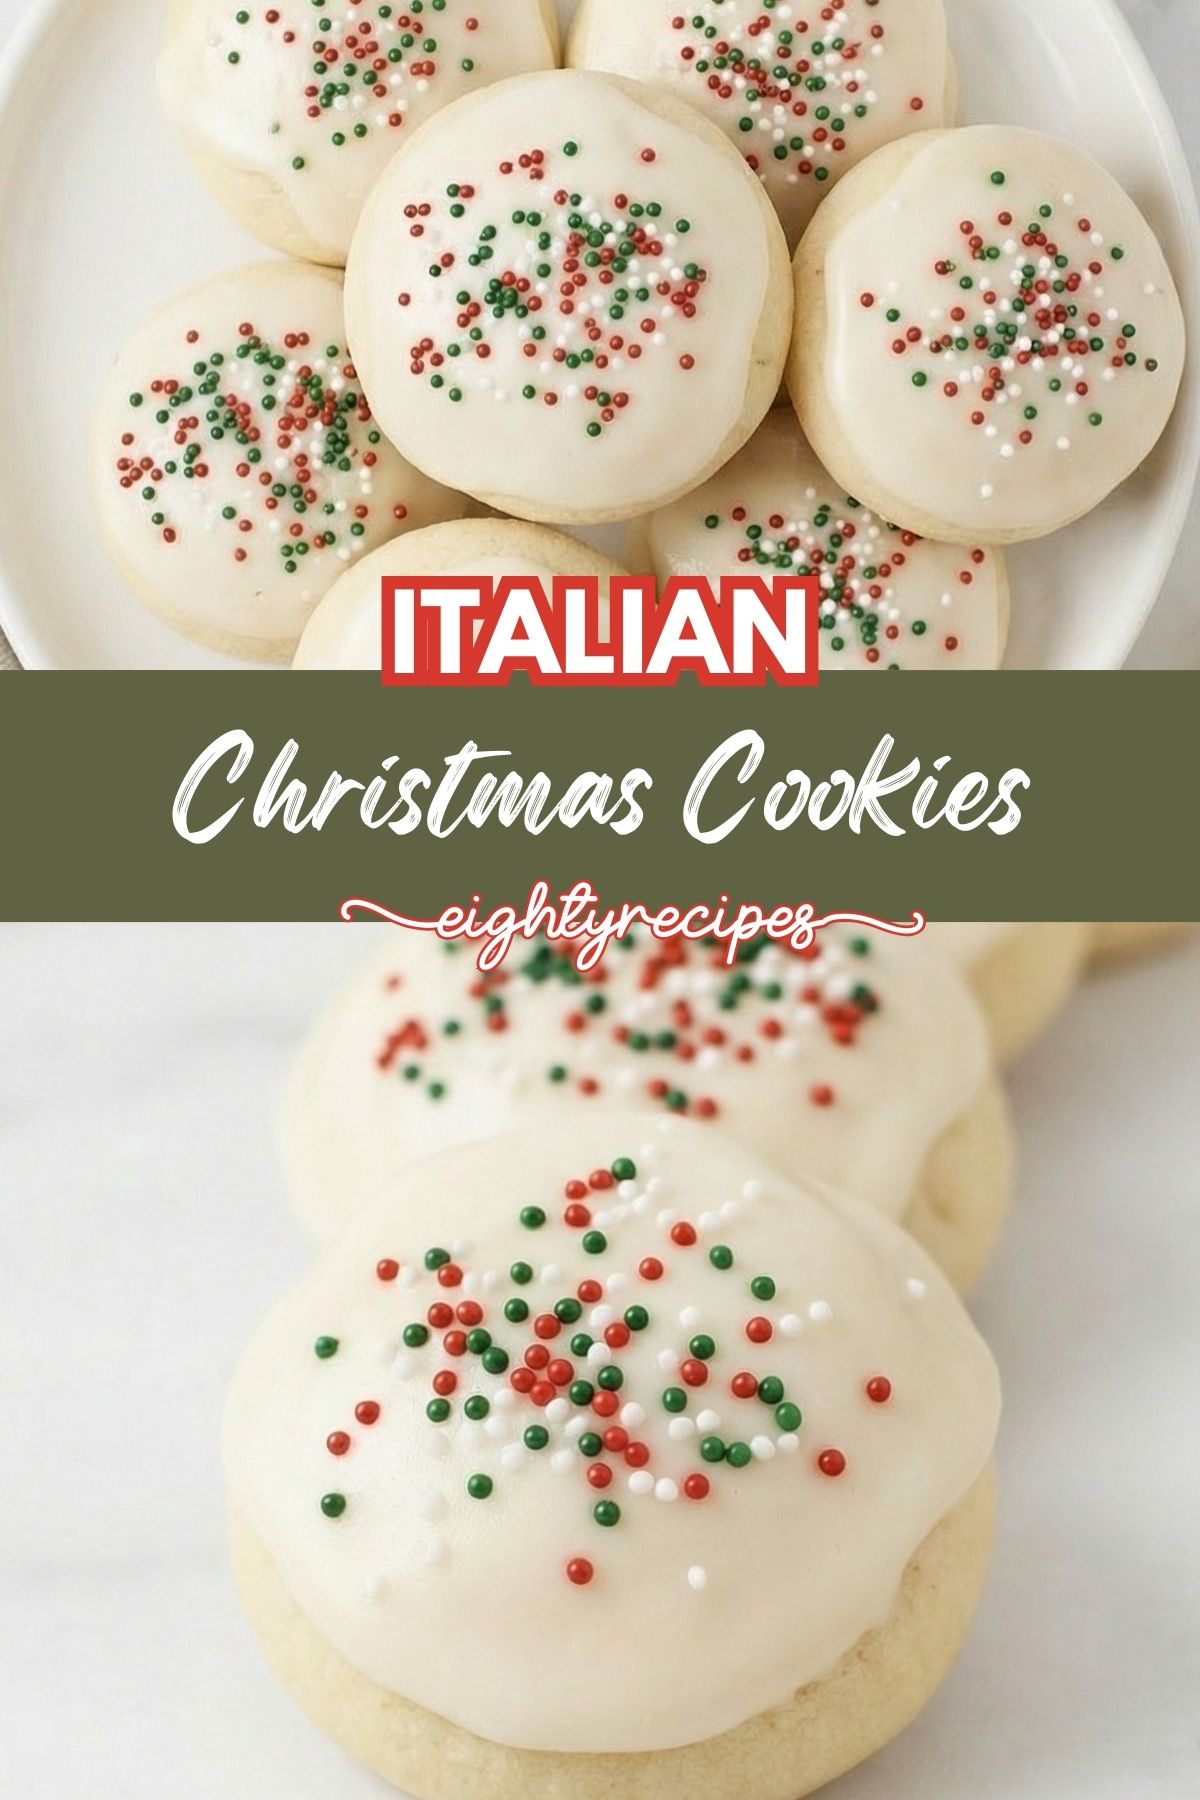
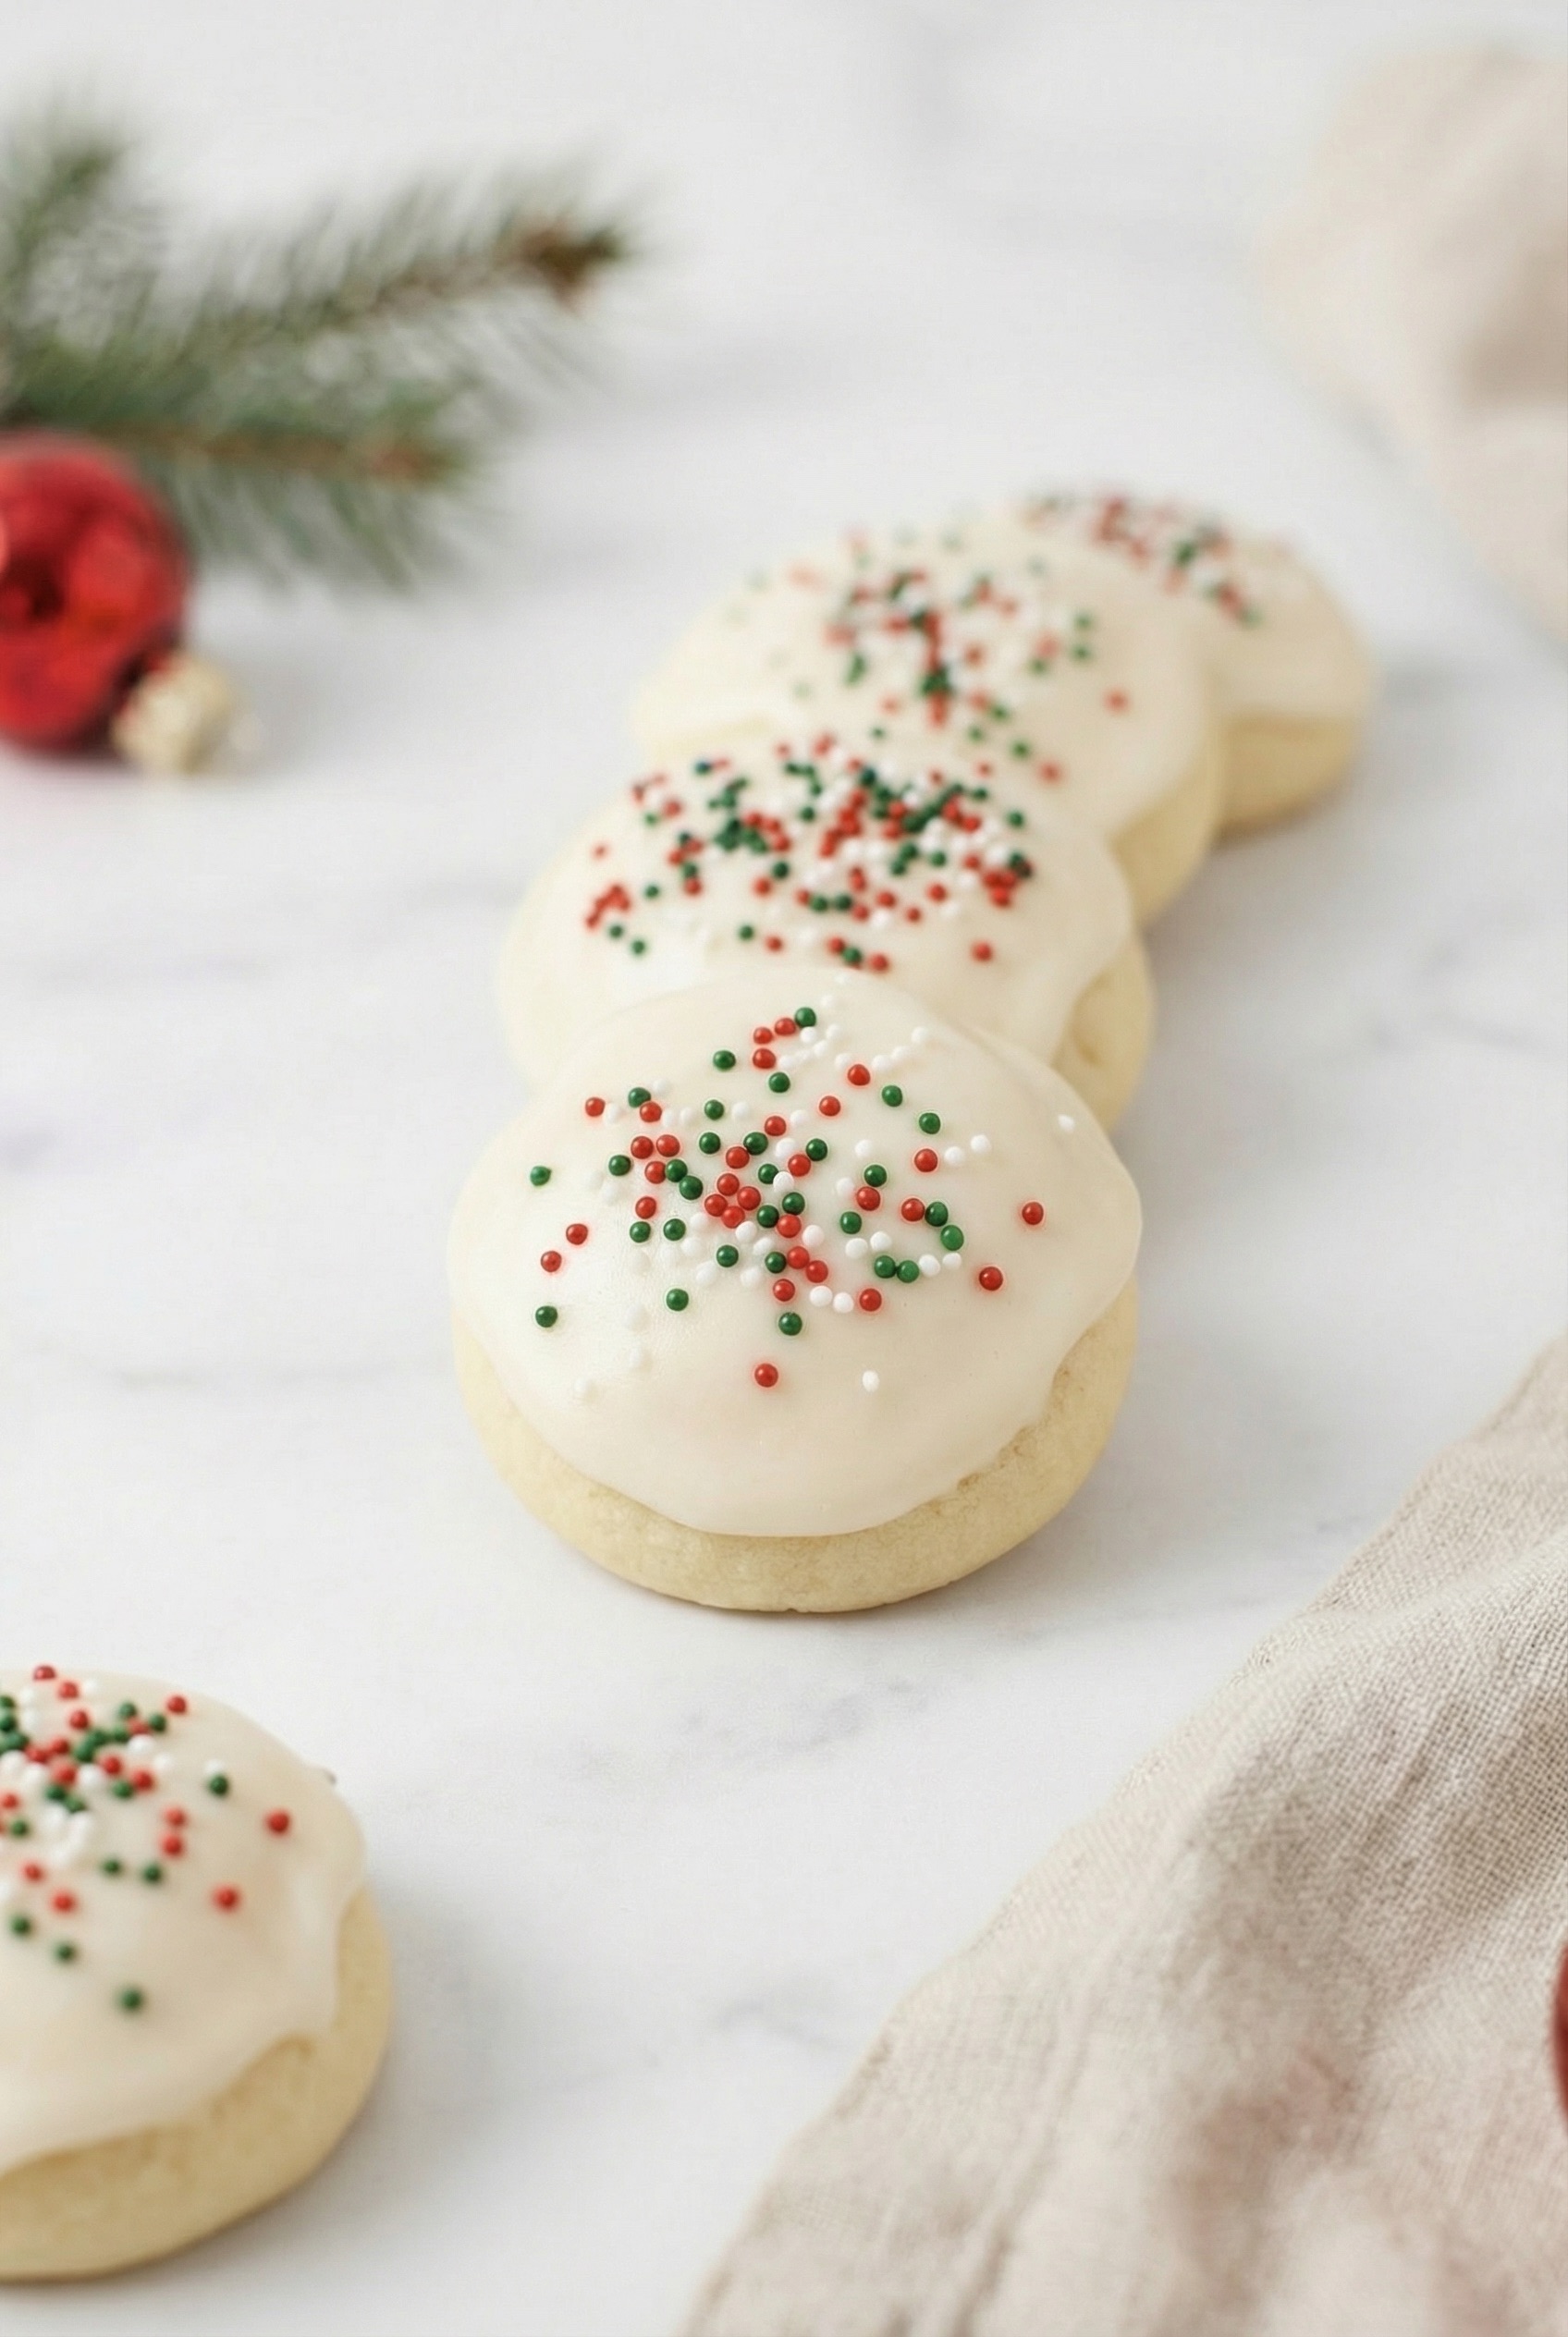
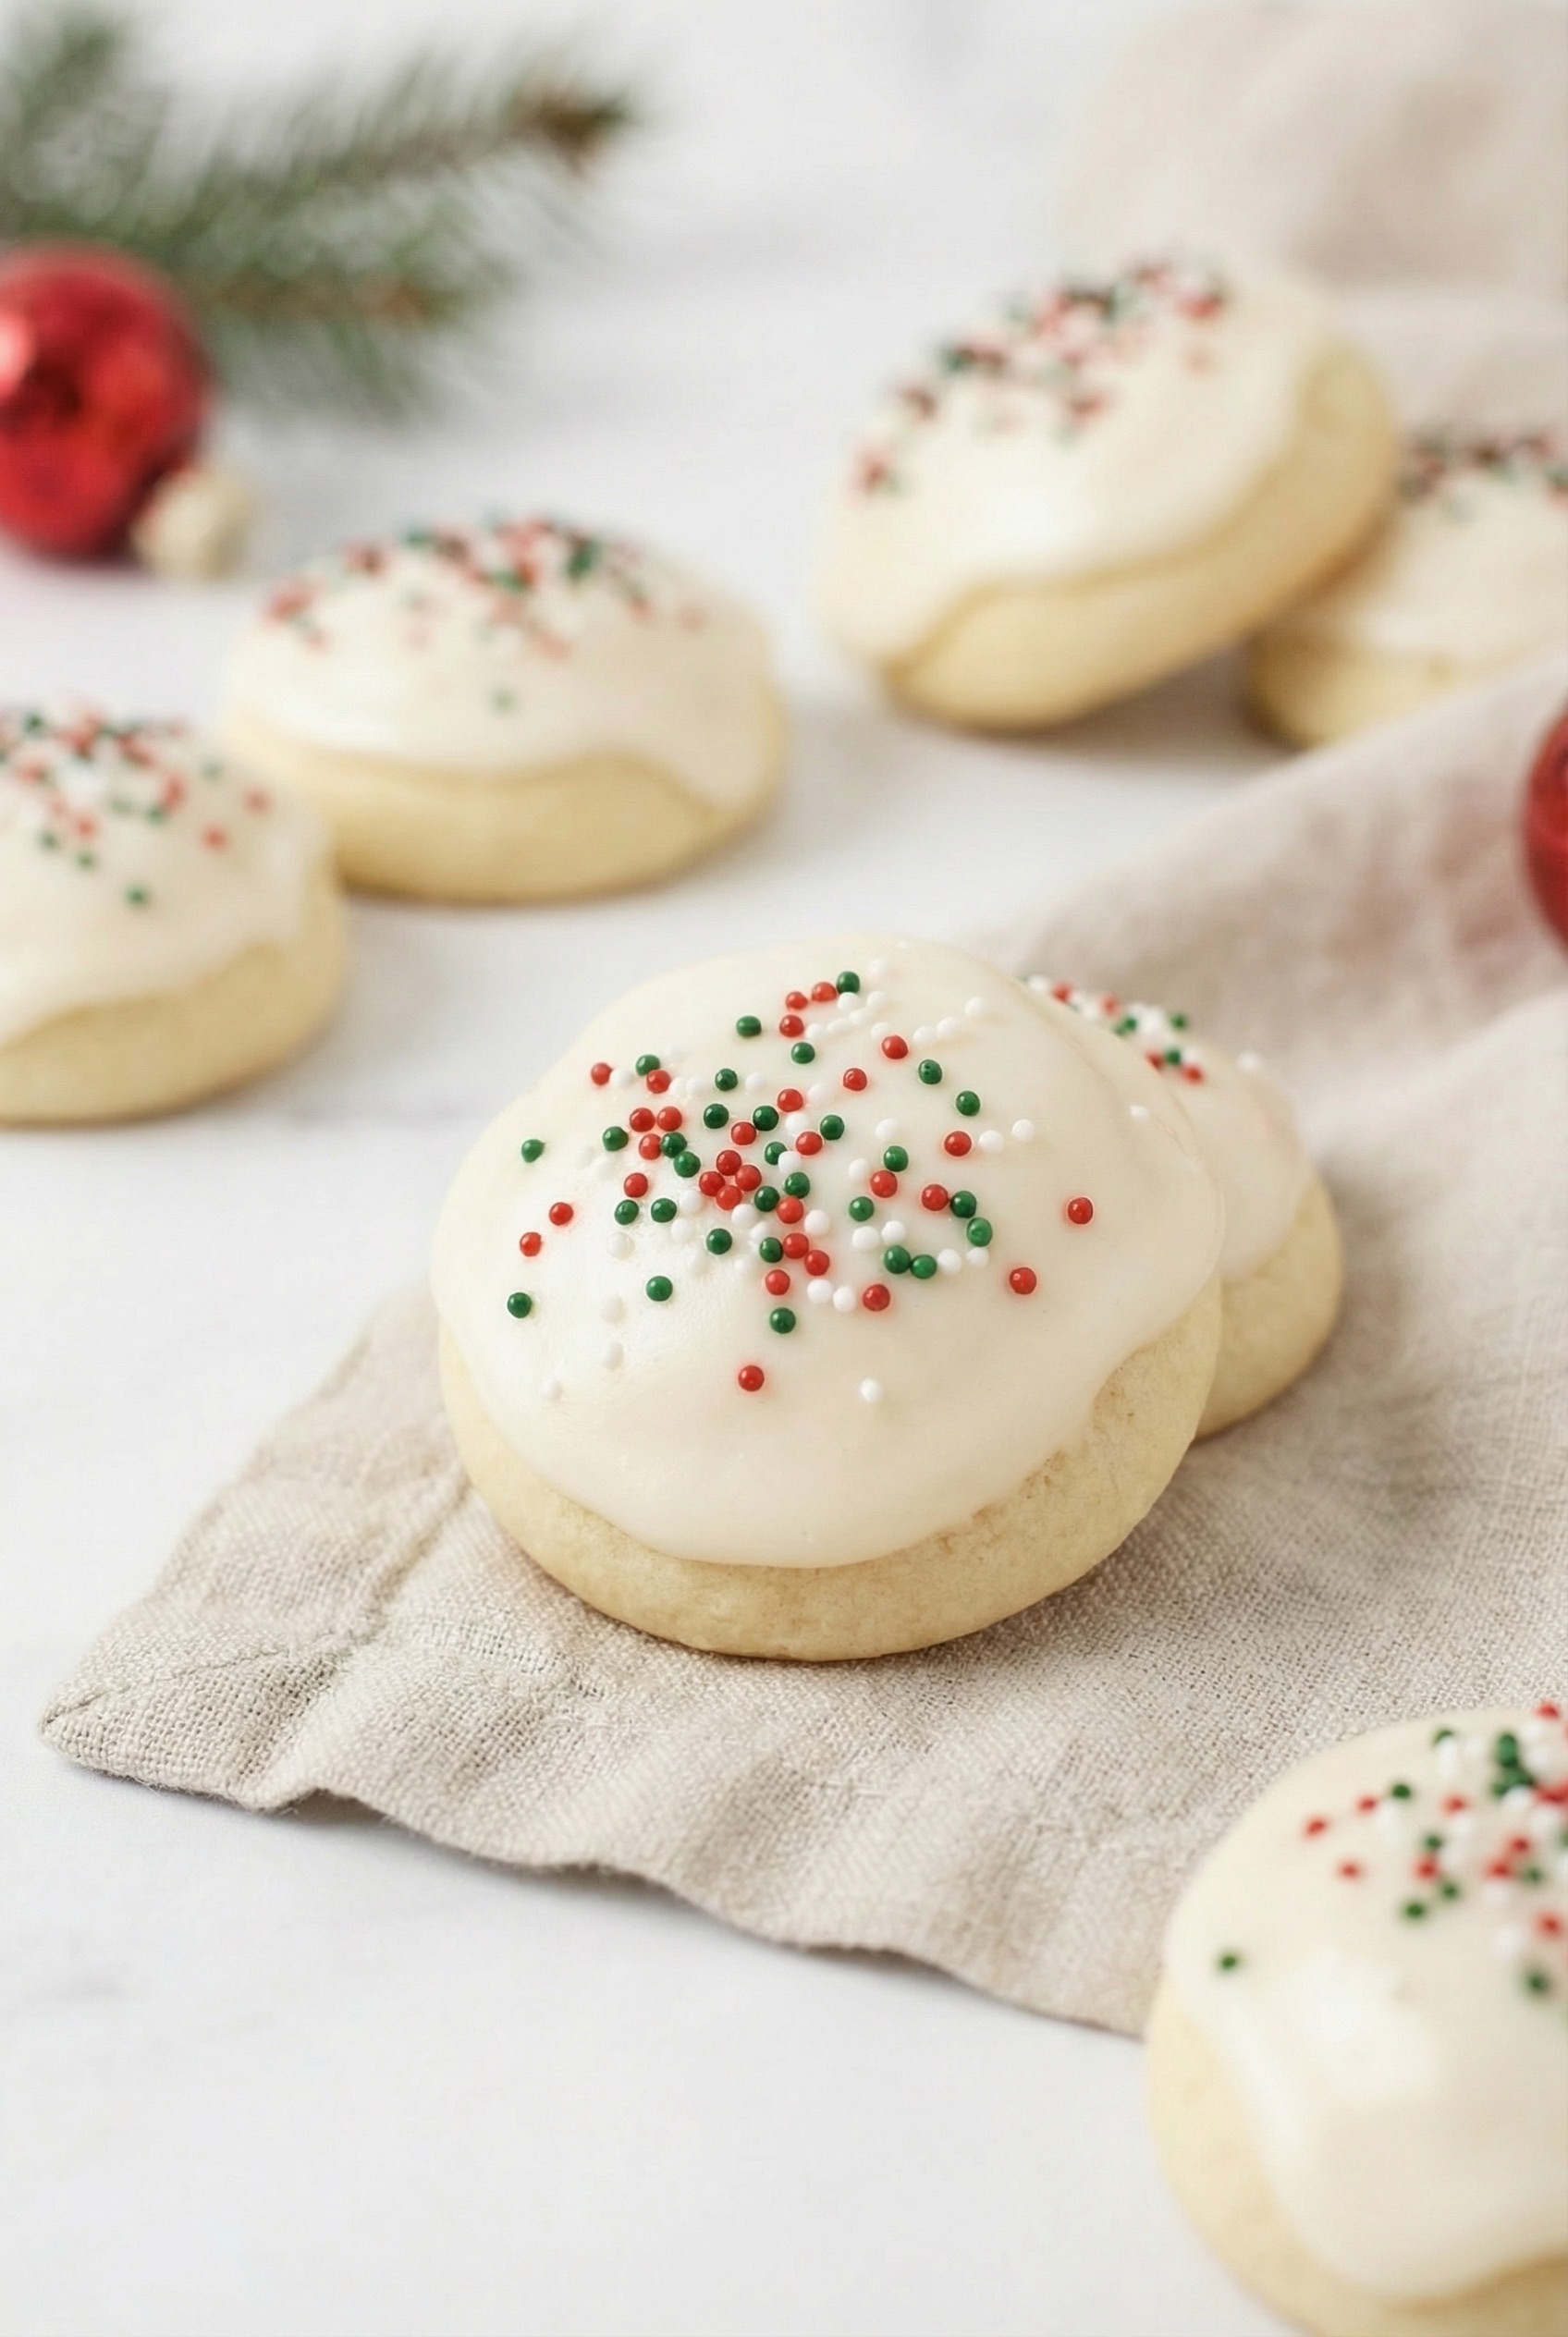
Tender, almond-scented dough dipped in smooth icing and topped with a hint of sugary crunch, these soft, melt-in-your-mouth Italian Christmas cookies are made with butter, eggs, flour, and a whisper of vanilla. Just the thing to make your kitchen smell like sweet holiday cheer.
Right, let’s get into the cookie tin together. These little guys are soft and cakey (not crunchy), kissed with vanilla and almond, and draped in a simple glaze like they’re getting dressed for a Christmas party. You’ve probably seen versions of these stacked high on grandma-style platters or mysteriously multiplying at cookie swaps. They’re the type you idly grab just one more of, even while smiling and pretending you’re done. I make them every holiday season, not because I’m nostalgic (which I weirdly am not), but because they’re just plain lovable. And hey, they’re easy, which means more time for nibbling.
Quick Breakdown
Why You’ll Love these Italian Christmas Cookies
There’s no grand sales pitch here, just a very cozy cookie with a recipe that makes sense. No drama, no candy thermometers.
- Ridiculously simple to make: You just mix, scoop, bake, and glaze. Nothing tricky or fussy, I promise.
- Soft and pillowy texture: Think mini cake meets sugar cookie… and they had a beautifully tender baby.
- Subtly sweet with a flavor hug: That almond-vanilla combo really gives you that classic Italian cookie smell… you’ll know it.
- Great for gifts or gatherings: Stack them in a tin with wax paper and boom, you’ve got cookie diplomacy.
- Freezer-friendly: Bake ahead and glaze later (or freeze fully finished), so you’re not baking with one hand while wrapping gifts with the other.

Ingredient Notes
These cookies don’t ask for much, but each ingredient plays its little role in the cookie chorus.
- All-purpose flour: The backbone of the cookie. Don’t overpack it in the measuring cup or your cookies might get dense little attitudes.
- Unsalted butter: Adds richness and moisture. Make sure it’s fully softened, or you’ll fight your mixer.
- Granulated sugar: Sweetens just enough. We’re going for gently sweet, not cavity-inducing.
- Eggs: They help the cookies puff up and hold together. They also make the dough lush and silky.
- Vanilla extract: Adds a warming, familiar flavor, like a cozy, nostalgic hug.
- Almond extract: This one’s the key! Just a little gives you that authentically Italian cookie vibe.
- Milk: Loosens the glaze. Whole milk gives the richest result, but honestly? Any milk works in a pinch.
- Powdered sugar: For the glaze, it melts into sweet, creamy goodness over the warm cookies.

How To Make Italian Christmas Cookies
STEP 1 – First, preheat your oven to 350°F (175°C) and line a baking sheet with parchment paper.
STEP 2 – Next, cream the softened butter and granulated sugar together using an electric mixer until light and fluffy.
STEP 3 – Then add the eggs one at a time, mixing well and scraping the bowl after each addition, until the mixture looks pale and slightly thick.
STEP 4 – Stir in the vanilla and almond extracts until combined.
STEP 5 – In a separate bowl, whisk together the flour, baking powder, and salt.
STEP 6 – Gradually add the dry ingredients to the wet ingredients, mixing gently just until combined and a soft, slightly sticky dough forms. Do not over-mix.
STEP 7 – Scoop and roll the dough into balls, about 1 tablespoon each, and arrange them on the prepared baking sheet.
STEP 8 – Bake for 9 to 11 minutes, or until the cookies are set and just barely golden on the undersides, but still pale on top.
STEP 9 – Let the cookies cool on the baking sheet for 5 minutes, then transfer them to a wire rack to cool completely before glazing.
STEP 10 – For the glaze, whisk together the powdered sugar, milk, and extract in a bowl until smooth and thick, like glue. Add another splash of milk if it is too thick, or more sugar if it is too thin.
STEP 11 – Dip the tops of the cooled cookies into the glaze, letting the excess drip off, then immediately add sprinkles if desired and let the glaze set before storing or serving.
A cookie scoop keeps the portions even, so the whole tray bakes at the same pace and you are not rolling by guesswork.
If you bake a lot of these over Christmas, a silicone baking mat can stand in for the parchment batch after batch.
Tips for the Best Italian Christmas Cookies
- Spoon flour into the cup. Spoon the flour into the measuring cup rather than scooping it from the bag, then level off the top with a knife. This keeps the dough from turning dense from too much flour.
- Watch the oven near the end. Every oven runs a little differently, so start checking at the 9-minute mark. Pull the cookies as soon as the undersides turn just barely golden while the tops stay pale.
- Remember the full timeline. With 25 minutes of prep and 10 minutes of baking, the whole batch is ready in about 45 minutes, so there is no need to rush any single stage.
- Roll even portions. Shaping each piece of dough to about the same size, roughly a tablespoon, helps every cookie on the tray finish baking at the same pace.
- Let the glaze firm up fully. Allow the glaze on each cookie to set completely before stacking or storing them. This keeps them from sticking together, whether you are packing a tin for gifting or arranging a dessert tray alongside our blue Christmas truffles or our Christmas cheesecake bars.
Common Italian Christmas Cookies Mistakes to Avoid
- Skipping the dry ingredient order. Whisking the flour, baking powder, and salt together before it joins the wet mixture keeps the leavening spread evenly through the batch. Adding it a little at a time, rather than all at once, makes it easier to stop mixing the moment the dough comes together.
- Rolling mismatched portions. Balls that are noticeably bigger or smaller than a tablespoon finish at different rates, so part of the tray may still be pale while another part is already past done. Aim for a consistent size across the whole batch before it goes in the oven.
- Dipping cookies while still warm. Glaze poured over a cookie that has not fully cooled tends to run right off instead of setting into a smooth coating. Waiting until they are completely cool on the wire rack gives the glaze something firm to cling to.
- Losing track of the almond and vanilla balance. Extracts are potent in small amounts, so an extra splash of either one can push the flavor further than intended. Stick to the measured amounts so neither one overwhelms the other.

How To Tell When Italian Christmas Cookies Are Done
The trickiest part of baking Italian Christmas cookies is knowing when to pull them, since they are not supposed to look golden all over like a regular cookie. Check the undersides first, since that is where the color shows up before anywhere else; you want them just barely golden there, while the tops stay pale and almost unchanged in color.
Give them a light touch around the 9-minute mark. The cookies should feel set rather than wet or shiny, with a texture that springs back a little instead of leaving a dent. If the tops look dry but have not taken on any color, that is actually exactly right, not a sign to leave them in longer.
Keep in mind that these cookies firm up more as they sit on the baking sheet during that first 5-minute rest, so a batch that seems slightly soft straight out of the oven is not necessarily underdone.
Make It Ahead
If you want to get a jump on things before a holiday rush, you can mix the dough, cover the bowl tightly, and refrigerate it for up to two days. Let it sit at room temperature for a few minutes before scooping, since cold dough is stiffer to work with and harder to roll into even balls.
You can also bake the cookies ahead and hold off on the glaze until you are ready to serve. Let them cool completely, then store them unglazed in an airtight container, and whisk up the powdered sugar glaze just before you need them so it stays glossy and sets properly.
For longer lead time, bake and cool the cookies, then freeze them either glazed or unglazed with wax paper between layers. Thaw at room temperature, and if you held off on the glaze, dip them once they have thawed fully so it sets smoothly rather than sliding off.

Storing Italian Christmas Cookies
So you made a batch (or three), and now you’re staring at 40+ little cookies. First of all, high five. Second, let’s talk storage.
Once the glaze has set, you can keep these at room temperature in an airtight container for about 5 days. They actually get better the next day, the icing settles in, and the almond flavor mellows out in a lovely way.
Wanna freeze them? Absolutely. You’ve got two choices. Freeze them unglazed, then thaw and glaze just before serving for that fresh-made feel. Or freeze them glazed, stacked between layers of wax paper, and let them thaw at room temperature. Either way, they hold up beautifully and still taste like little Italian hugs.
If you live in a humid area, I’d nudge you to store them in the fridge, especially if your glaze gets a little too cozy and melty. They’ll last about 7–8 days chilled.

Variations and Substitutions
There are lots of little ways to put your own spin on these cookies, depending on your pantry or your mood.
- Lemon or orange zest: Add a teaspoon of citrus zest to the dough or the glaze for a fresh, zingy contrast.
- Swap almond extract with anise: If you like that classic licorice aroma (very traditional), use anise extract instead of almond.
- Coat with colored sugar: Skip the glaze and roll the dough balls in colored sanding sugar before baking for a sparkly, easier finish.
- Add food coloring to the glaze: A few drops of food gel make your glaze delightfully festive without altering the flavor.
- Use gluten-free flour blend: A 1:1 baking blend works surprisingly well here, just don’t overmix or they’ll get rubbery.
What to Serve with It
These aren’t cookies you serve alone in a vacuum (although if you do, no judgment). They love a cozy pairing.
- Espresso or strong coffee: The sweetness cozies right up to a good bitter brew. Also, you’ll feel extremely chic dunking one in a tiny cup.
- Holiday dessert trays: Nestle them on a platter alongside some homemade fudge or truffles. Or even Cool Whip candy if you’re doing a full-on sweets spread.
- After-dinner sweets with limoncello: I’m not always fancy, but pairing cookies with a tiny glass of something cold and citrusy? Kind of a power move.
- Little party favor bags: Pop a few in a cellophane envelope, tie with ribbon, and you’ve got yourself the sassiest little giveaway.
Italian Christmas Cookie Recipe FAQs
Can I make the dough ahead of time?
Oh totally! You can mix the dough, cover it well, and pop it in the fridge for up to 2 days. The flavor actually deepens a bit overnight. Just let it come slightly to room temperature before scooping; otherwise, you’ll be wrestling an ice block with a spoon.
Do I have to use almond extract?
Not at all, but it’s what gives them their signature Italian cookie taste. If you’re not a fan, swap for vanilla or try lemon extract for a bright twist. Some folks even go with anise if they’re into that nostalgic, bakery-style note.
How do I keep the glaze from getting too runny?
It’s all about balance, my friend. Add the milk a little at a time to your powdered sugar—you want it thick, like Elmer’s glue (but yummier, obviously). If it turns soupy, just whisk in a little more sugar until it stiffens back up.
Can I freeze Italian Christmas cookies with the glaze?
Yes, you definitely can! You’ll just want to layer them with wax or parchment paper between to keep the glaze from smudging. They thaw beautifully at room temp, and once they’re back to soft and sweet, no one will know they were ever frozen.

Ingredients
For the Cookies
- 2 cups all-purpose flour
- 1/2 cup unsalted butter softened
- 3/4 cup granulated sugar
- 3 large eggs room temperature
- 1 tsp vanilla extract
- 1/2 tsp almond extract
- 2 tsp baking powder
- 1/4 tsp salt
For the Glaze
- 2 cups powdered sugar sifted
- 3 tbsp milk plus more as needed
- 1/2 tsp vanilla or almond extract
- Festive sprinkles for garnish, optional
Instructions
- Preheat your oven to 350°F (175°C). Line a baking sheet with parchment paper.
- Cream the softened butter and granulated sugar together using an electric mixer until light and fluffy.
- Add eggs one at a time, mixing well and scraping the bowl after each addition. The mixture should be pale and slightly thick.
- Stir in the vanilla and almond extracts until combined.
- In a separate bowl, whisk together the all-purpose flour, baking powder, and salt.
- Gradually add the dry ingredients to the wet ingredients, mixing gently just until combined and a soft, slightly sticky dough forms. Don't over-mix.
- Scoop and roll the dough into balls, about 1 tablespoon each, and arrange on the prepared baking sheet.
- Bake for 9–11 minutes, or until the cookies are set and just barely golden on the undersides, but still pale on top.
- Let the cookies cool on the baking sheet for 5 minutes, then transfer to a wire rack to cool completely before glazing.
- For the glaze: In a bowl, whisk together powdered sugar, milk, and extract until smooth and thick (like glue). If too thick, add another splash of milk; if too thin, add more sugar.
- Dip the tops of the cooled cookies into the glaze, letting excess drip off. Immediately add sprinkles if desired. Let the glaze set before storing or serving. Enjoy!
Notes
- Try adding lemon or orange zest for a zesty twist.
- Substitute anise extract for the almond for a classic Italian bakery flavor.
- Use colored sugar instead of glaze for a sparkly finish.
- Recipe works with a 1:1 gluten-free flour blend.
