 Bity
Bity
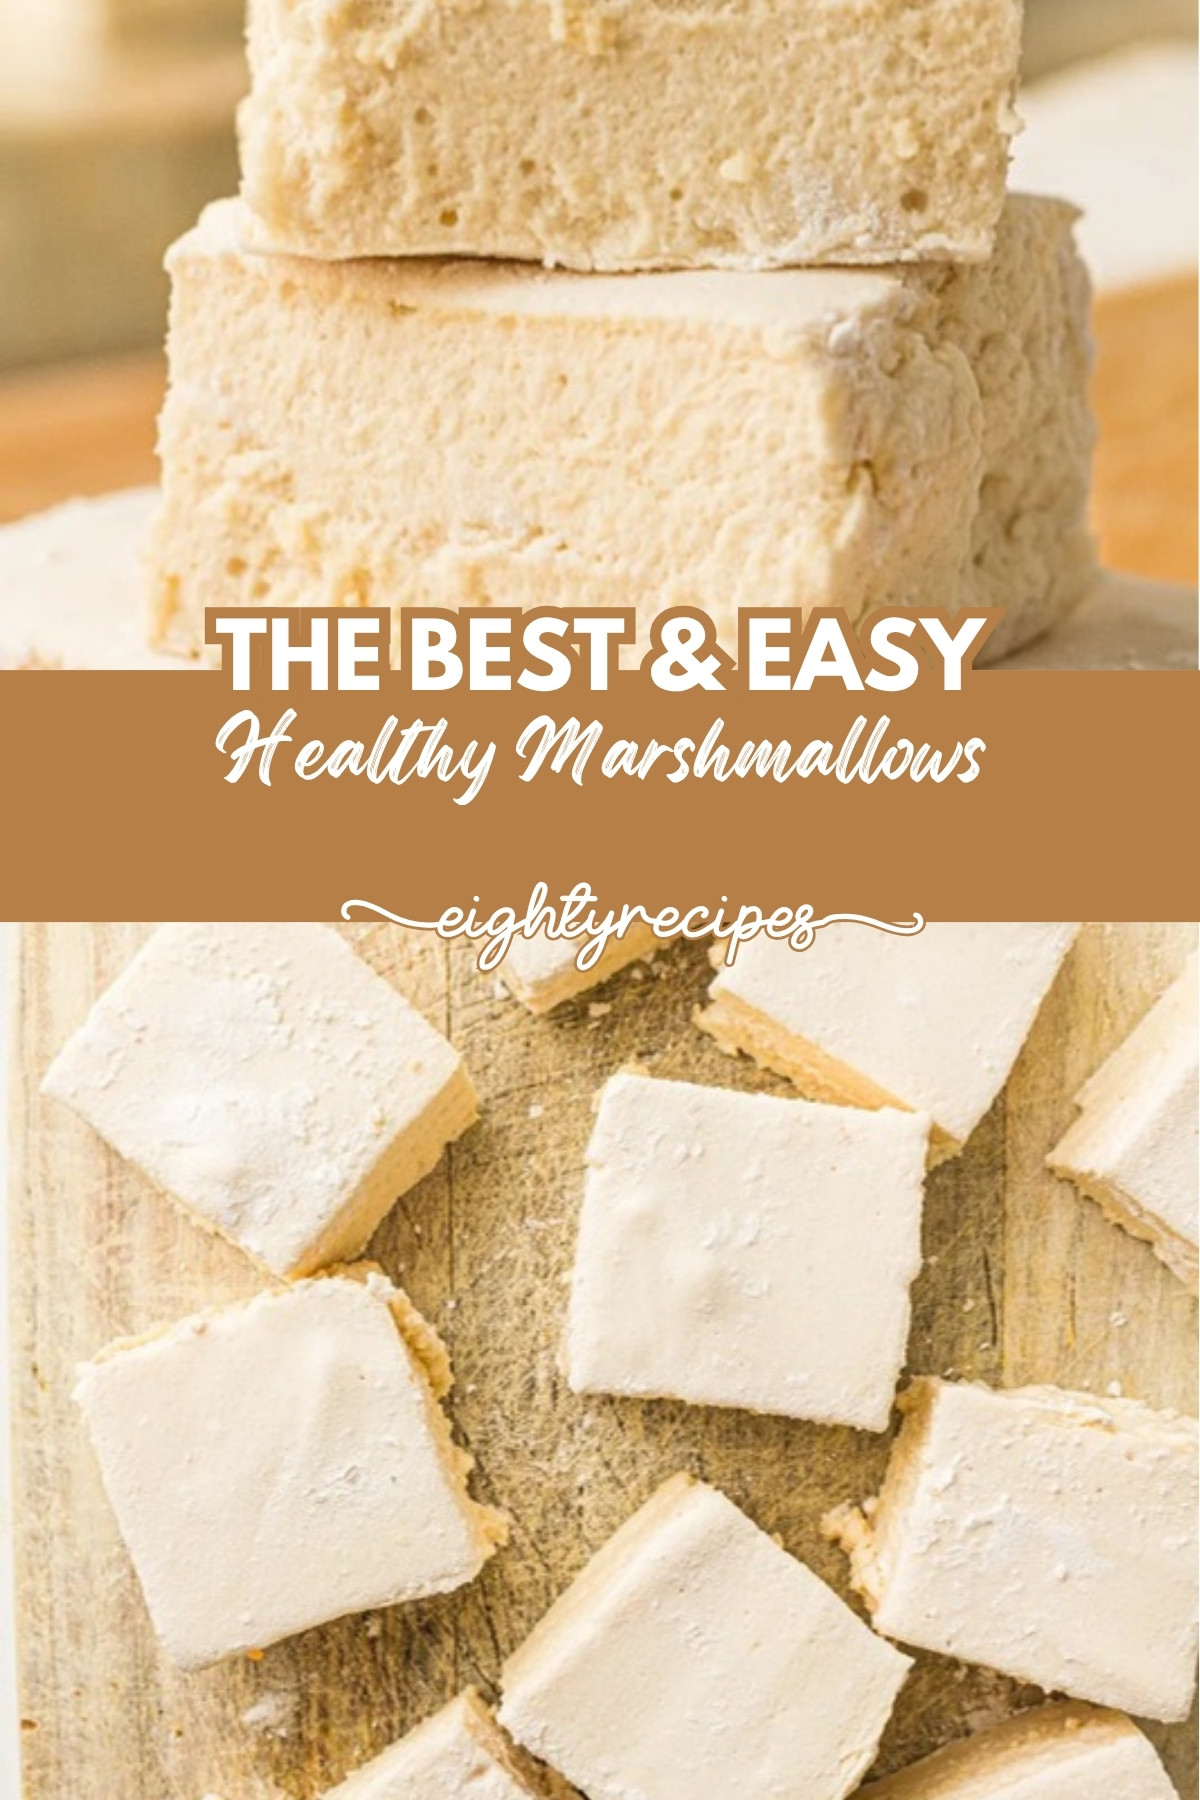
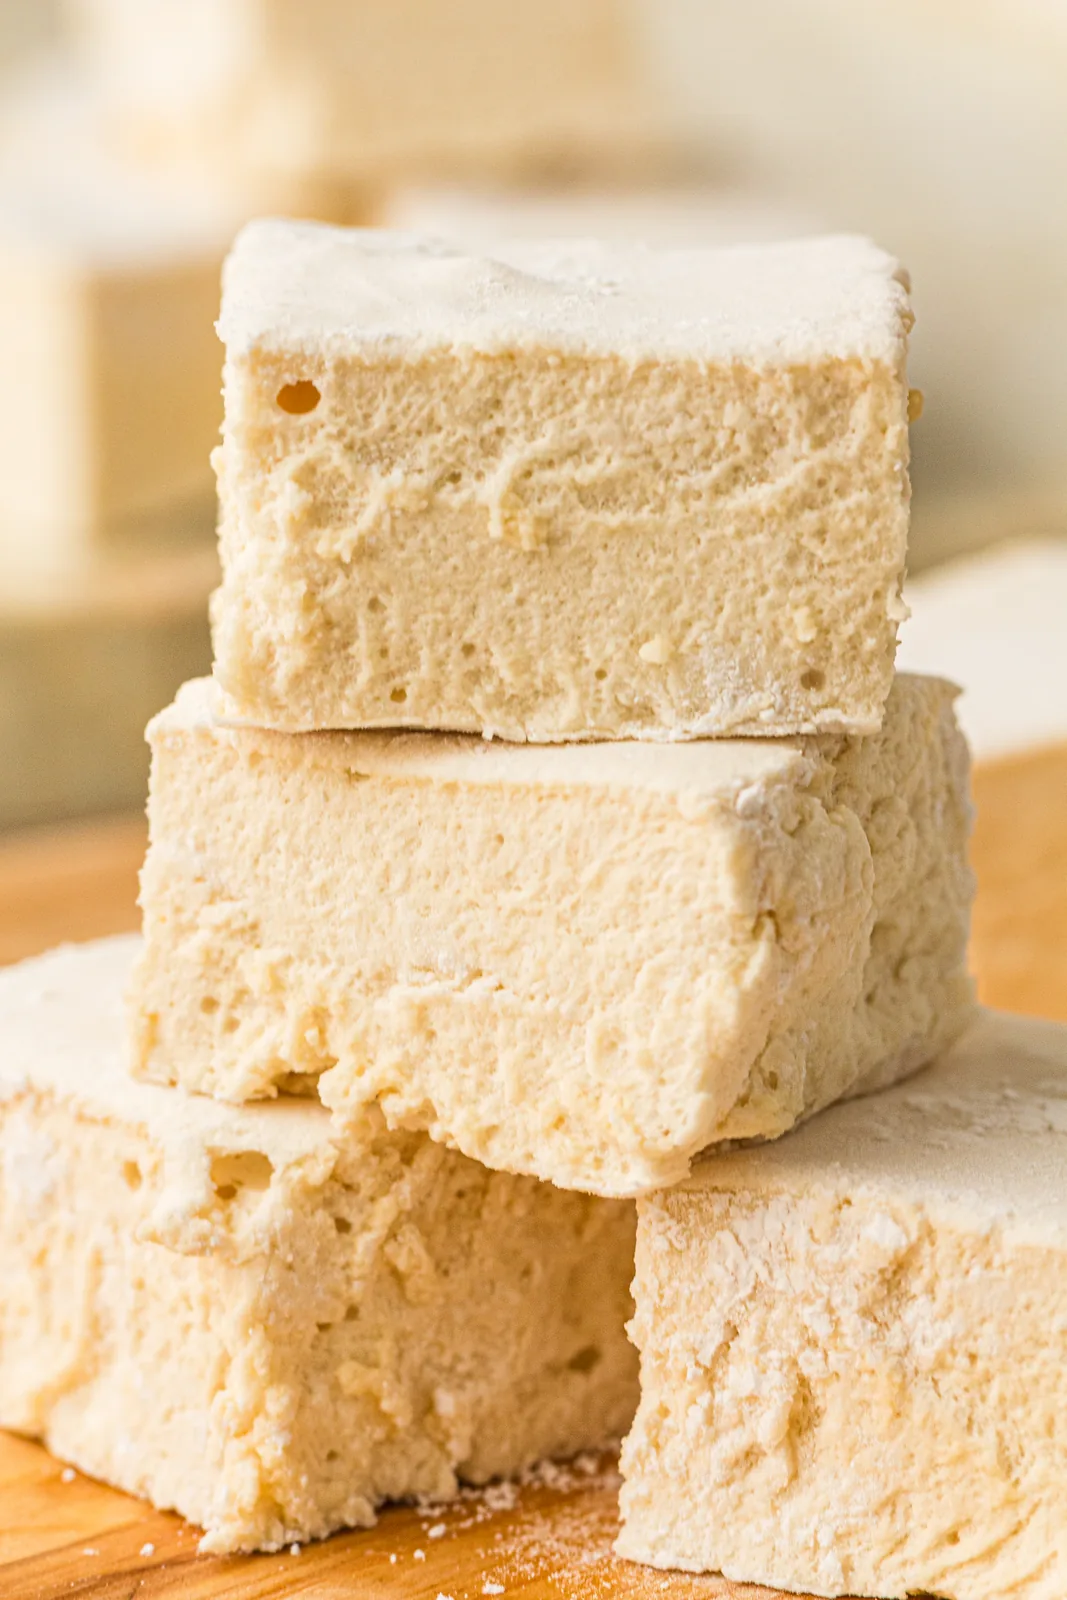
Once you have made a batch of these fluffy, pillowy healthy marshmallows at home, the bagged kind loses all its appeal. They are soft, springy, and sweet in the gentlest way, made with honey instead of corn syrup and set with gut friendly gelatin. Honestly, they taste like the marshmallows you remember, only better.
I started making these when I wanted a treat my kids could enjoy without a long list of refined sugars and additives. The recipe uses just a handful of real ingredients, no candy thermometer wizardry required, and the whipping stage is genuinely fun to watch as the mixture triples into a glossy cloud. Whether you toast them over a fire or drop them into hot cocoa, these are the marshmallows to keep on hand.
Quick Breakdown
Why You’ll Love These Healthy Marshmallows
- No corn syrup. Sweetened with honey instead of refined sugar and corn syrup, so they feel like a treat you can feel good about.
- Gut friendly. Gelatin gives them structure and is gentle on the tummy, which makes these a favorite in real food kitchens.
- Just five ingredients. Water, gelatin, honey, salt, and vanilla, plus a little arrowroot for dusting. That is it.
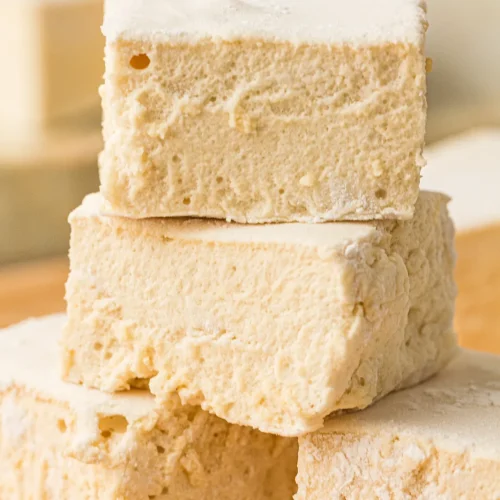
- Soft and fluffy. Whipped until tripled in volume, they set into springy, cloud like squares.
- Naturally gluten free. No flour and no artificial anything, so they suit a lot of diets.
Ingredient Notes
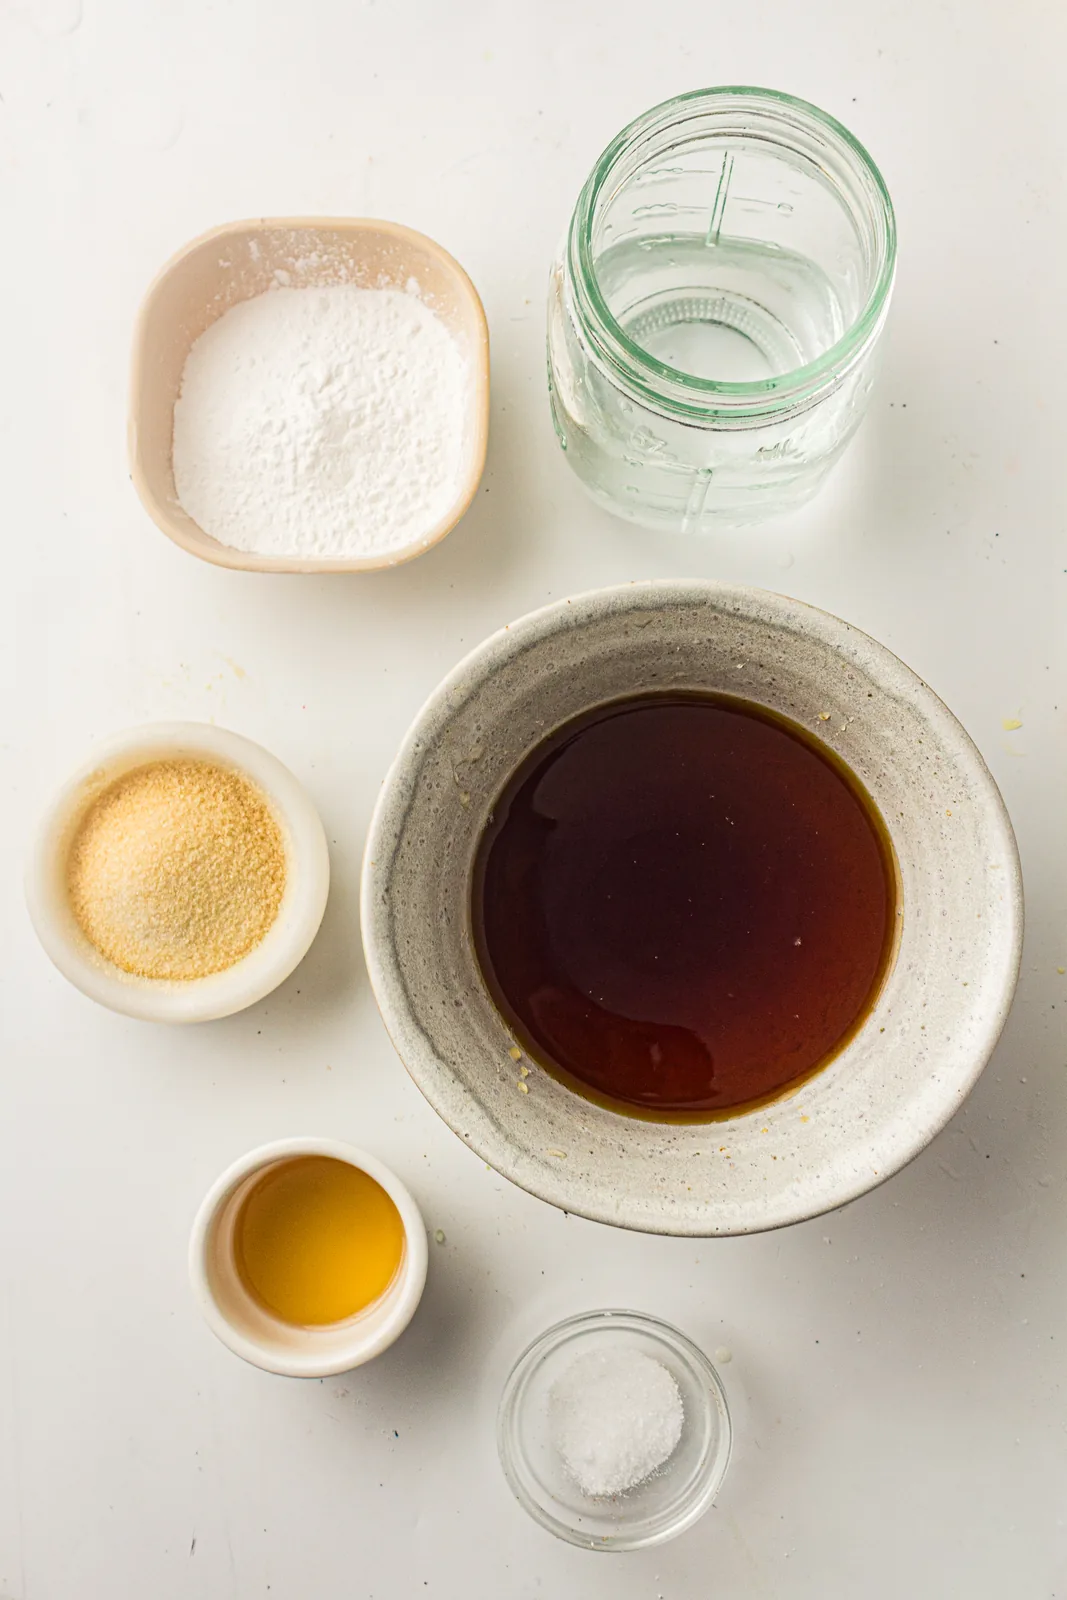
Five simple ingredients, and each one earns its place. The full amounts are in the recipe card below.
- Cold water. Divided in two, half to bloom the gelatin and half to cook with the honey.
- Unflavored gelatin. The setting agent that replaces the egg whites and corn syrup in classic recipes. A grass fed gelatin gives the best structure and a subtle nutritional bonus.
- Honey. The star sweetener. It brings a soft floral note and helps the marshmallows hold their shape without refined sugar.
- Salt. Just a pinch, to balance the sweetness and round out the flavor.
- Vanilla extract. For that warm, classic marshmallow flavor.
- Arrowroot or cornstarch. Used to dust the pan and the finished squares so they do not stick.
What Makes These Healthy Marshmallows Better
Store bought marshmallows are mostly corn syrup, refined sugar, and artificial flavors. These flip that on its head. Honey does the sweetening, so you get a gentler, more natural sweetness with a little floral depth. There is no corn syrup at all.
The other upgrade is the gelatin. Beyond setting the marshmallows, it is the same protein that people take for gut, skin, and joint support, which is why these often get called gut friendly marshmallows. They are not a health food, of course, but as far as sweet treats go, a honey and gelatin marshmallow is a lovely step up from the bag.
How To Make Healthy Marshmallows
The method is simpler than it looks. Here is how it comes together, and you will find the full timing in the recipe card below.
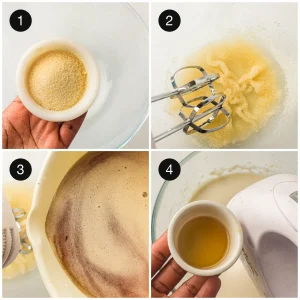
1. Bloom the gelatin. First, line an 8×8 inch pan with parchment and dust it with arrowroot. Pour half the cold water into a mixing bowl, sprinkle the gelatin evenly over the top, and let it bloom for 5 to 10 minutes.
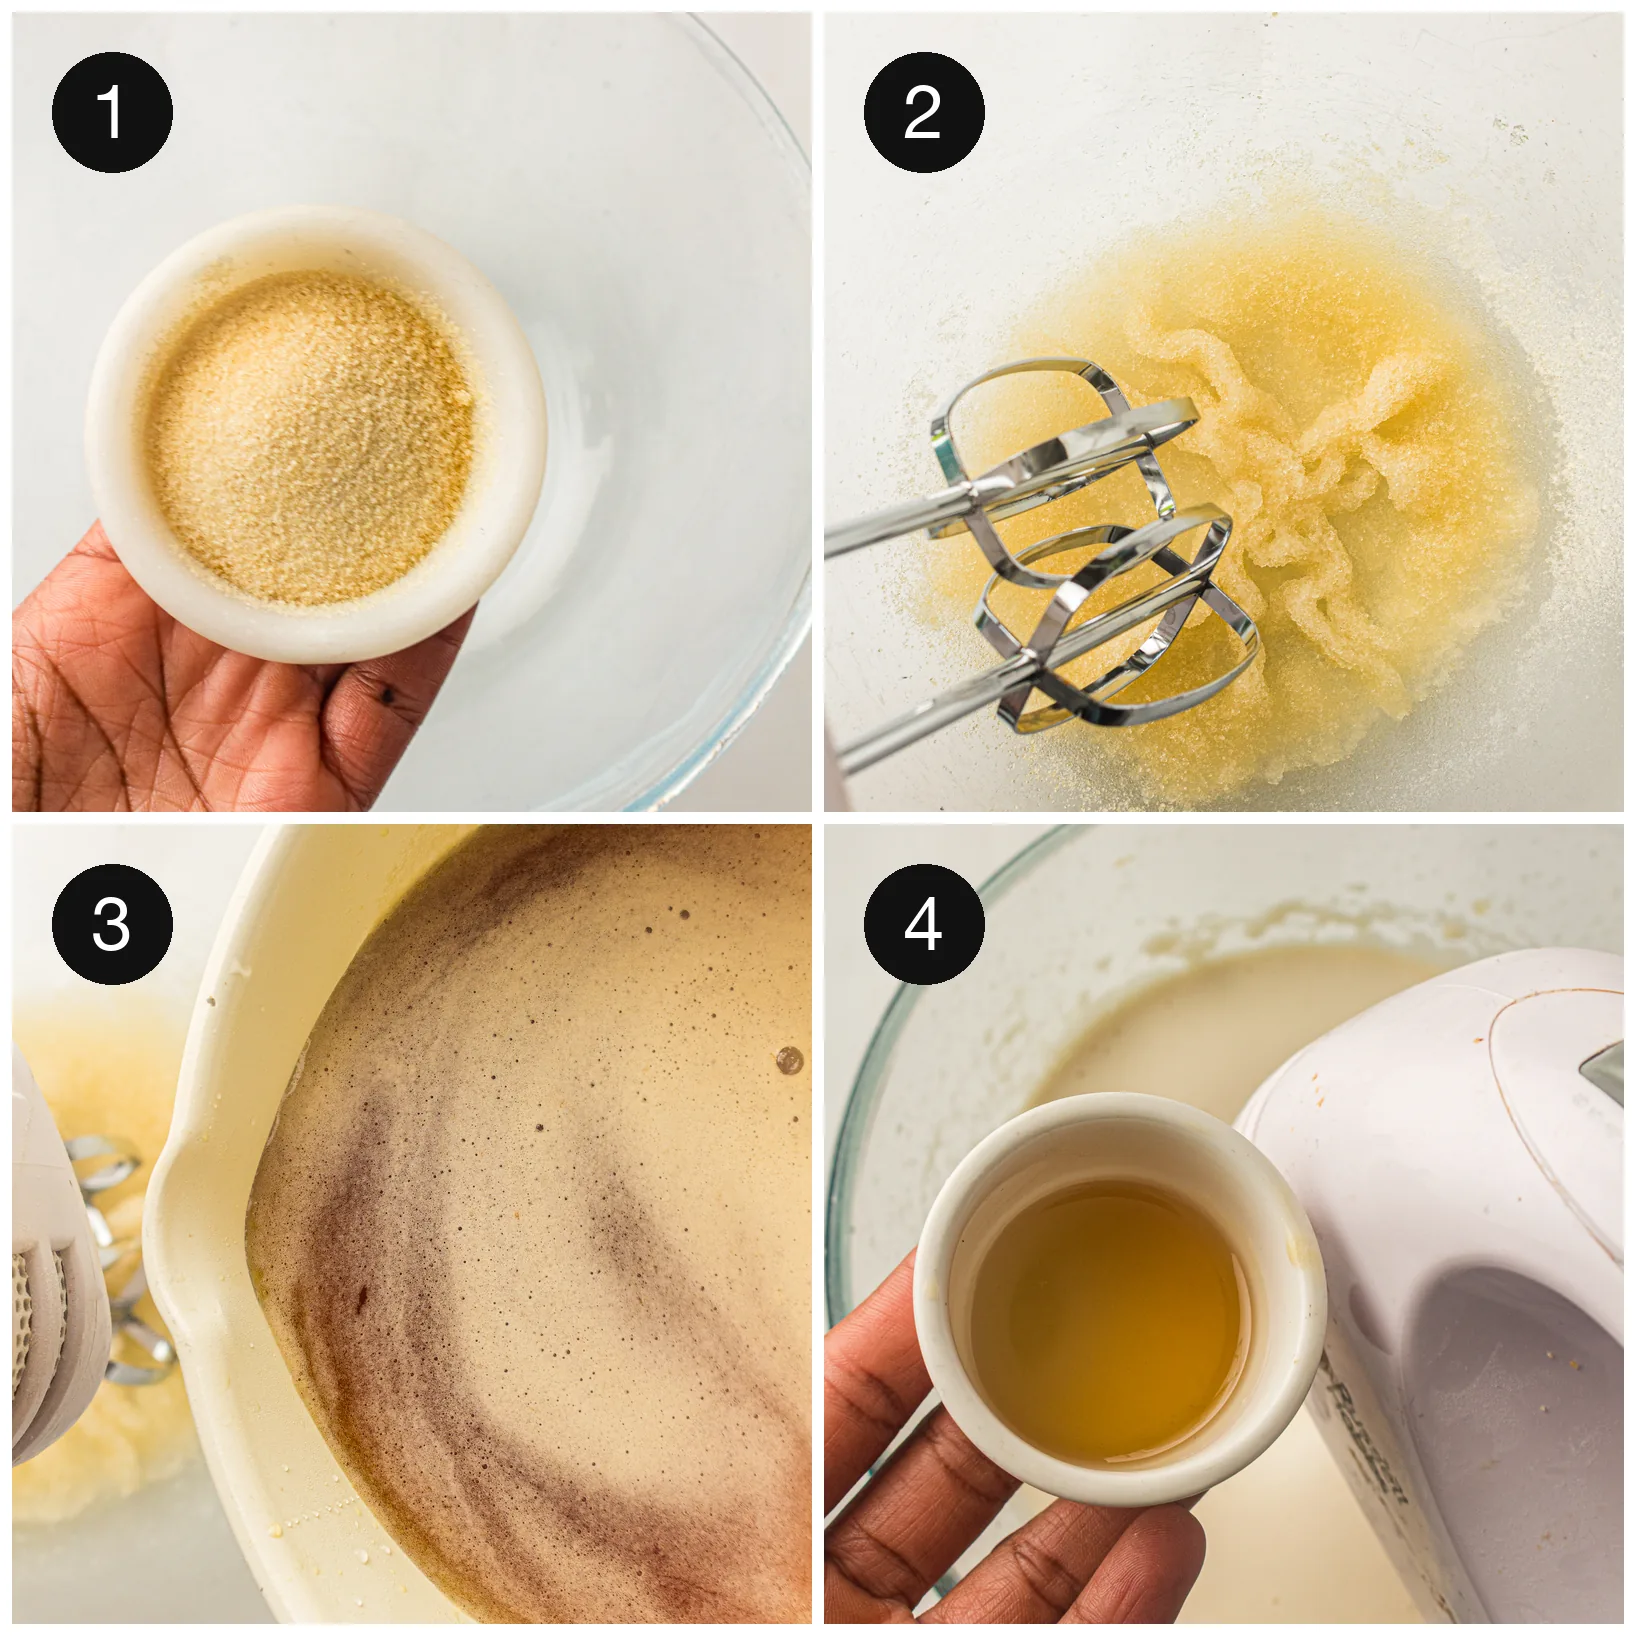
2. Cook the honey. Next, combine the honey, remaining water, and salt in a small saucepan. Heat over medium until it reaches 240 degrees F, the soft ball stage. This is what gives the marshmallows their structure.
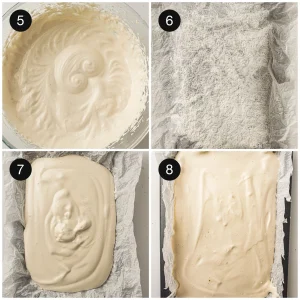
3. Whip it up. Then, with the mixer on low, slowly pour the hot honey into the bloomed gelatin. Increase to high and whip for 8 to 10 minutes, until the mixture is thick, glossy, and tripled in volume. Add the vanilla near the end.
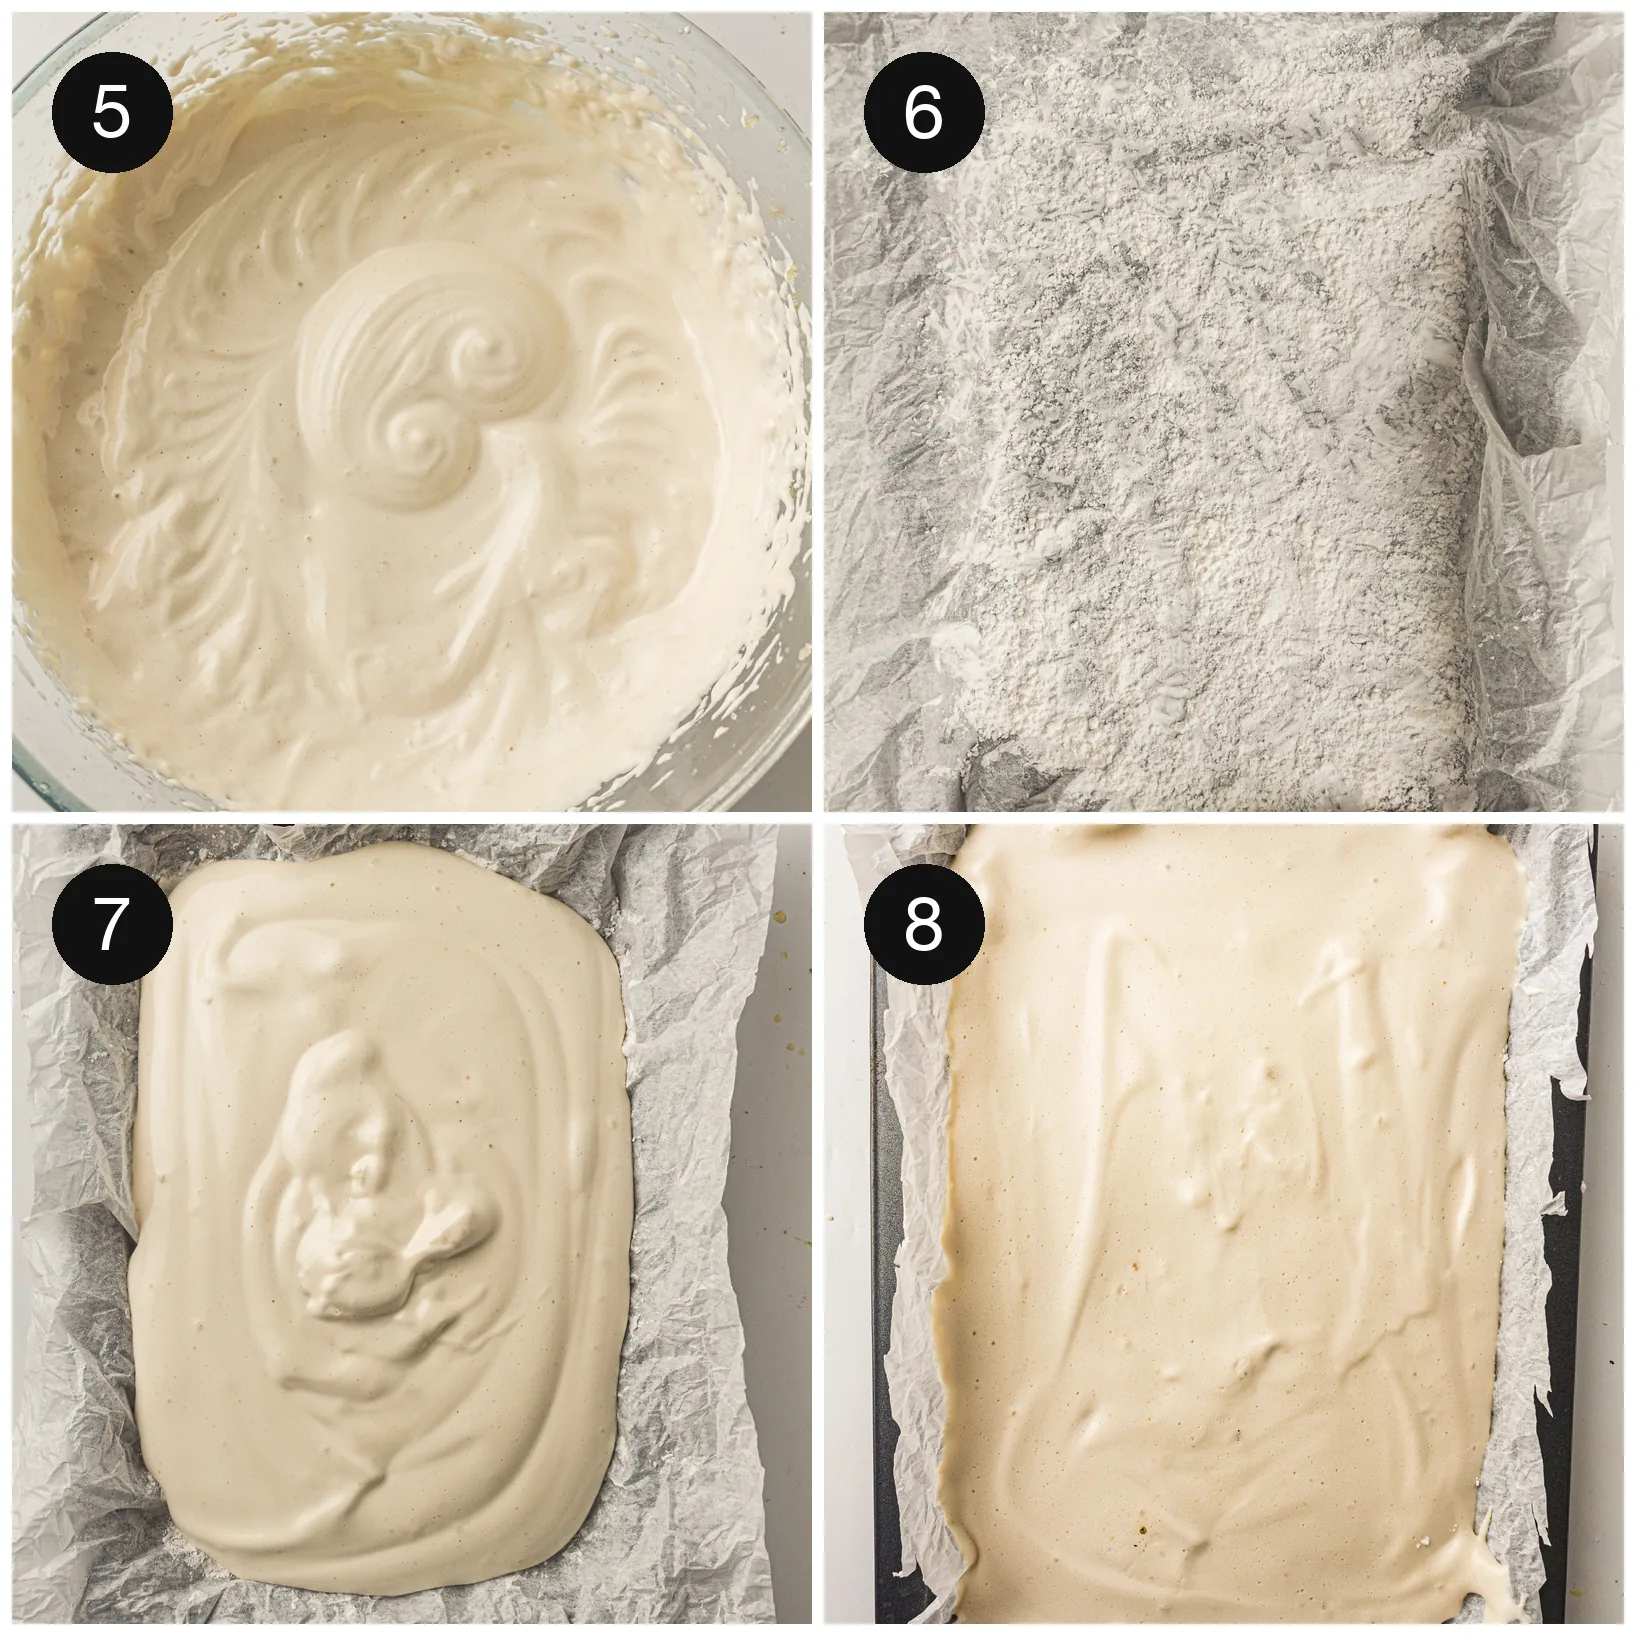
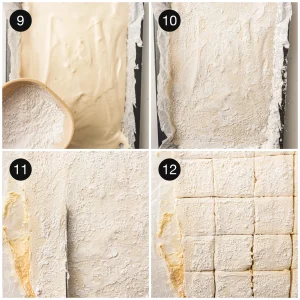
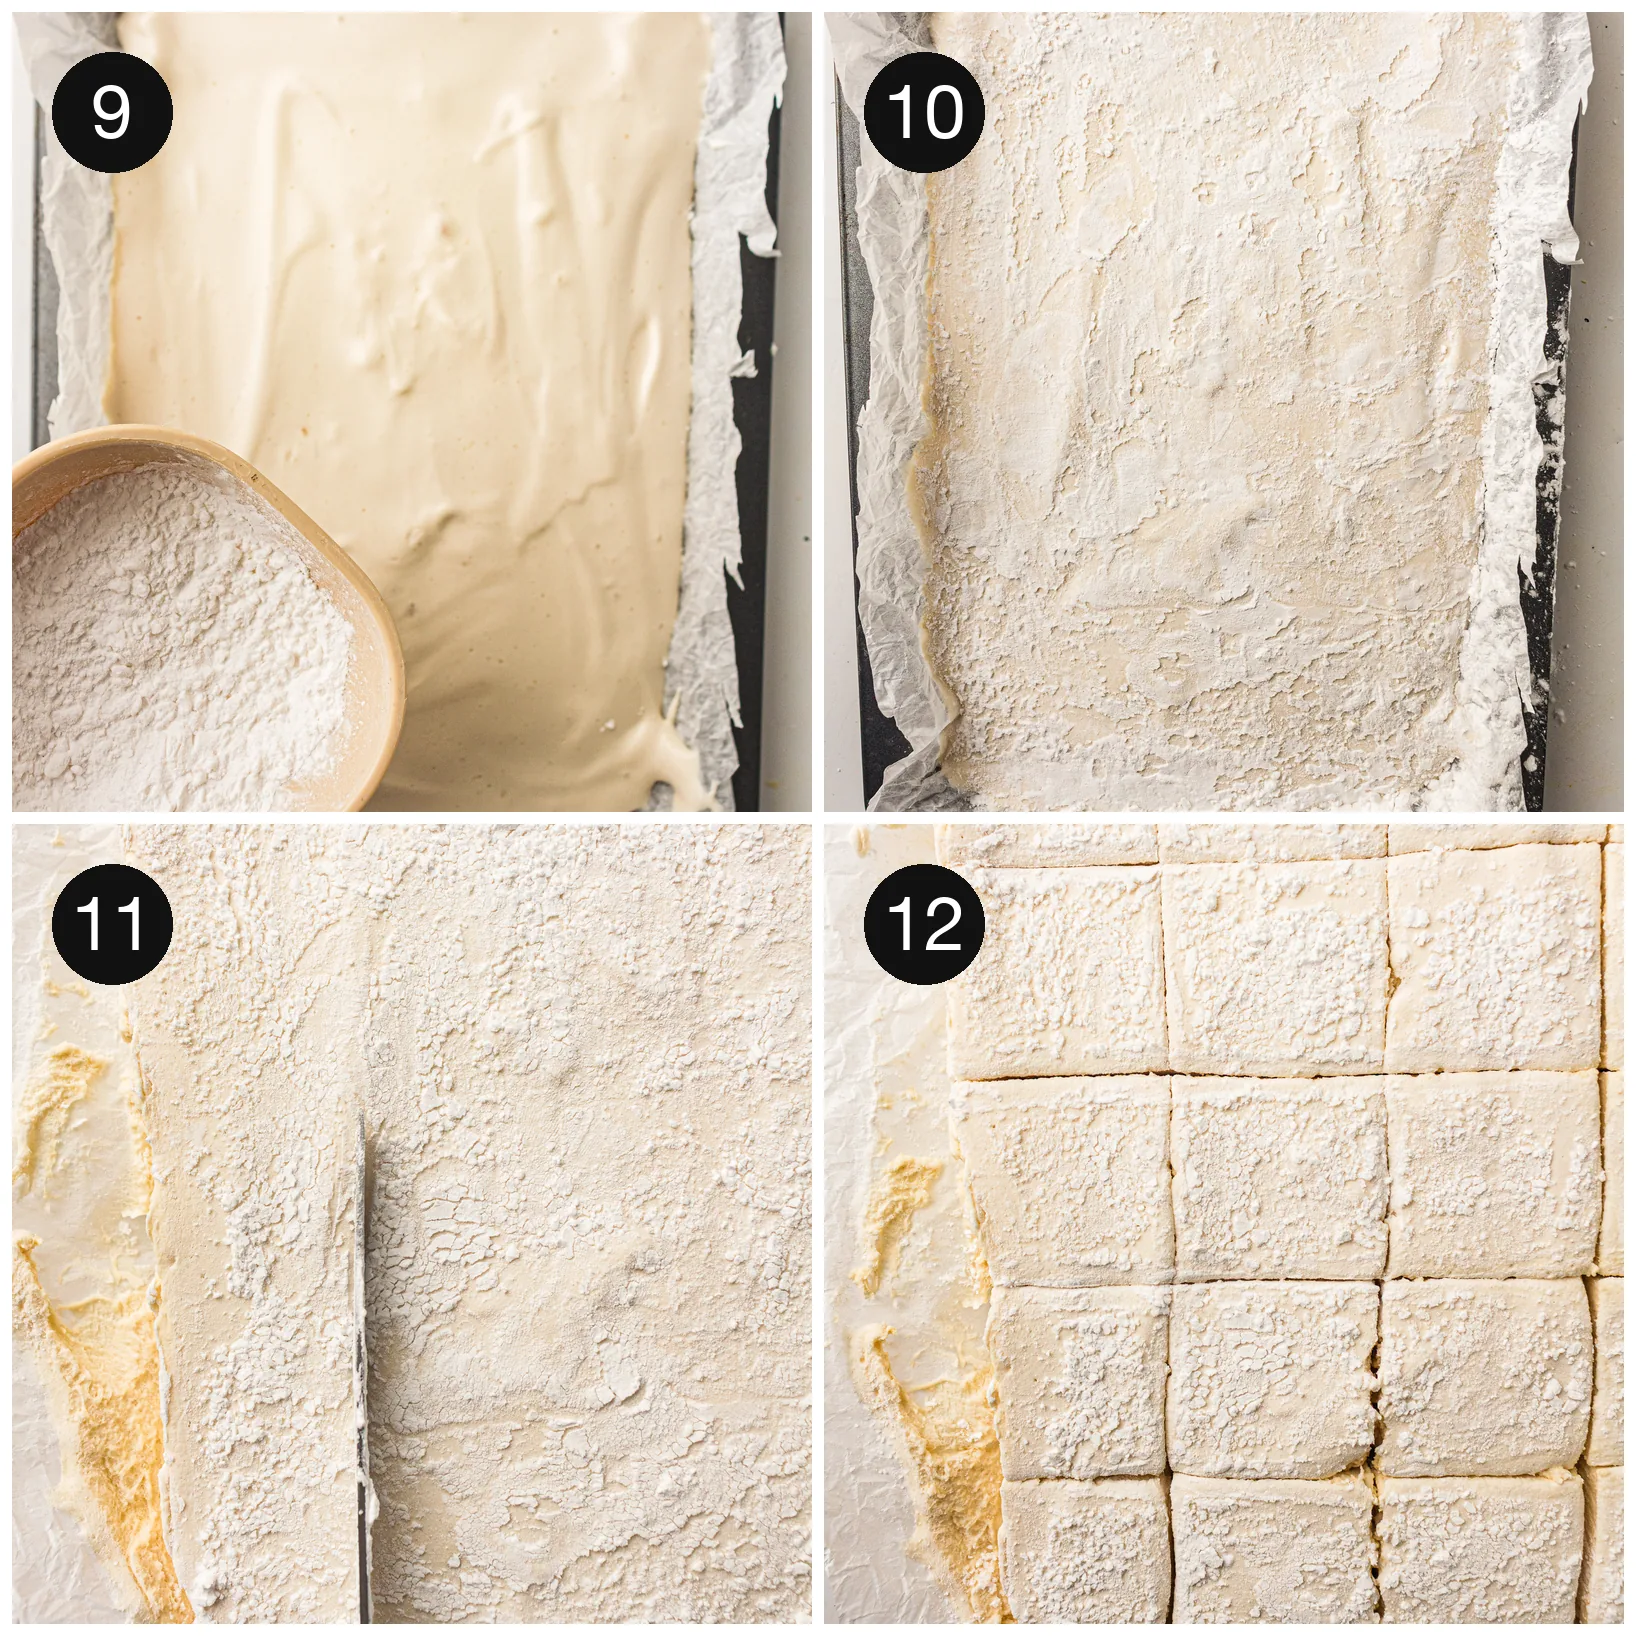
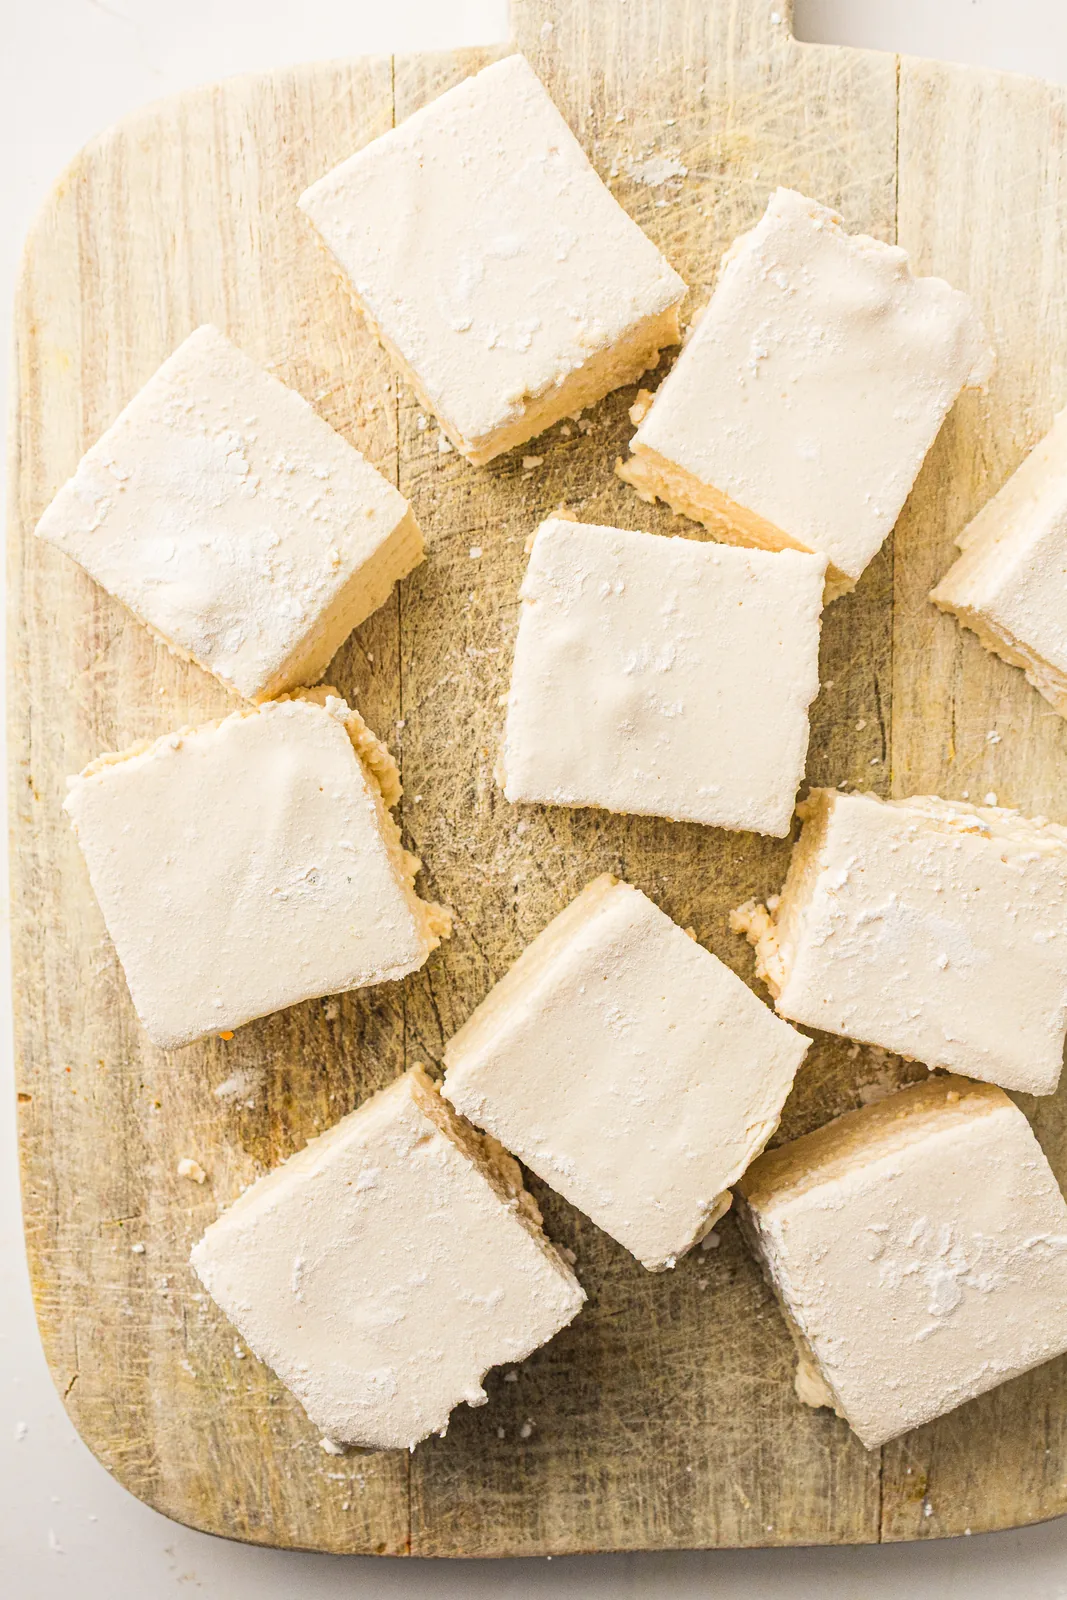
4. Set and cut. Finally, spread the mixture into the prepared pan and smooth the top with a greased spatula. Let it set at room temperature for at least 4 hours, then dust with more arrowroot, lift it out, and cut into squares.
Tips for the Best Healthy Marshmallows
- Watch the temperature. If you have a thermometer, 240 degrees F is the target. Without one, boil the honey mixture steadily for about 8 minutes.
- Whip long enough. The mixture should hold thick, glossy peaks. Under whipped, and they will be dense instead of fluffy.
- Grease your tools. The mixture is sticky, so a lightly oiled spatula makes spreading much easier.
- Dust generously. Coat the top, the knife, and the cut edges with arrowroot to keep everything from sticking.
- Let them set fully. Give them the full 4 hours, or overnight, before cutting for clean squares.
Biggest Mistakes to Avoid
- Rushing the set. Cutting too soon leaves you with a sticky mess. Patience pays off here.
- Skipping the dusting. Undusted marshmallows cling to everything. Be generous with the arrowroot.
- Overheating the honey. Push well past the soft ball stage and the marshmallows turn firm and chewy.
- Under whipping. Stop too early and they will not reach that light, airy texture. Keep going until tripled.
Storage
- Room temperature. Store in an airtight container at room temperature for up to 1 week.
- Keep them dry. A cool, dry spot is best. Humidity makes them sticky.
- Do not refrigerate. The fridge draws in moisture and turns them tacky, so keep them on the counter.
- Layer with dusting. Separate layers with a little arrowroot or parchment so they do not fuse together.
Variations and Substitutions
- Chocolate. Add a spoon of cocoa powder with the vanilla for chocolate marshmallows.
- Peppermint. Swap in peppermint extract for a festive, cocoa topping treat.
- Maple. Use maple syrup in place of honey, though the texture will be a touch softer.
- More real food treats. Love a naturally sweetened dessert? Try my chocolate avocado mousse or these homemade fruit gummies.
Ways to Use Them
These are wonderful straight from the pan, but they really shine in a few classic ways:
- Toasted golden over a campfire for the best s’mores
- Melting into a mug of hot cocoa on a cold night
- Stirred into homemade rice cereal treats
- Alongside other better for you sweets like my no bake chocolate caramel bars
Frequently Asked Questions
Equipment and Ingredients
Do I need a stand mixer?
No, a hand mixer works too. A six-speed hand mixer gives you the headroom to hold top speed for the whole whip. The whipping stage just needs high speed for several minutes to build proper volume. If you use a hand mixer, keep an eye on it so the motor does not overheat.
Can I use maple syrup instead of honey?
You can, though honey is recommended for the best structure and stability. Maple syrup tends to produce softer, slightly less springy marshmallows.
Do I have to use a thermometer?
It helps, but it is not essential. Aim for the soft ball stage at 240 degrees F, or boil the honey mixture steadily for about 8 minutes if you are going by feel.
Texture and Storage
Why are my marshmallows sticky?
Usually it comes down to dusting and setting time. Be generous with the arrowroot or cornstarch, and let the marshmallows set fully before cutting. Storing them somewhere humid can also make them tacky.
How long do they keep?
Store them in an airtight container at room temperature for up to a week. Keep them in a cool, dry place and do not refrigerate, since the fridge makes them sticky.
Are these marshmallows gelatin free?
No, gelatin is what sets them and gives that signature bounce, so it is essential here. For a vegetarian version you would need a different recipe built around agar, which behaves quite differently.
Ingredients
- 1/2 cup cold water 120 ml, divided
- 3 tablespoons unflavored gelatin powder 21 g
- 3/4 cup honey 255 g
- 1/4 teaspoon salt
- 1 teaspoon vanilla extract
- 1/4 cup arrowroot powder or cornstarch for dusting
Instructions
- Line an 8x8 inch pan with parchment paper and lightly dust with arrowroot powder or cornstarch.
- Pour 1/4 cup cold water into the bowl of a stand mixer. Sprinkle the gelatin evenly over the water and let it bloom for 5 to 10 minutes.

- In a small saucepan, combine the honey, remaining 1/4 cup water, and salt. Heat over medium until the mixture reaches 240°F (115°C).
- With the mixer on low, carefully pour the hot honey mixture into the bloomed gelatin.
- Increase the speed to high and whip for 8 to 10 minutes, until thick, glossy, and tripled in volume. Add the vanilla and mix briefly to combine.
- Spread the mixture into the prepared pan and smooth the top with a lightly greased spatula.
- Let it set at room temperature for at least 4 hours, until fully set.
- Dust the top with more arrowroot or cornstarch, lift from the pan, and cut into squares.