 Bity
Bity
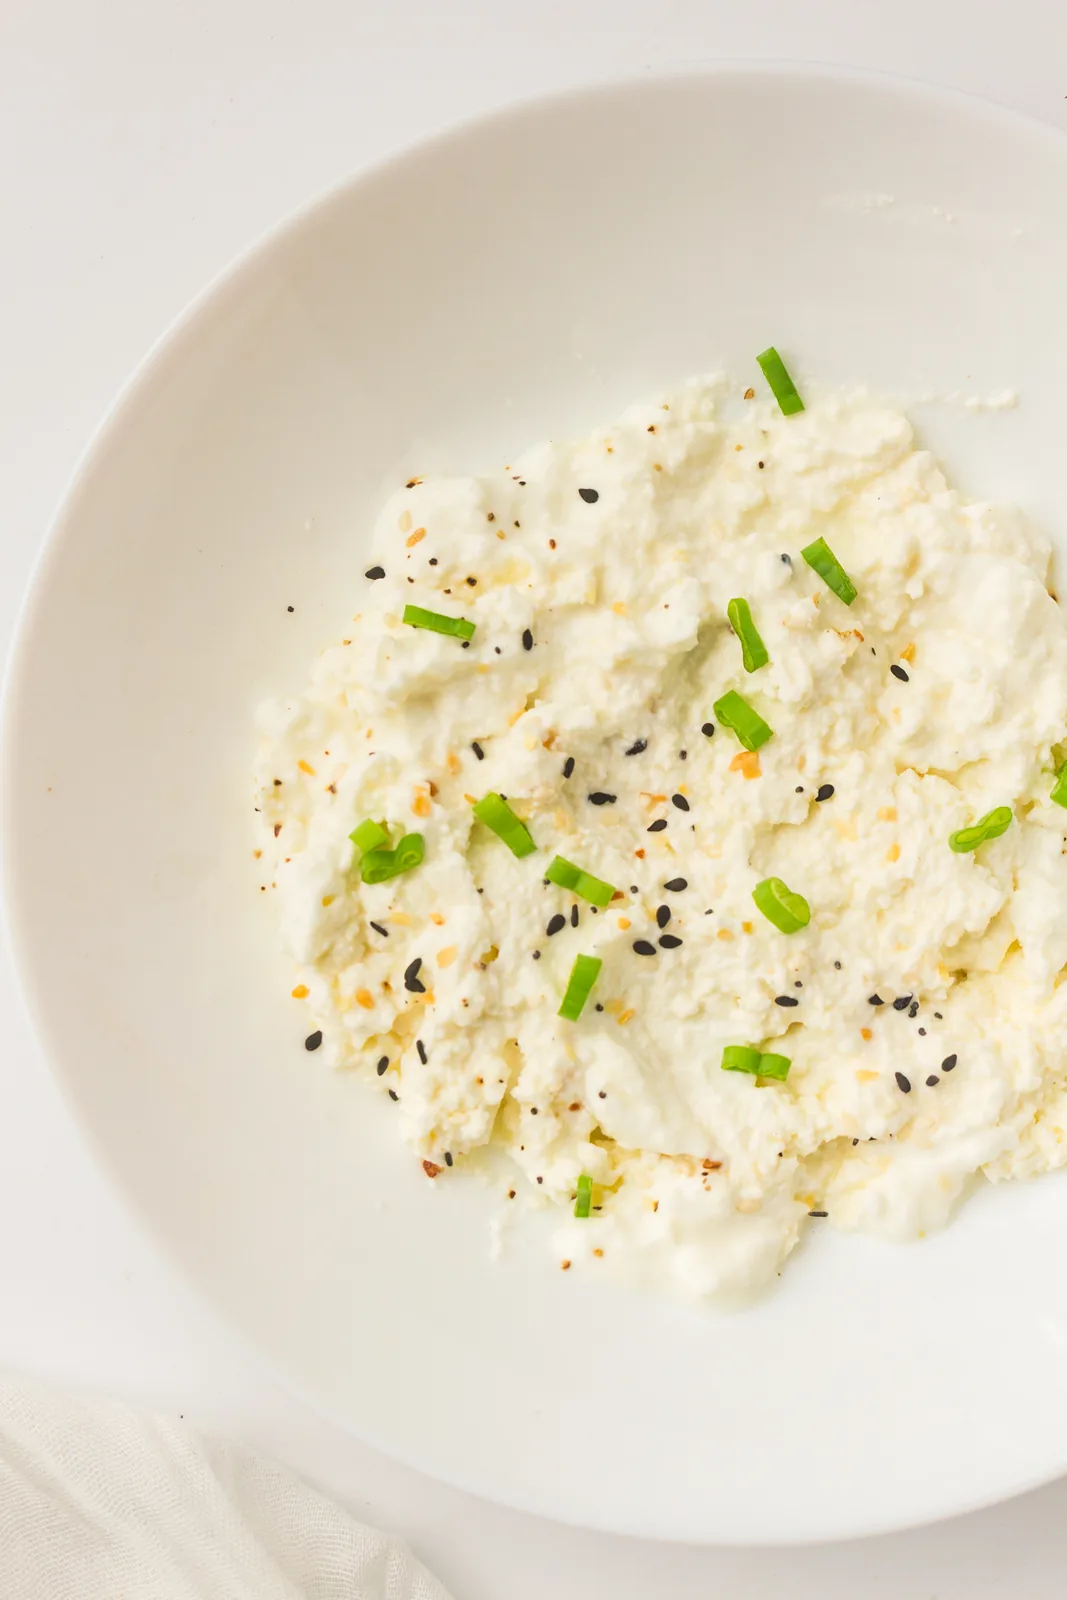
Homemade cottage cheese takes three ingredients and about twenty five minutes, and the first time you make it you will feel slightly cheated by every tub you have ever bought.
Milk, lemon juice, salt. That is the whole list. There is no culture to buy, no rennet, no waiting overnight. Of course, the curds you get are milder and sweeter than the shop version, which is the main reason people who dislike cottage cheese change their mind about it.

Quick Breakdown
Why You’ll Love This Homemade Cottage Cheese
- Three ingredients. Milk, an acid, and a pinch of salt.
- Twenty five minutes. Ten of those are just standing still.
- No additives. No gums, no stabilisers, no extra sodium you did not choose.
- You control the curd. Big and loose, or fine and dry, depending on how you drain it.
- The whey is a bonus. It is useful in bread, smoothies and porridge.
Ingredient Notes
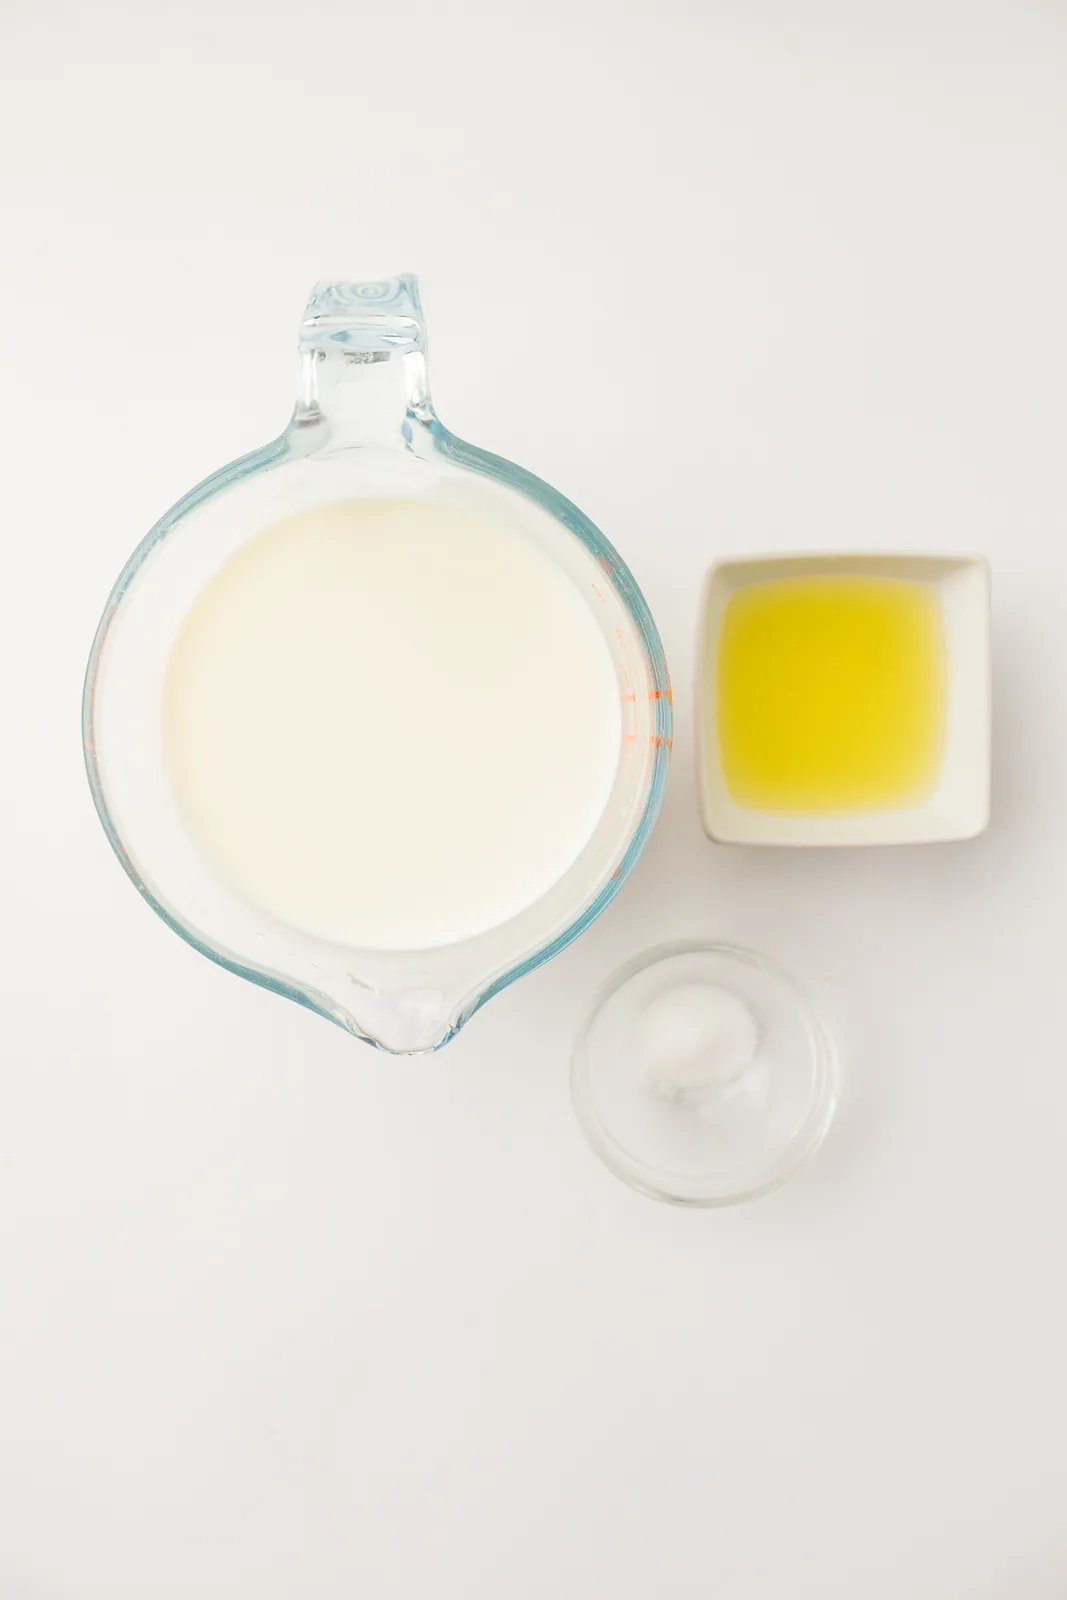
- Milk. Eight cups, whole or semi skimmed. Whole milk gives softer, richer curds, and semi skimmed gives you more of them but drier. Do not use ultra pasteurised milk, because the proteins have been heated too hard and will not curdle properly.
- Lemon juice or white vinegar. Three tablespoons. Both work, and they behave slightly differently in the finished flavour.
- Salt. Half a teaspoon, stirred in at the end so you can taste as you go.
- Cheesecloth. Not an ingredient, but a fine mesh sieve on its own will let the small curds through.
The payoff is a genuinely high protein food. The Academy of Nutrition and Dietetics notes that half a cup of two percent cottage cheese carries about eleven grams of protein, though shop bought tubs can hold double the sodium of hard cheese. Salting it yourself puts that part back under your control.
Lemon Juice or Vinegar?
Either will split the milk. The difference shows up in what the curds taste like once they are drained and salted.
| Lemon juice | White vinegar | |
|---|---|---|
| Flavour | Slightly sweet, faintly citrus | Clean and neutral |
| Curd size | Softer, looser | Firmer, more defined |
| Best for | Fruit, honey, breakfast bowls | Savoury use, toast, salads |
In fact, I keep both going depending on the week. Lemon for anything sweet, vinegar when it is heading onto toast with black pepper.
How To Make Homemade Cottage Cheese
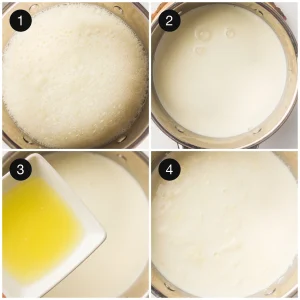
1. Heat the milk. First, pour the milk into a large pot and warm it over medium heat until it reaches 185°F, which is just before boiling. Stir now and then so the base does not catch.
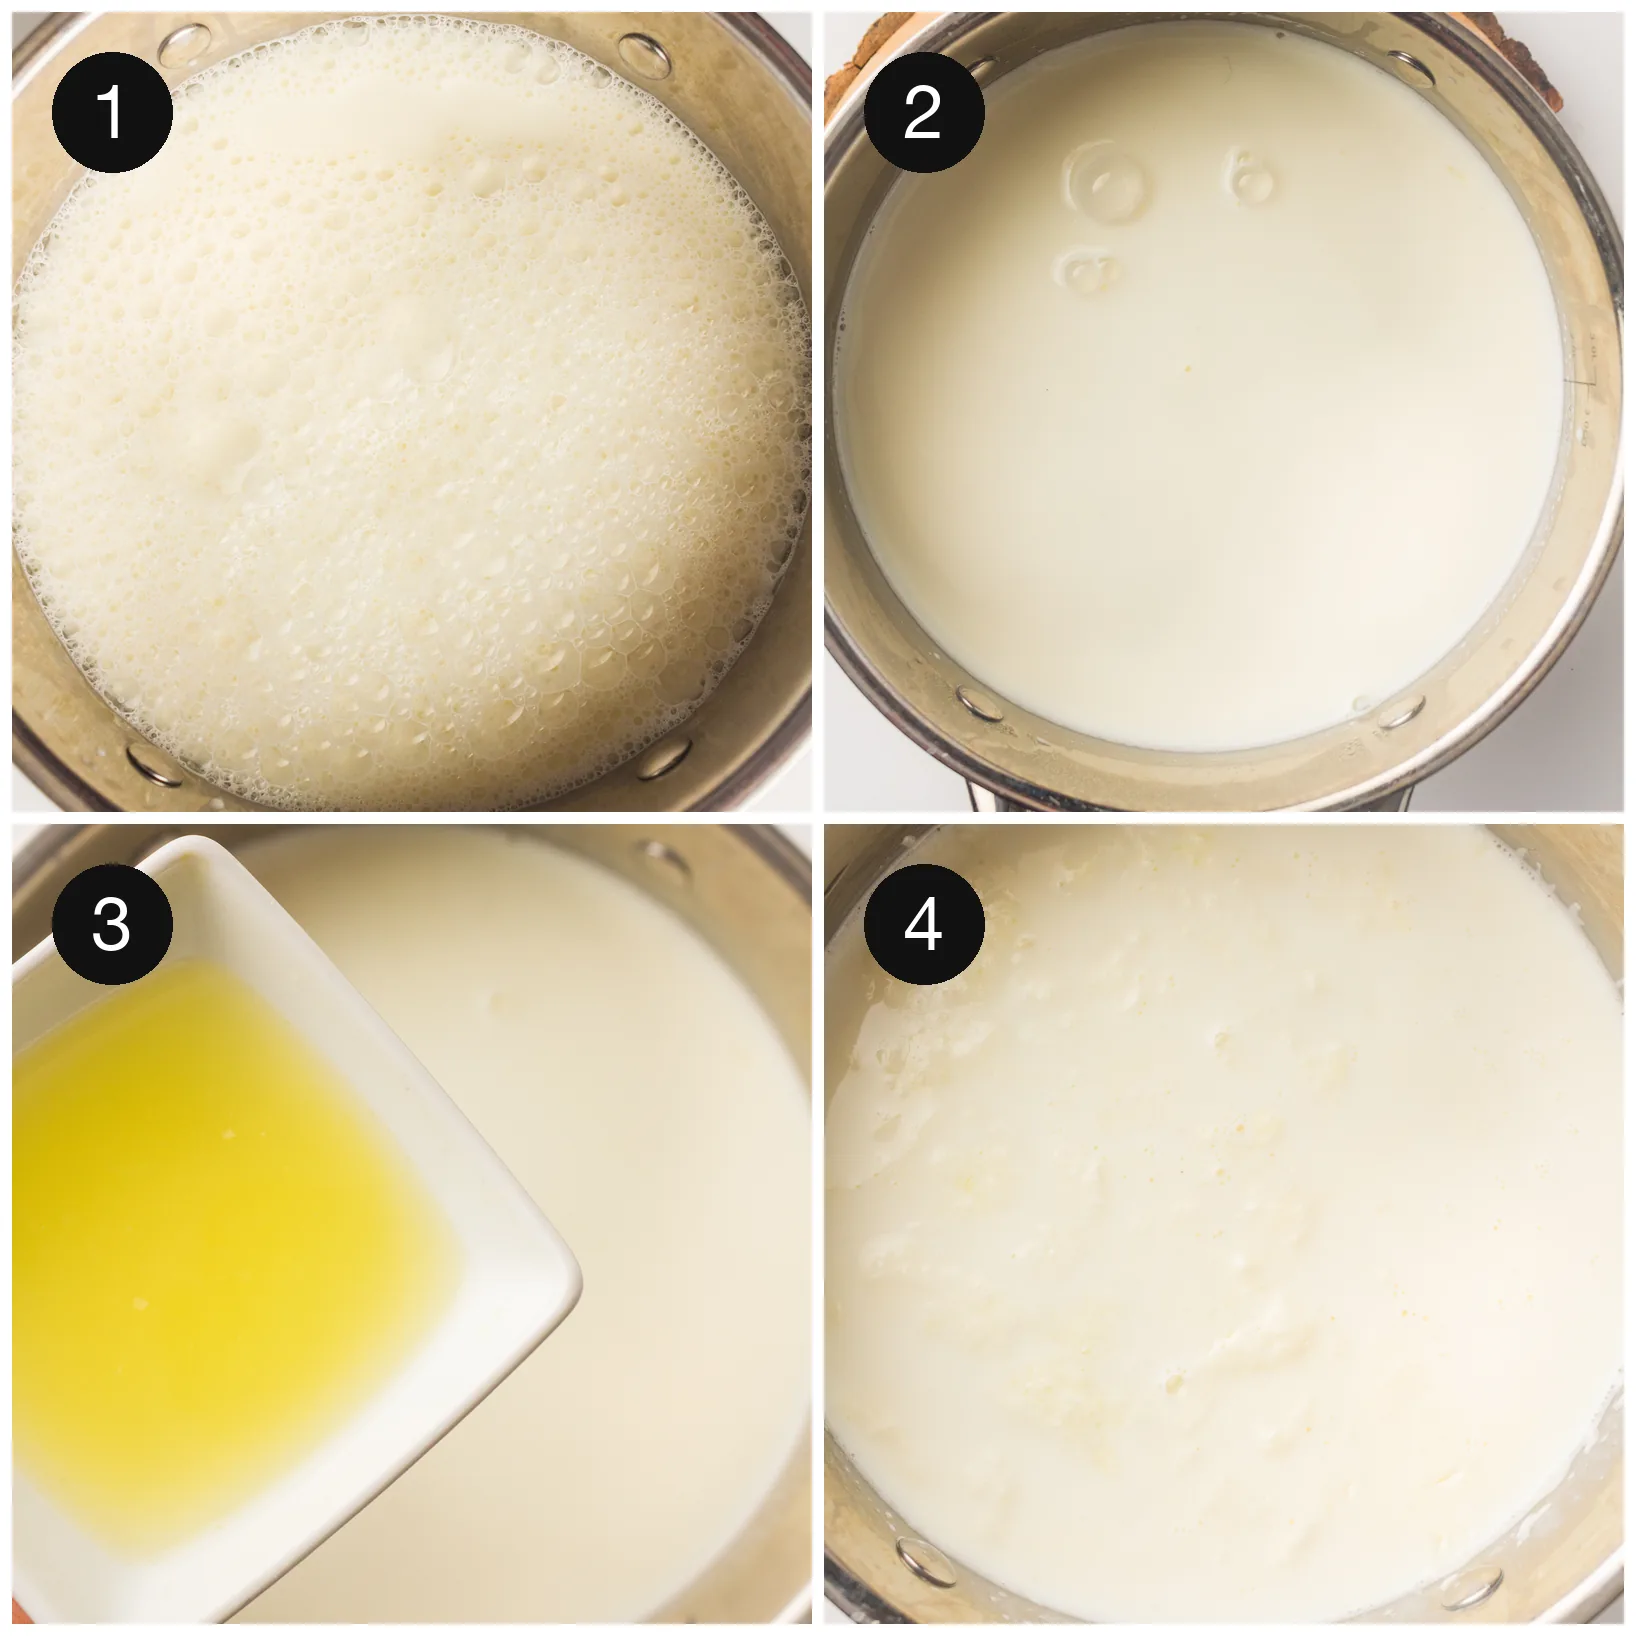
2. Add the acid. Next, take the pot off the heat and stir in the lemon juice. A few slow turns are enough, since over stirring breaks the curds up before they form.
3. Wait. Then leave the mixture completely alone for about ten minutes. The curds will pull together and the liquid around them will turn a pale, cloudy yellow.
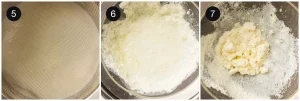
4. Drain. After that, pour everything through a sieve lined with cheesecloth to separate the curds from the whey.
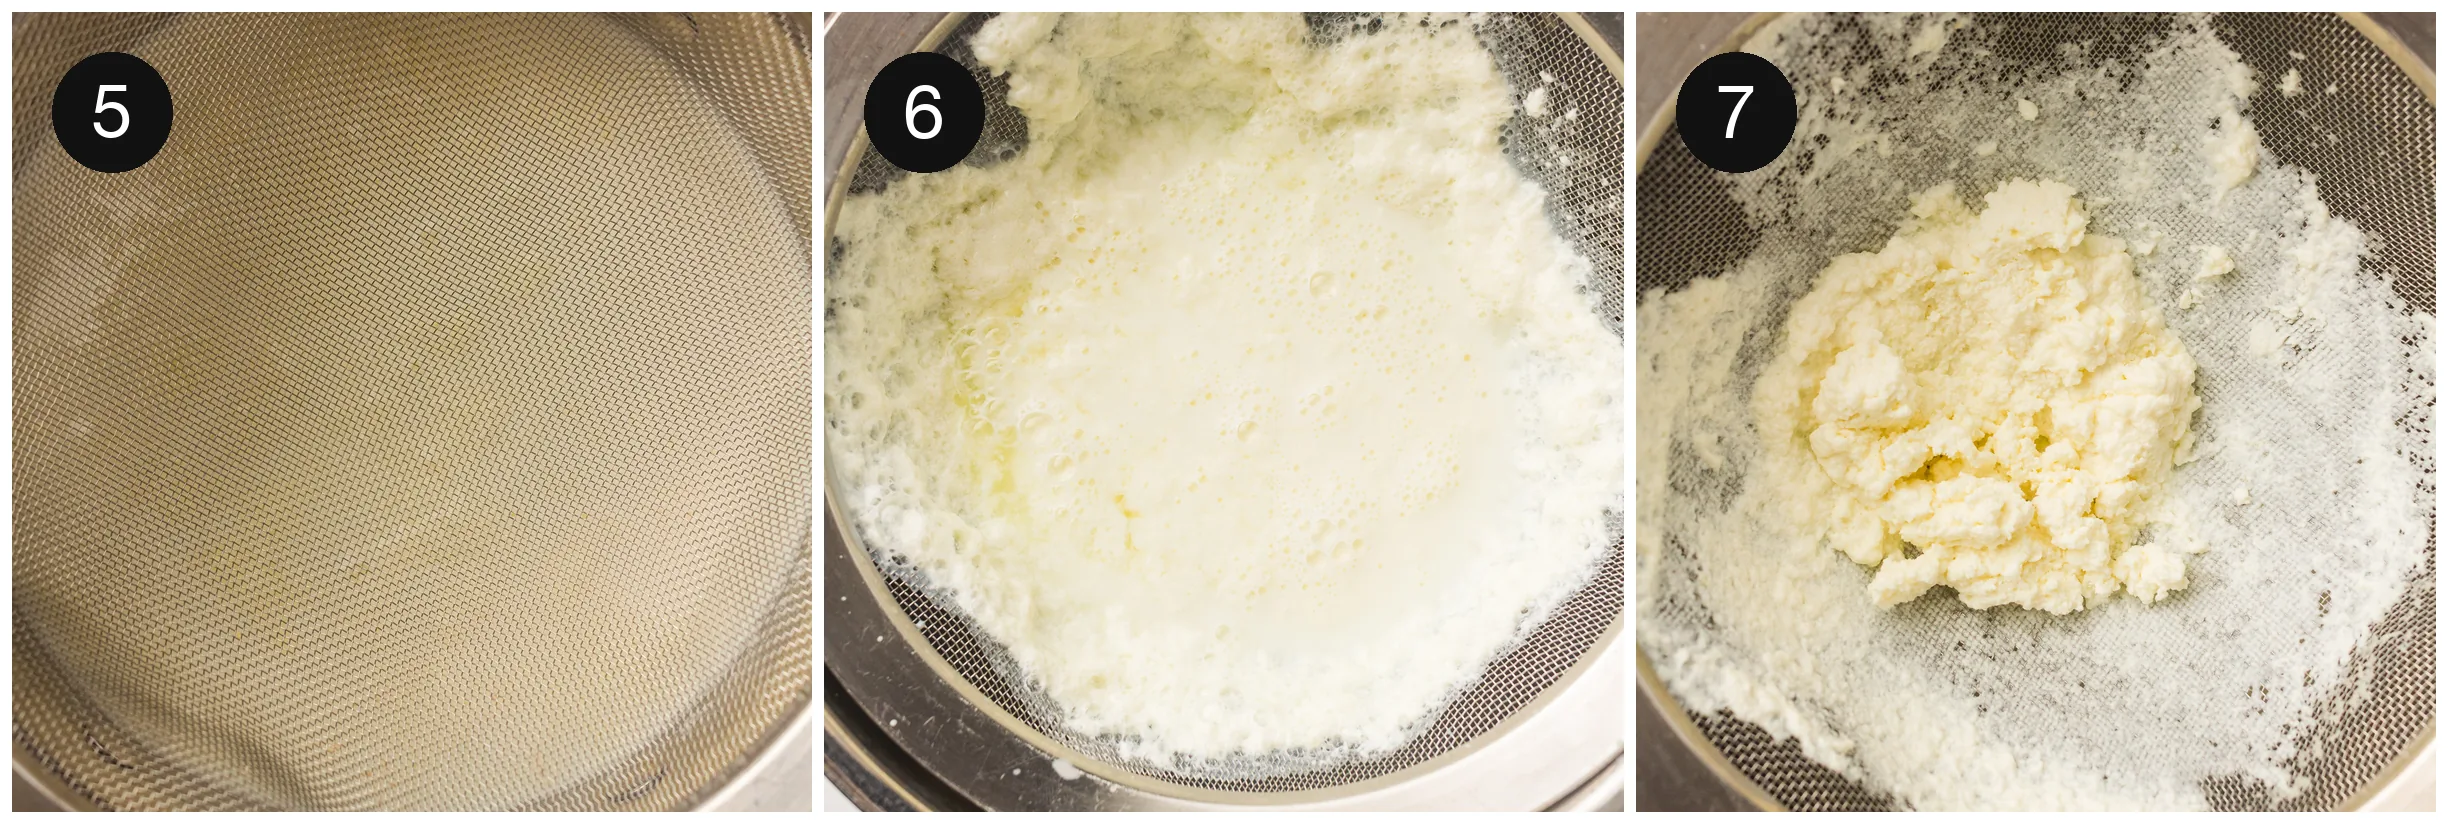
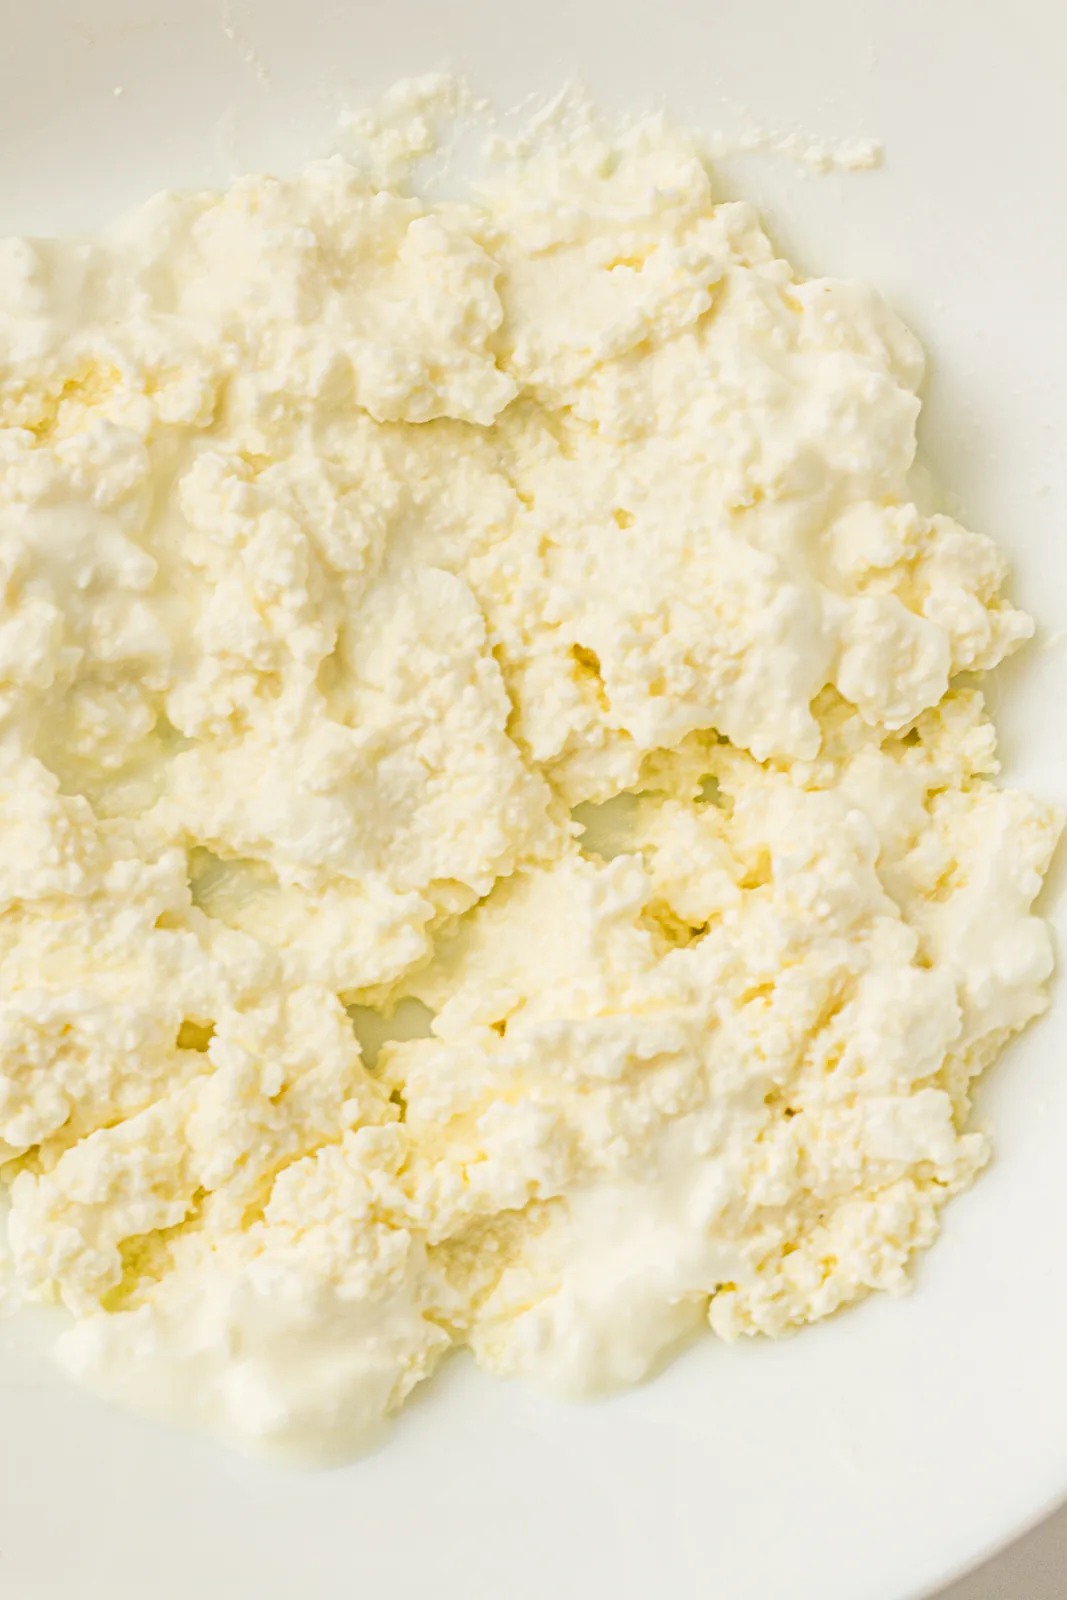
5. Rinse, salt and serve. Finally, rinse the curds gently under cool water, sprinkle over the salt, and fold it through. Eat straight away or chill.
Why Did My Milk Not Curdle?
Nine times out of ten it is the milk. Ultra pasteurised and UHT milk have been heated so aggressively that the proteins no longer come together, and no amount of extra lemon juice will rescue them. Check the carton before you start.
The second cause is temperature. Below about 180°F the split is weak and you get a few sad flecks instead of proper curds. A thermometer removes the guesswork entirely.
Still, if the milk is fine and the heat was right, give it another tablespoon of acid and five more minutes of standing. Because the reaction is gradual, patience usually finishes what a thermometer started.
Tips for the Best Homemade Cottage Cheese
- Use a thermometer. 185°F is the number, and eyeballing it is the single biggest cause of failure.
- Stir gently after adding the acid. Vigorous stirring shatters the curds into grains.
- Rinse briefly. It washes off the sharp edge of the lemon and leaves a mild, clean taste.
- Drain to taste. Two minutes gives a wet, creamy curd, ten gives something closer to a dry farmer’s cheese.
- Add a splash of milk or cream at the end if you want the classic loose, dressed texture.
- Keep the whey. It is protein rich and works in bread dough or a smoothie.
What to Do With the Whey
Eight cups of milk leaves you with roughly six cups of pale yellow liquid in the bowl under the sieve, and pouring it down the sink is the only real waste in this recipe. It is full of protein and lactose, and it behaves like a mild, slightly tangy stock.
The easiest use is bread. Swap it in for the water in any dough and you get a softer crumb and a faster rise, because the sugars give the yeast something extra to work on. It does the same job in pancake batter and in soda bread.
Beyond baking, cook oats or rice in it, blend a cup into a smoothie, or use it to thin a soup. Better yet, freeze it in an ice cube tray so you have small amounts ready without committing to a whole jug.
That said, it does not keep as long as the cheese does. About a week in the fridge, and three months frozen, after which it starts to taste sour rather than mild.
Storage
- Fridge. Up to four days in an airtight container. It is at its best on days one and two.
- Freezer. Not recommended, because freezing turns the curds grainy and weepy on thawing.
- Whey. Keeps a week in the fridge or three months frozen in cubes.
- Salting. Salt just before eating if you plan to keep a batch for several days, since it draws out more liquid over time.
Variations and Substitutions
- Whipped. Blitz it smooth for a dip or a pasta sauce base.
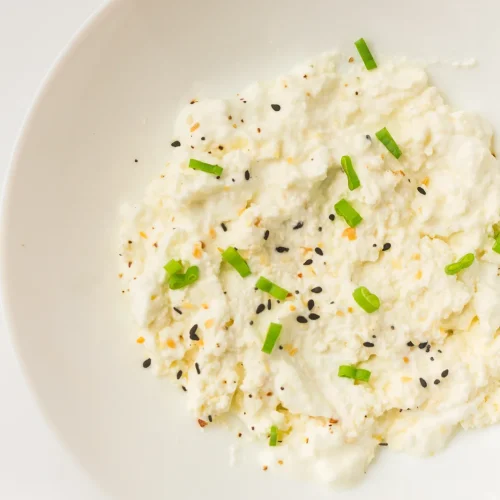
- Herbed. Chives, dill and cracked pepper folded through.
- Sweet. Honey, berries and a little vanilla for breakfast.
- Baked into bread. It is the whole point of our high protein cottage cheese bread.
- Flatbread. Two ingredients and a hot oven turns it into cottage cheese flatbread.
- Goat or sheep milk. Both curdle the same way and taste noticeably tangier.
What to Serve With It
Toast, first and always. A thick layer with black pepper and good olive oil is the fastest lunch in the house. Meanwhile, it sits well on a grain bowl or spooned beside a simple spinach salad when you want protein without cooking anything.
For example, a scoop next to sliced peaches and a drizzle of honey turns into pudding without much effort at all.
Frequently Asked Questions
Homemade Cottage Cheese Basics
Can I use vinegar instead of lemon juice?
Yes. White vinegar curdles the milk in exactly the same way and gives a slightly firmer, more neutral curd.
Why rinse the curds?
Rinsing washes away excess acid and leaves a mild, clean flavour. Skip it and the cheese keeps a distinct lemony edge.
Can I make larger curds?
Yes. Stir gently, let the pot sit undisturbed, and avoid breaking the curds up as you drain them.
How much does eight cups of milk make?
About two cups of finished cheese. That said, the yield drops if you drain it hard for a drier texture.
Storage and Troubleshooting
Can I freeze cottage cheese?
Freezing is not recommended, because it changes the texture of the curds and they turn watery once thawed.
What can I do with the leftover whey?
Use it in place of water in bread dough, in a smoothie, or for cooking oats. It is protein rich and keeps for a week.
Why is mine rubbery?
The milk went past boiling. Once it bubbles hard the proteins tighten, so pull the pot at 185°F rather than waiting for a rolling boil.
Is it cheaper than buying it?
Roughly the same on price, honestly. The reason to make it is control over salt, texture and freshness rather than the money.
Ingredients
- 8 cups milk 2 liters, whole or semi-skimmed
- 3 tbsp lemon juice or white vinegar 45 ml
- 1/2 tsp salt 3 g
Instructions
- Pour the milk into a large pot and heat over medium heat until it reaches 185F (85C), just before boiling.

- Remove the pot from the heat and stir in the lemon juice.
- Let the mixture sit for about 10 minutes until curds form.
- Pour the mixture through a sieve lined with cheesecloth to separate the curds from the whey.

- Rinse the curds gently with cool water.
- Sprinkle in the salt and stir gently to combine.
- Serve immediately or store in the refrigerator.