 Bity
Bity
Two ingredients, one of which is a spoonful of shop-bought yogurt. Instant pot yogurt was the thing I put off for years because it sounded like a project, and then I made it once and understood that the machine does all of it while I sleep.
You are not really cooking instant pot yogurt so much as supervising it. You are holding milk at a temperature bacteria like, for long enough that they turn it thick and tangy on your behalf.
Quick Breakdown
Why You’ll Love This Instant Pot Yogurt
- Two ingredients. Whole milk and a couple of tablespoons of live yogurt.
- Ten minutes of actual work. Everything else is waiting, most of it overnight.
- Four cups per batch. Enough for a week of breakfasts.
- You decide how tangy. Eight hours of instant pot yogurt is mild, ten is properly sharp.
- No pots, no thermometer babysitting. The Yogurt setting handles both temperature stages.
Ingredient Notes
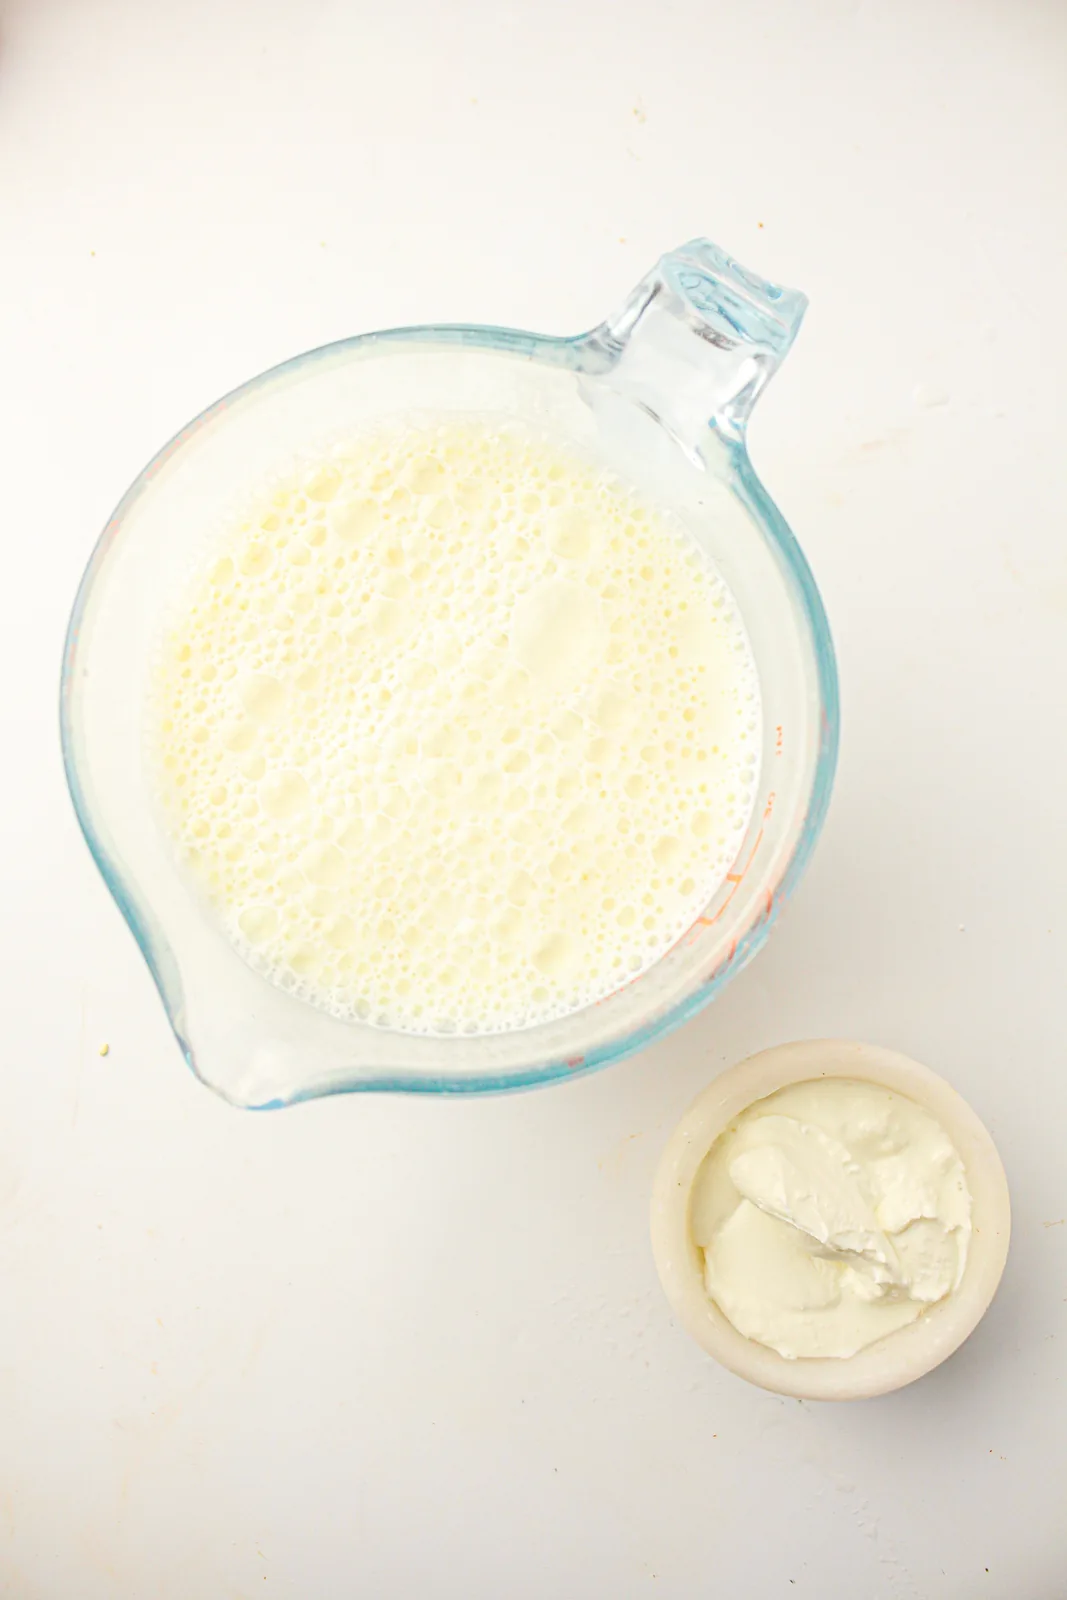
- Whole milk. Four cups. Fat is what gives you the creamy, spoonable set. Semi skimmed works and produces something noticeably thinner and more pourable.
- Plain yogurt with live cultures. Two tablespoons, and the label has to say live or active cultures. A heat-treated tub has nothing alive left in it to seed the batch, so instant pot yogurt made with one will simply never set.
- Nothing else. No sugar, no vanilla, no thickener. Anything sweet goes in after the set, because sugar in the pot feeds the wrong things.
What you are relying on is a very old piece of food science. As the Academy of Nutrition and Dietetics puts it, bacteria cultures help break down lactose, so yogurt is sometimes an easier-to-digest dairy food for those who are lactose intolerant. Those same cultures are what your two spoonfuls of starter carry into the milk.
The Two Temperatures That Make Instant Pot Yogurt Work
Everything hinges on two numbers, and the pot handles both of them for you if you understand what they are doing.
The first is about 180°F. Heating milk that far denatures the whey proteins, which then form a much tighter network when the acid arrives. Skip it and you get thin, watery instant pot yogurt no matter how long you incubate. The second is about 110°F, which is where you add the starter. Bacteria thrive at that temperature. Much hotter and you kill them outright, which is why stirring live yogurt into hot milk is the classic beginner mistake.
| Stage | Target | What it does |
|---|---|---|
| Boil | About 180°F | Sets up the protein network |
| Cool | About 110°F | Safe for the live cultures |
| Incubate | 8 to 10 hours | Acid builds, milk thickens |
| Chill | At least 4 hours | Final firmness |
How To Make Instant Pot Yogurt
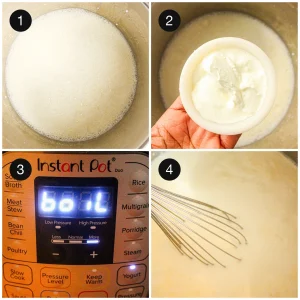
1. Heat the milk. First, pour the four cups of whole milk into the inner pot, press Yogurt and select Boil. The pot brings it up to about 180°F on its own and beeps when it is done.
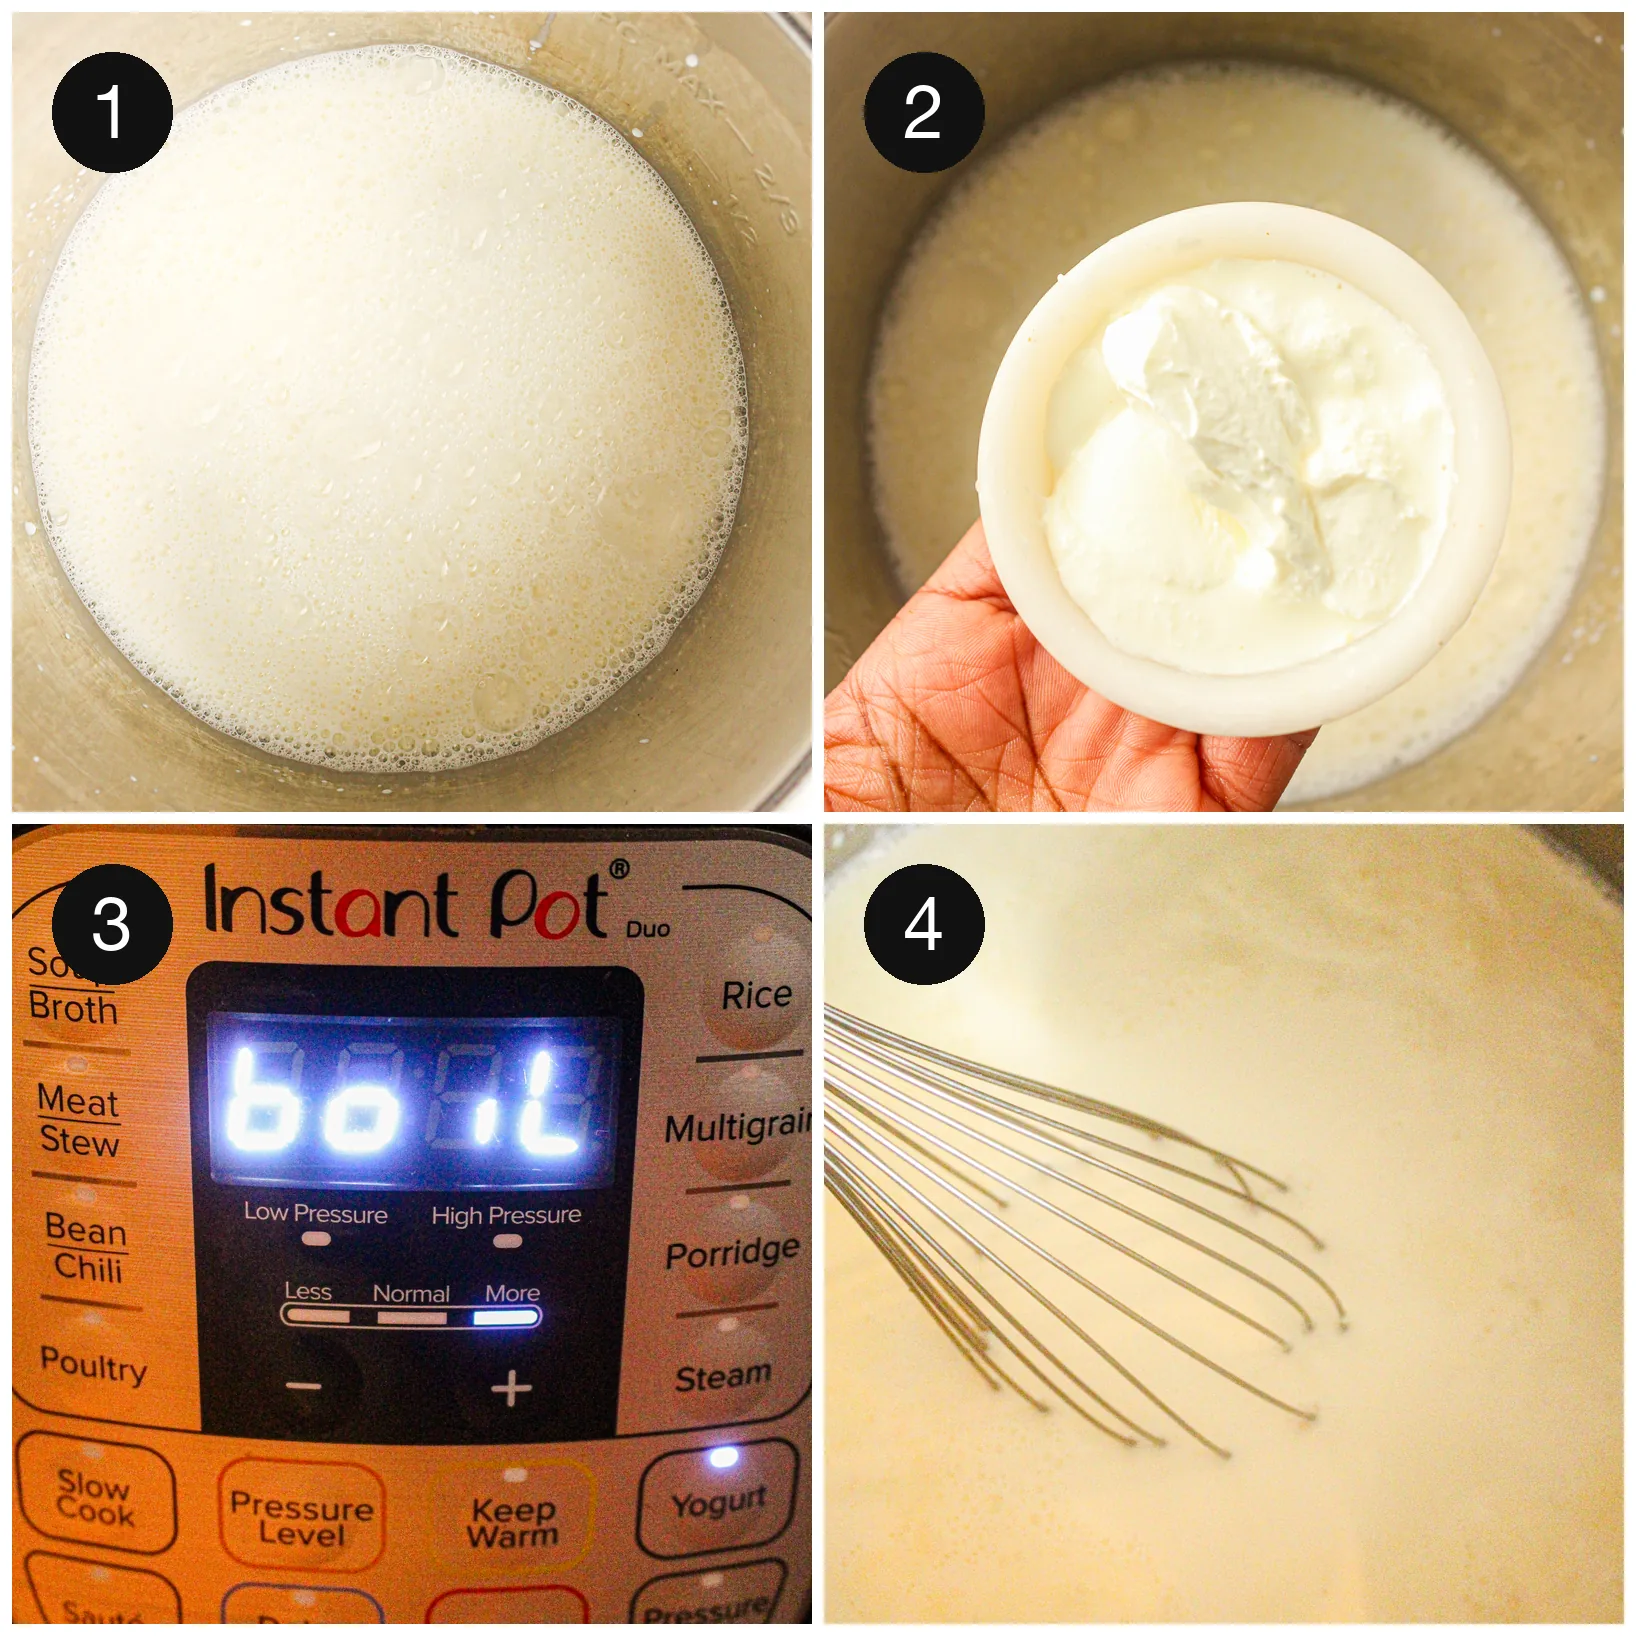
2. Let it cool. Next, leave the milk to come down to about 110°F. It should feel warm on the inside of your wrist rather than hot. Because this is the slowest part, a cold water bath around the insert speeds it up considerably.
3. Temper the starter. Then put the two tablespoons of yogurt in a small bowl, stir a little of the warm milk into it until smooth, and pour that mixture back into the pot. Doing it this way prevents lumps and spreads the cultures evenly.
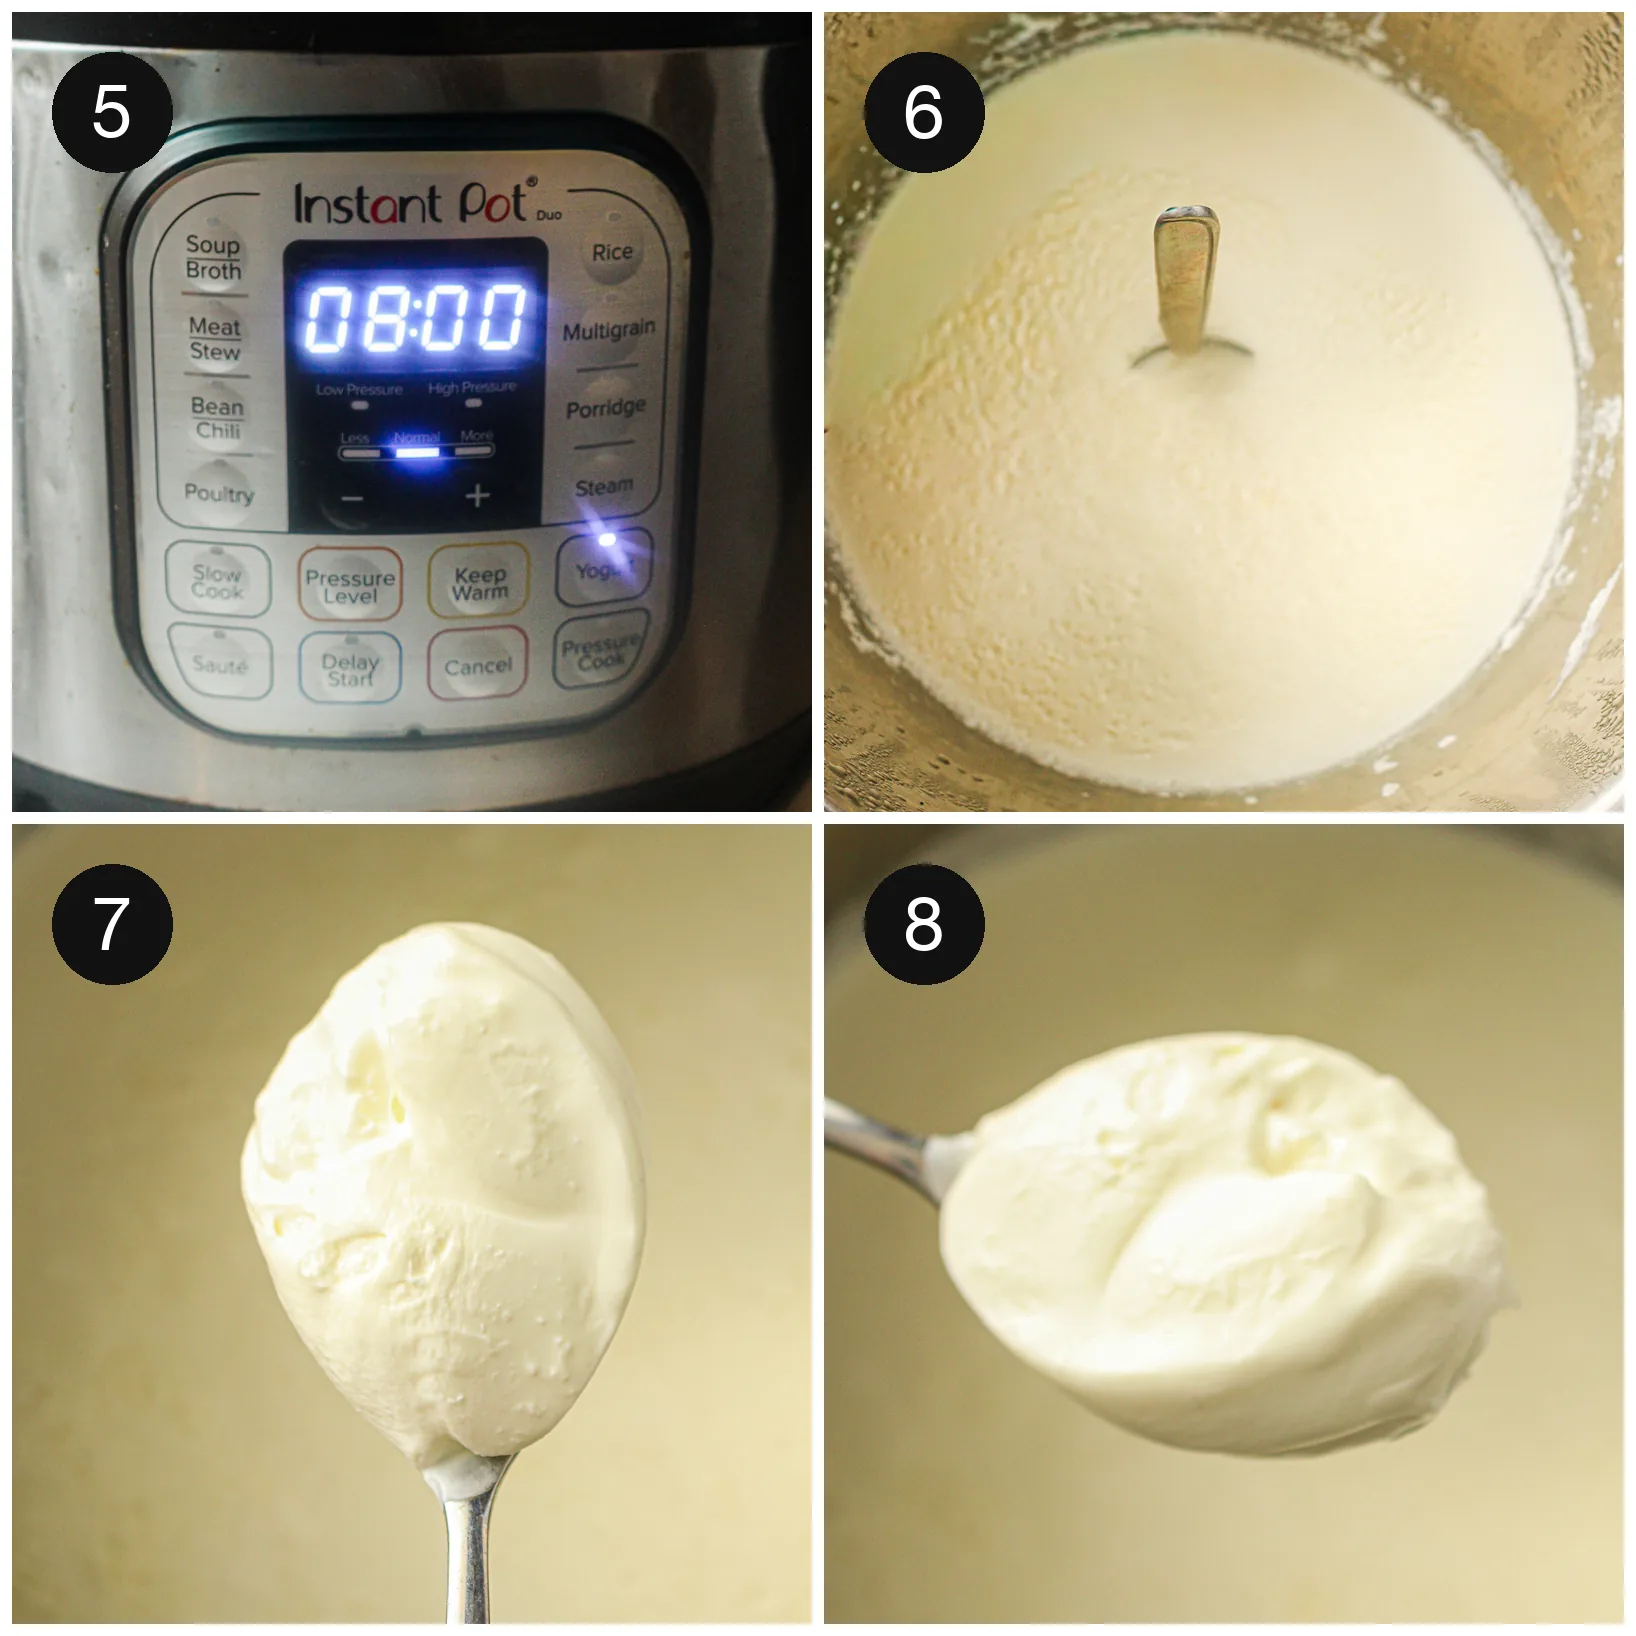
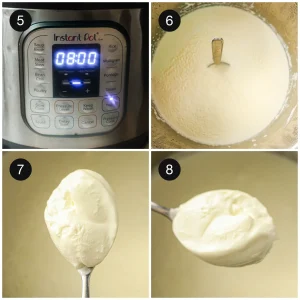
4. Incubate. After that, press Yogurt and set it for 8 to 10 hours. Eight gives you something mild and mellow, ten gives you a proper tang. Do not open the lid or move the pot while it works.
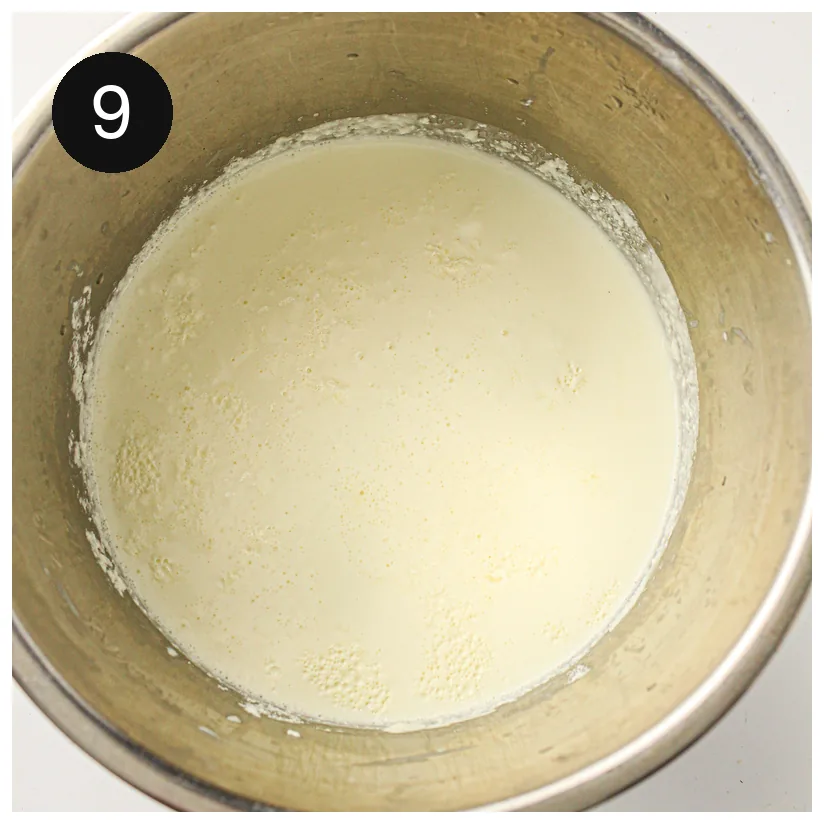
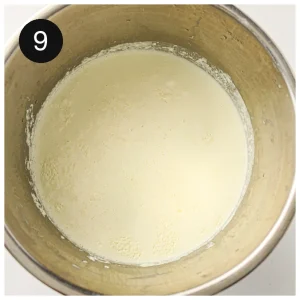
5. Chill before you judge it. Finally, refrigerate for at least 4 hours. Instant pot yogurt looks alarmingly loose straight out of the pot and firms up properly only once it is cold.
This only works on a model with a Yogurt button, such as a 6 quart Instant Pot with a Yogurt setting.
Why Is My Yogurt Runny?
The most common cause is temperature, at one end or the other. If the milk was still too hot when the starter went in, the cultures died and nothing fermented. If it never reached 180°F in the first place, the proteins never restructured and the set stays weak.
A dead or weak starter is the next suspect. Yogurt near the end of its date, or one without live cultures on the label, simply has less to work with. However, the answer people miss most often is patience. It genuinely does thicken in the fridge, so give it the full four hours before you decide it failed. Still thin after that? Strain it through muslin for an hour and you have thick Greek style yogurt instead.
Instead of muslin, a Greek yogurt strainer with a fine mesh basket does the same job in the fridge with far less mess.
Tips for the Best Instant Pot Yogurt
- Save two tablespoons of each batch as the starter for the next one. It works for several generations before it weakens.
- A thermometer helps a great deal at the 110°F stage. Of course you can go by feel, but the margin for error is smaller than it looks.
- Start it after dinner. The incubation then runs overnight and the chill happens while you are at work.
- Do not stir during incubation. Any disturbance breaks the set as it forms.
- Make instant pot yogurt in a batch big enough to leave a starter behind, or you are buying a fresh tub every week.
- Meanwhile, keep the pot somewhere it will not be knocked. It really is that sensitive to movement.
- Strain the whey off if you want it thicker, and keep the whey for baking or smoothies.
- Wash the inner pot thoroughly before you start. Any trace of soap or last night’s dinner can interfere with the culture.
- Set the pot on a folded towel if your kitchen runs cold, since a draughty worktop pulls heat out through the base.
Storage
- Fridge. Instant pot yogurt keeps for up to 7 days in an airtight container, and it gets slightly tangier each day.
- Freezing. Not recommended. The texture breaks and goes grainy after thawing.
- Separation. A pool of clear whey on top is normal. Stir it back in or pour it off, whichever texture you prefer.
- Starter. Set aside your next starter within the first couple of days, while the cultures are at their most active.
Variations and Substitutions
- Greek style. Strain the finished batch through muslin for one to four hours depending on how thick you want it.
- Vanilla. Stir vanilla extract and a little honey through after chilling, never before incubation.
- Fruit on the bottom. Spoon jam or compote into jars first, then top with plain yogurt.
- Lower fat. Semi skimmed milk sets thinner. A couple of tablespoons of milk powder whisked in at the start helps.
- Bigger batch. Double the milk and keep the same two tablespoons of starter. More starter does not mean a faster or firmer set.
Once you have a tub of it, breakfast gets easy. We spoon it over homemade granola bars crumbled into a bowl, and it goes into protein ice cream in place of some of the base.
What to Serve With It
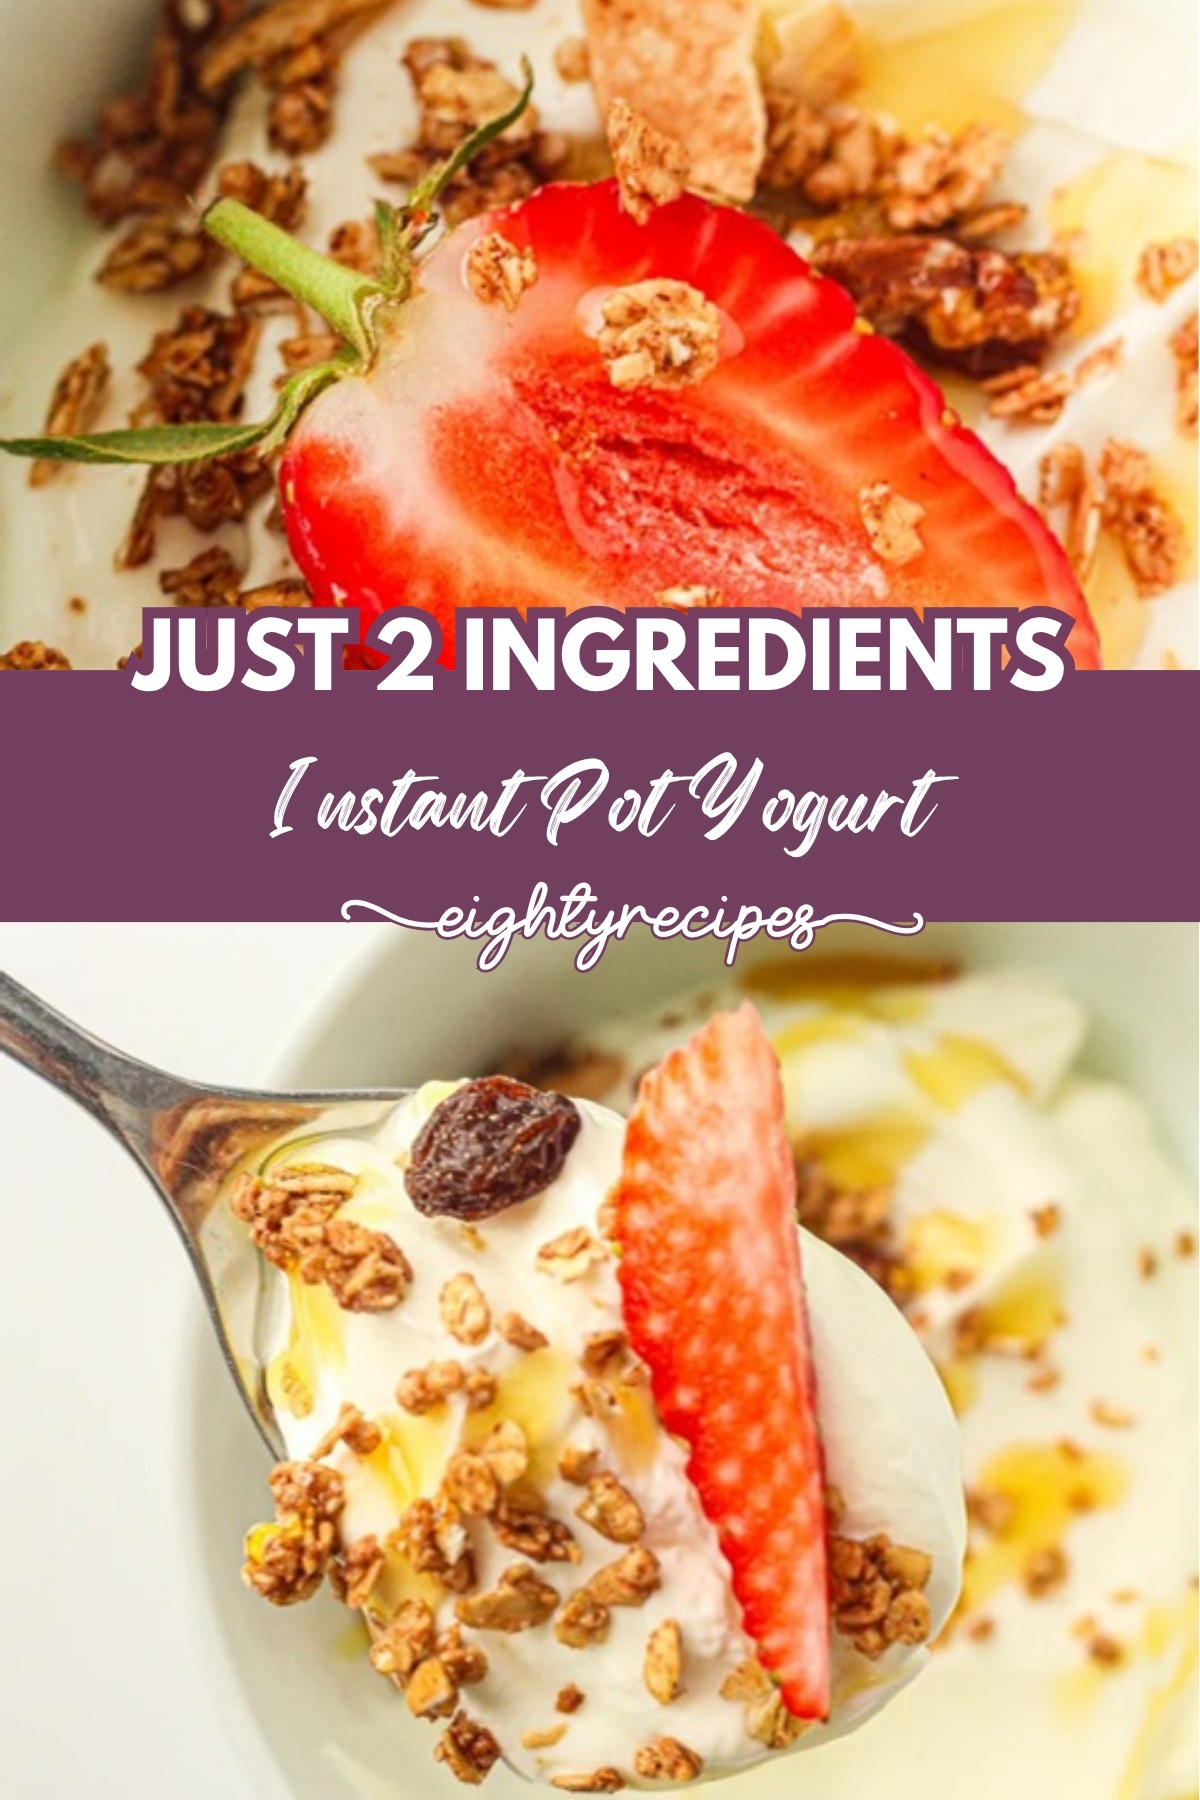
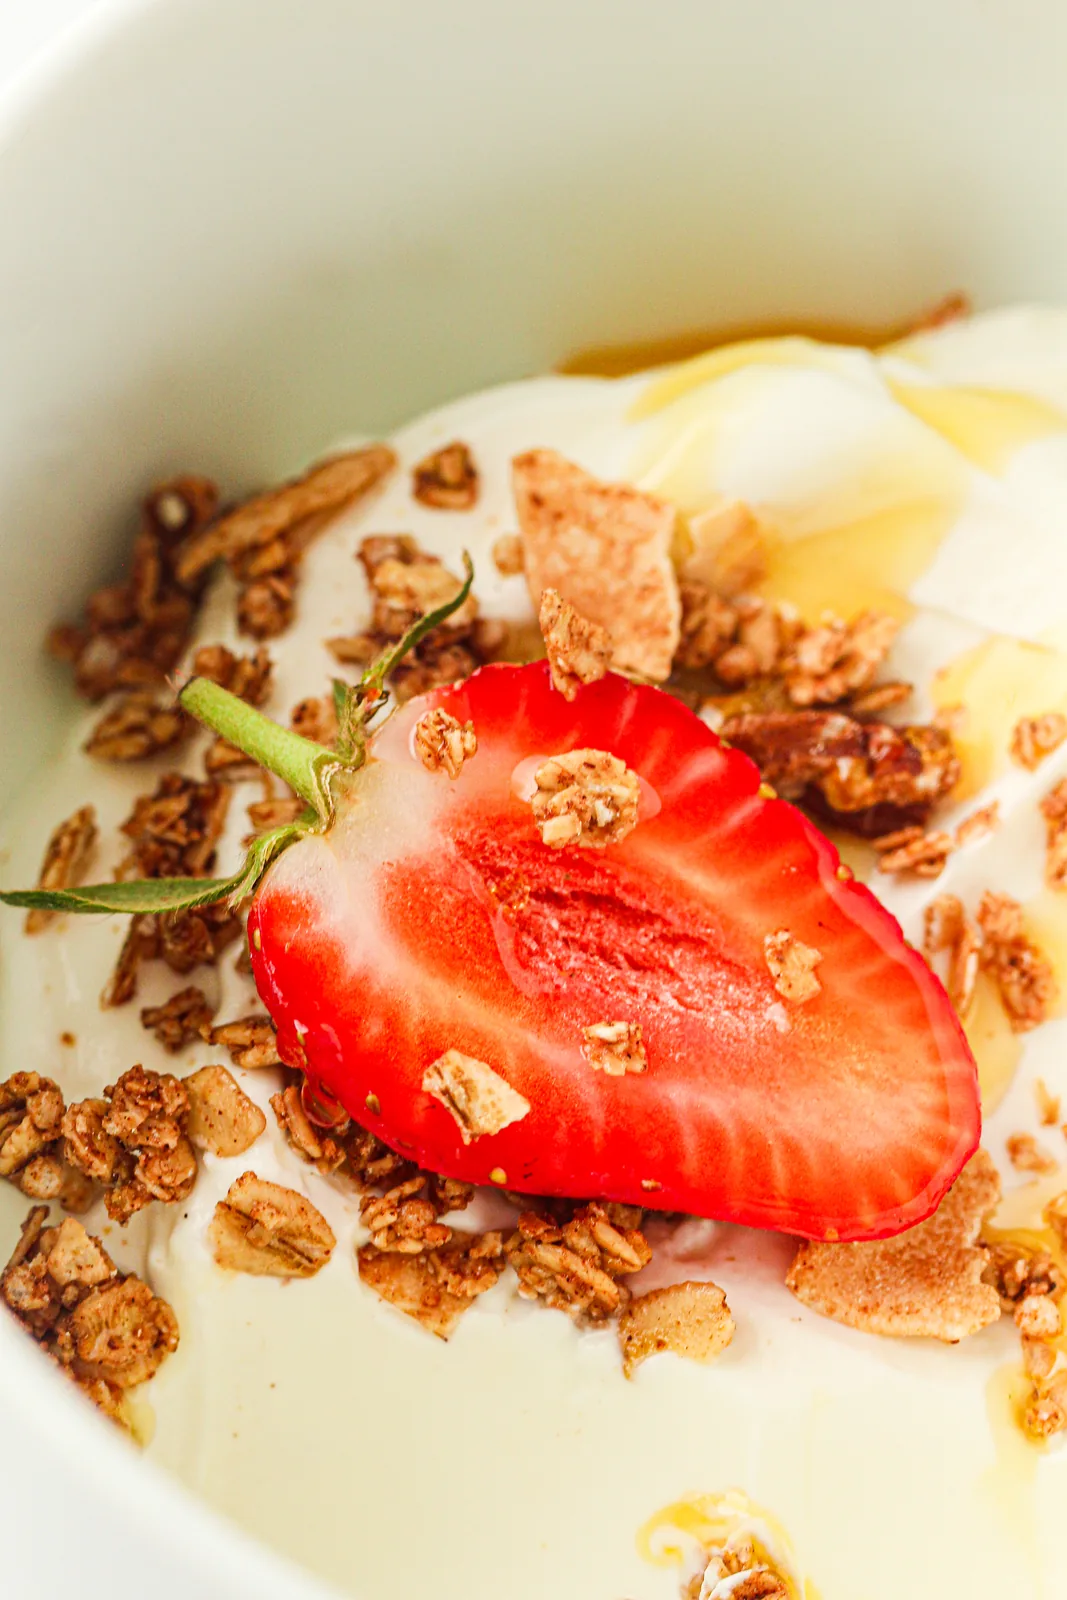
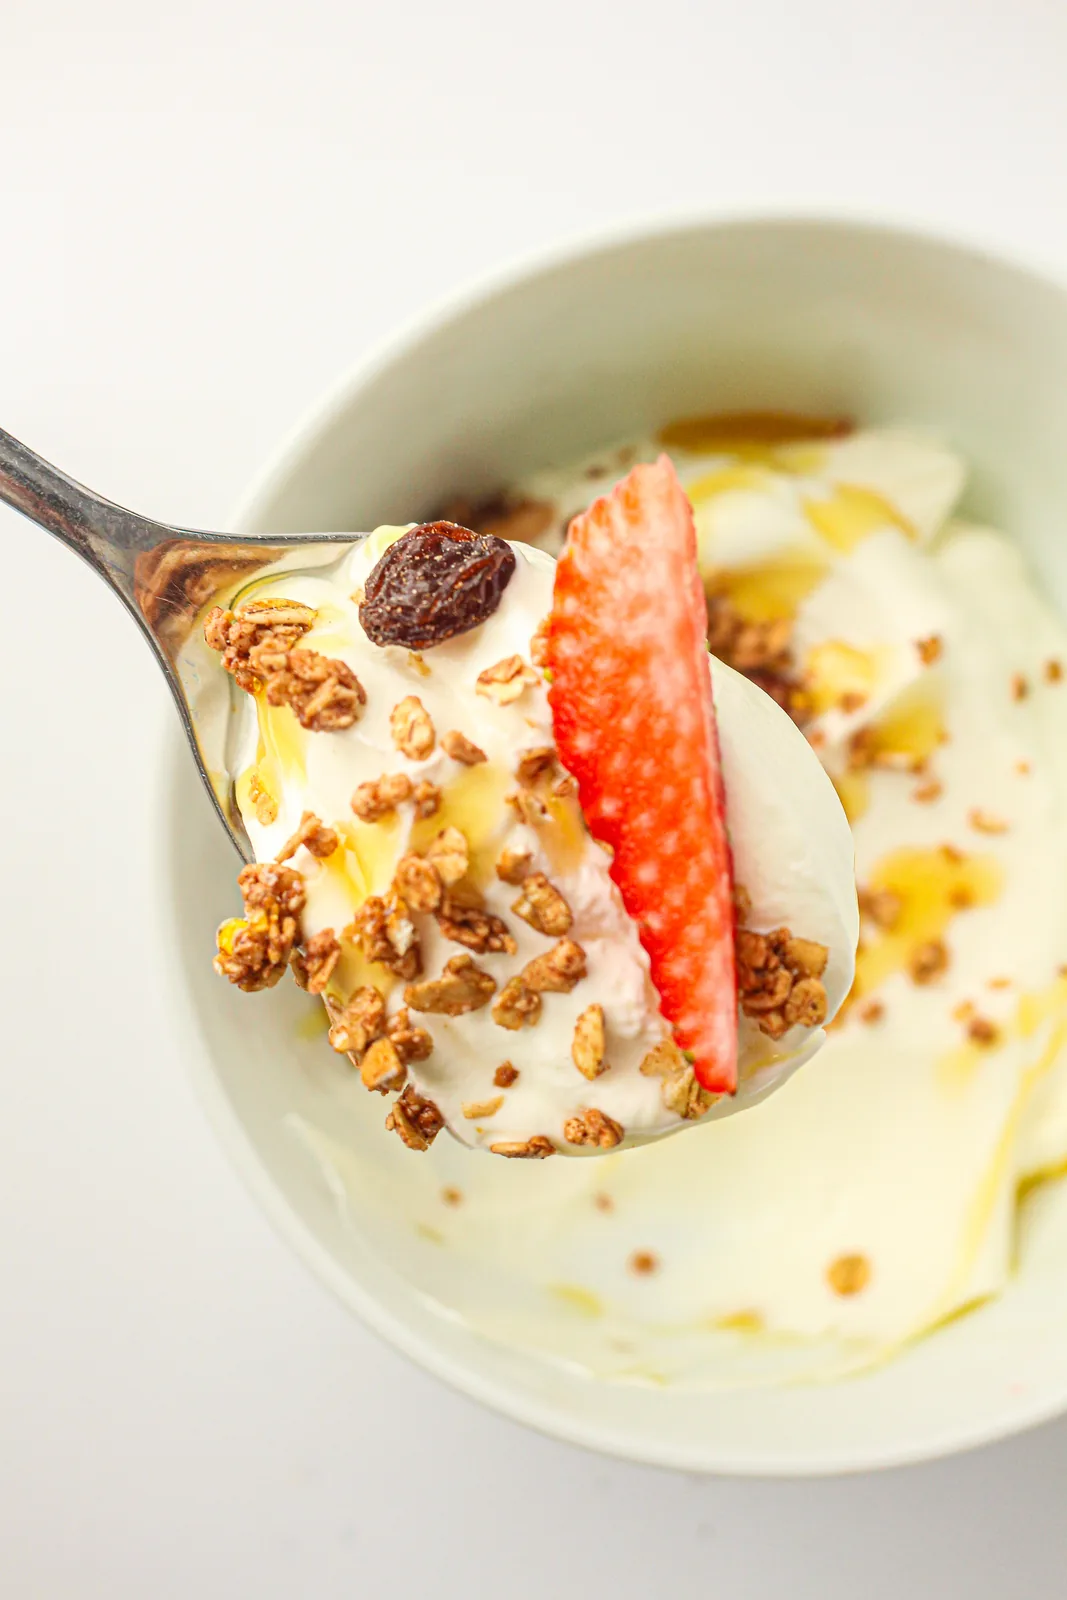
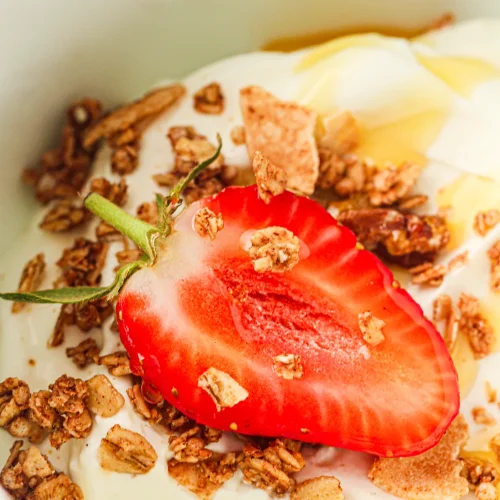
Honey, fruit and granola cover most mornings, and a bowl of instant pot yogurt underneath them does the rest. For something more substantial alongside, a slice of gluten free banana bread and a bowl of this is a proper breakfast. It also blends into strawberry popsicles for a creamier freezer version, and a spoonful alongside peanut butter oat balls makes a good after-school plate.
Frequently Asked Questions
Ingredients and Method
Do I need a thermometer?
It helps for the best results, though you can estimate. The milk should feel warm rather than hot when the starter goes in, roughly body temperature or a little above.
Can I use low-fat milk?
Yes, but whole milk gives instant pot yogurt a much creamier texture. Lower fat versions set thinner and are better strained afterwards.
Why mix the starter separately first?
It prevents clumps and helps the cultures distribute evenly through the whole pot. Tipping it in cold and undiluted leaves pockets that never ferment.
What if my pot has no Yogurt button?
Then this method will not work directly, since the Yogurt setting holds a low steady temperature that pressure cooking cannot replicate.
Storage and Troubleshooting
How long does it keep?
Seven days in the fridge in a sealed container. Instant pot yogurt is not suitable for freezing, as the texture never recovers.
Can I reuse my own batch as starter?
Yes, for several rounds. Take it early in the batch’s life, and start again with a shop-bought pot when the set begins to weaken.
There is liquid on top. Is it spoiled?
No, that is whey, and it is a normal part of the process. Stir it back in for a looser texture or pour it off for a thicker one.
Can I flavour the whole batch?
Only after it has set and chilled. Sugar and fruit added before incubation interfere with the fermentation and can stop it setting at all.
Ingredients
- 4 cups whole milk 960 ml
- 2 tablespoons plain yogurt with live cultures
Instructions
- Pour the milk into the Instant Pot and press Yogurt, then Boil. Heat until it reaches about 180F.

- Allow the milk to cool to about 110F.
- In a small bowl, mix the yogurt starter with a little of the warm milk, then stir it back into the pot.
- Press Yogurt and set for 8 to 10 hours, depending on how tangy you like it. Do not open or move the pot while it incubates.
- Refrigerate for at least 4 hours before serving to allow it to fully set.