
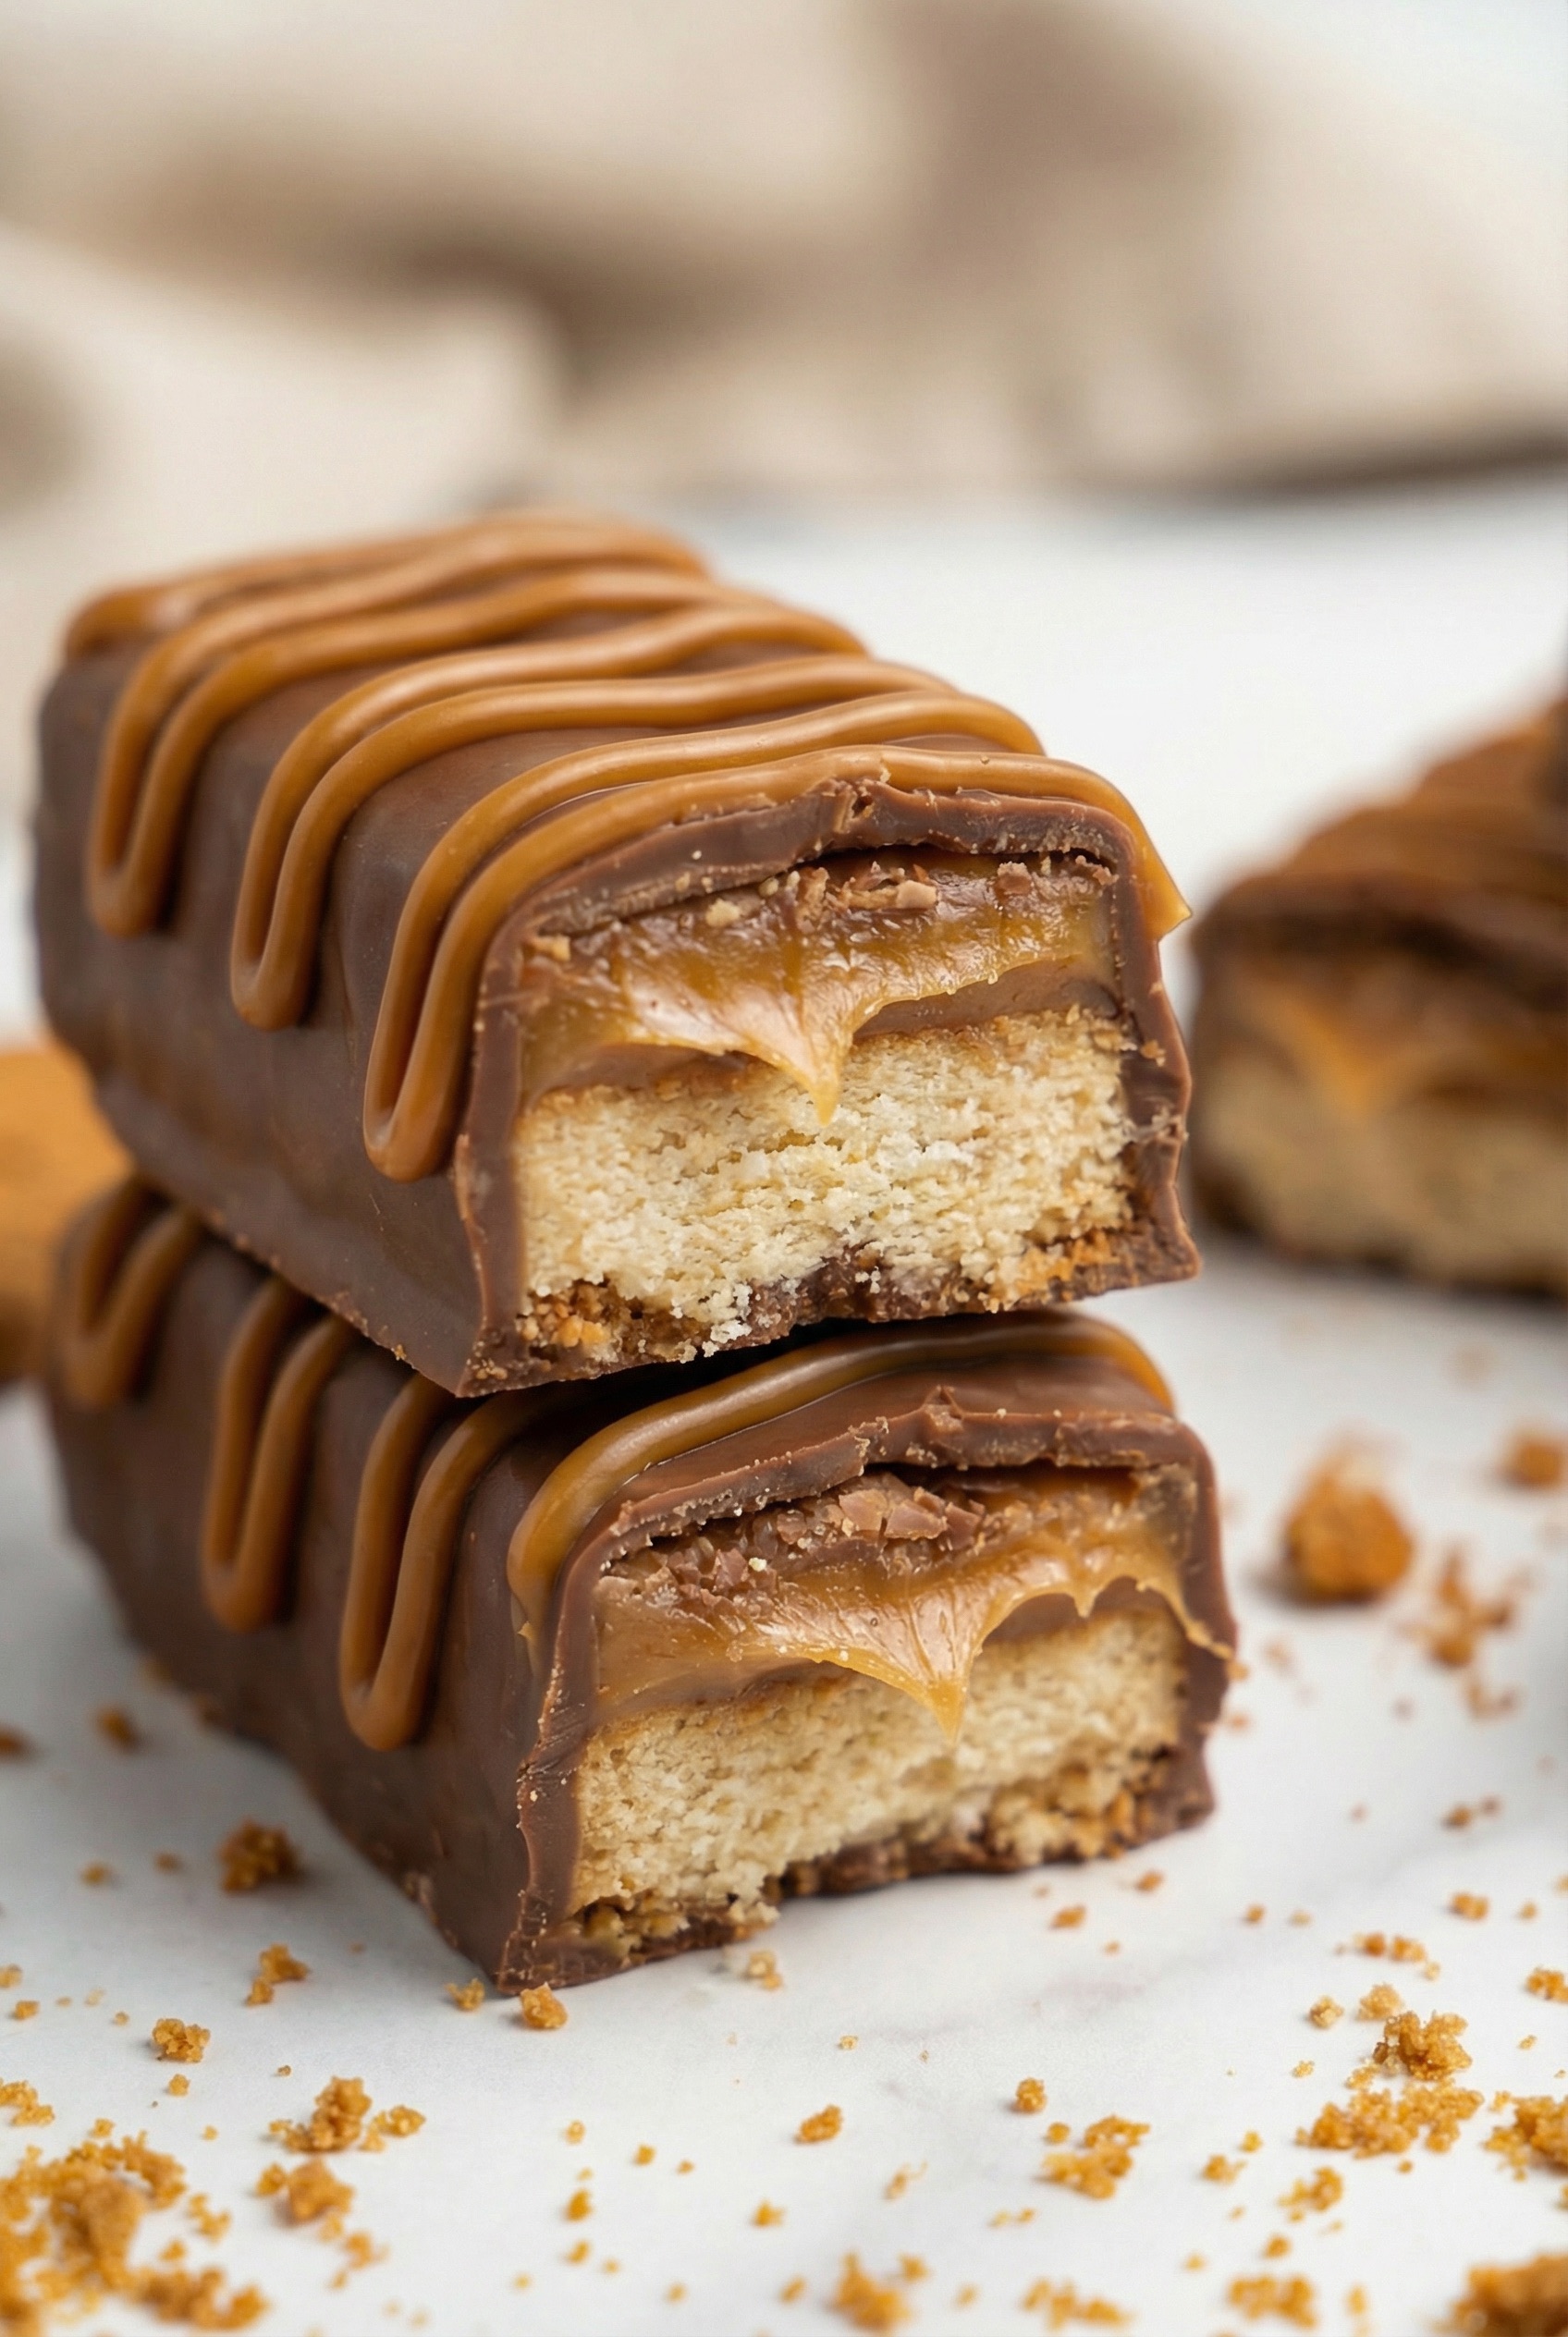
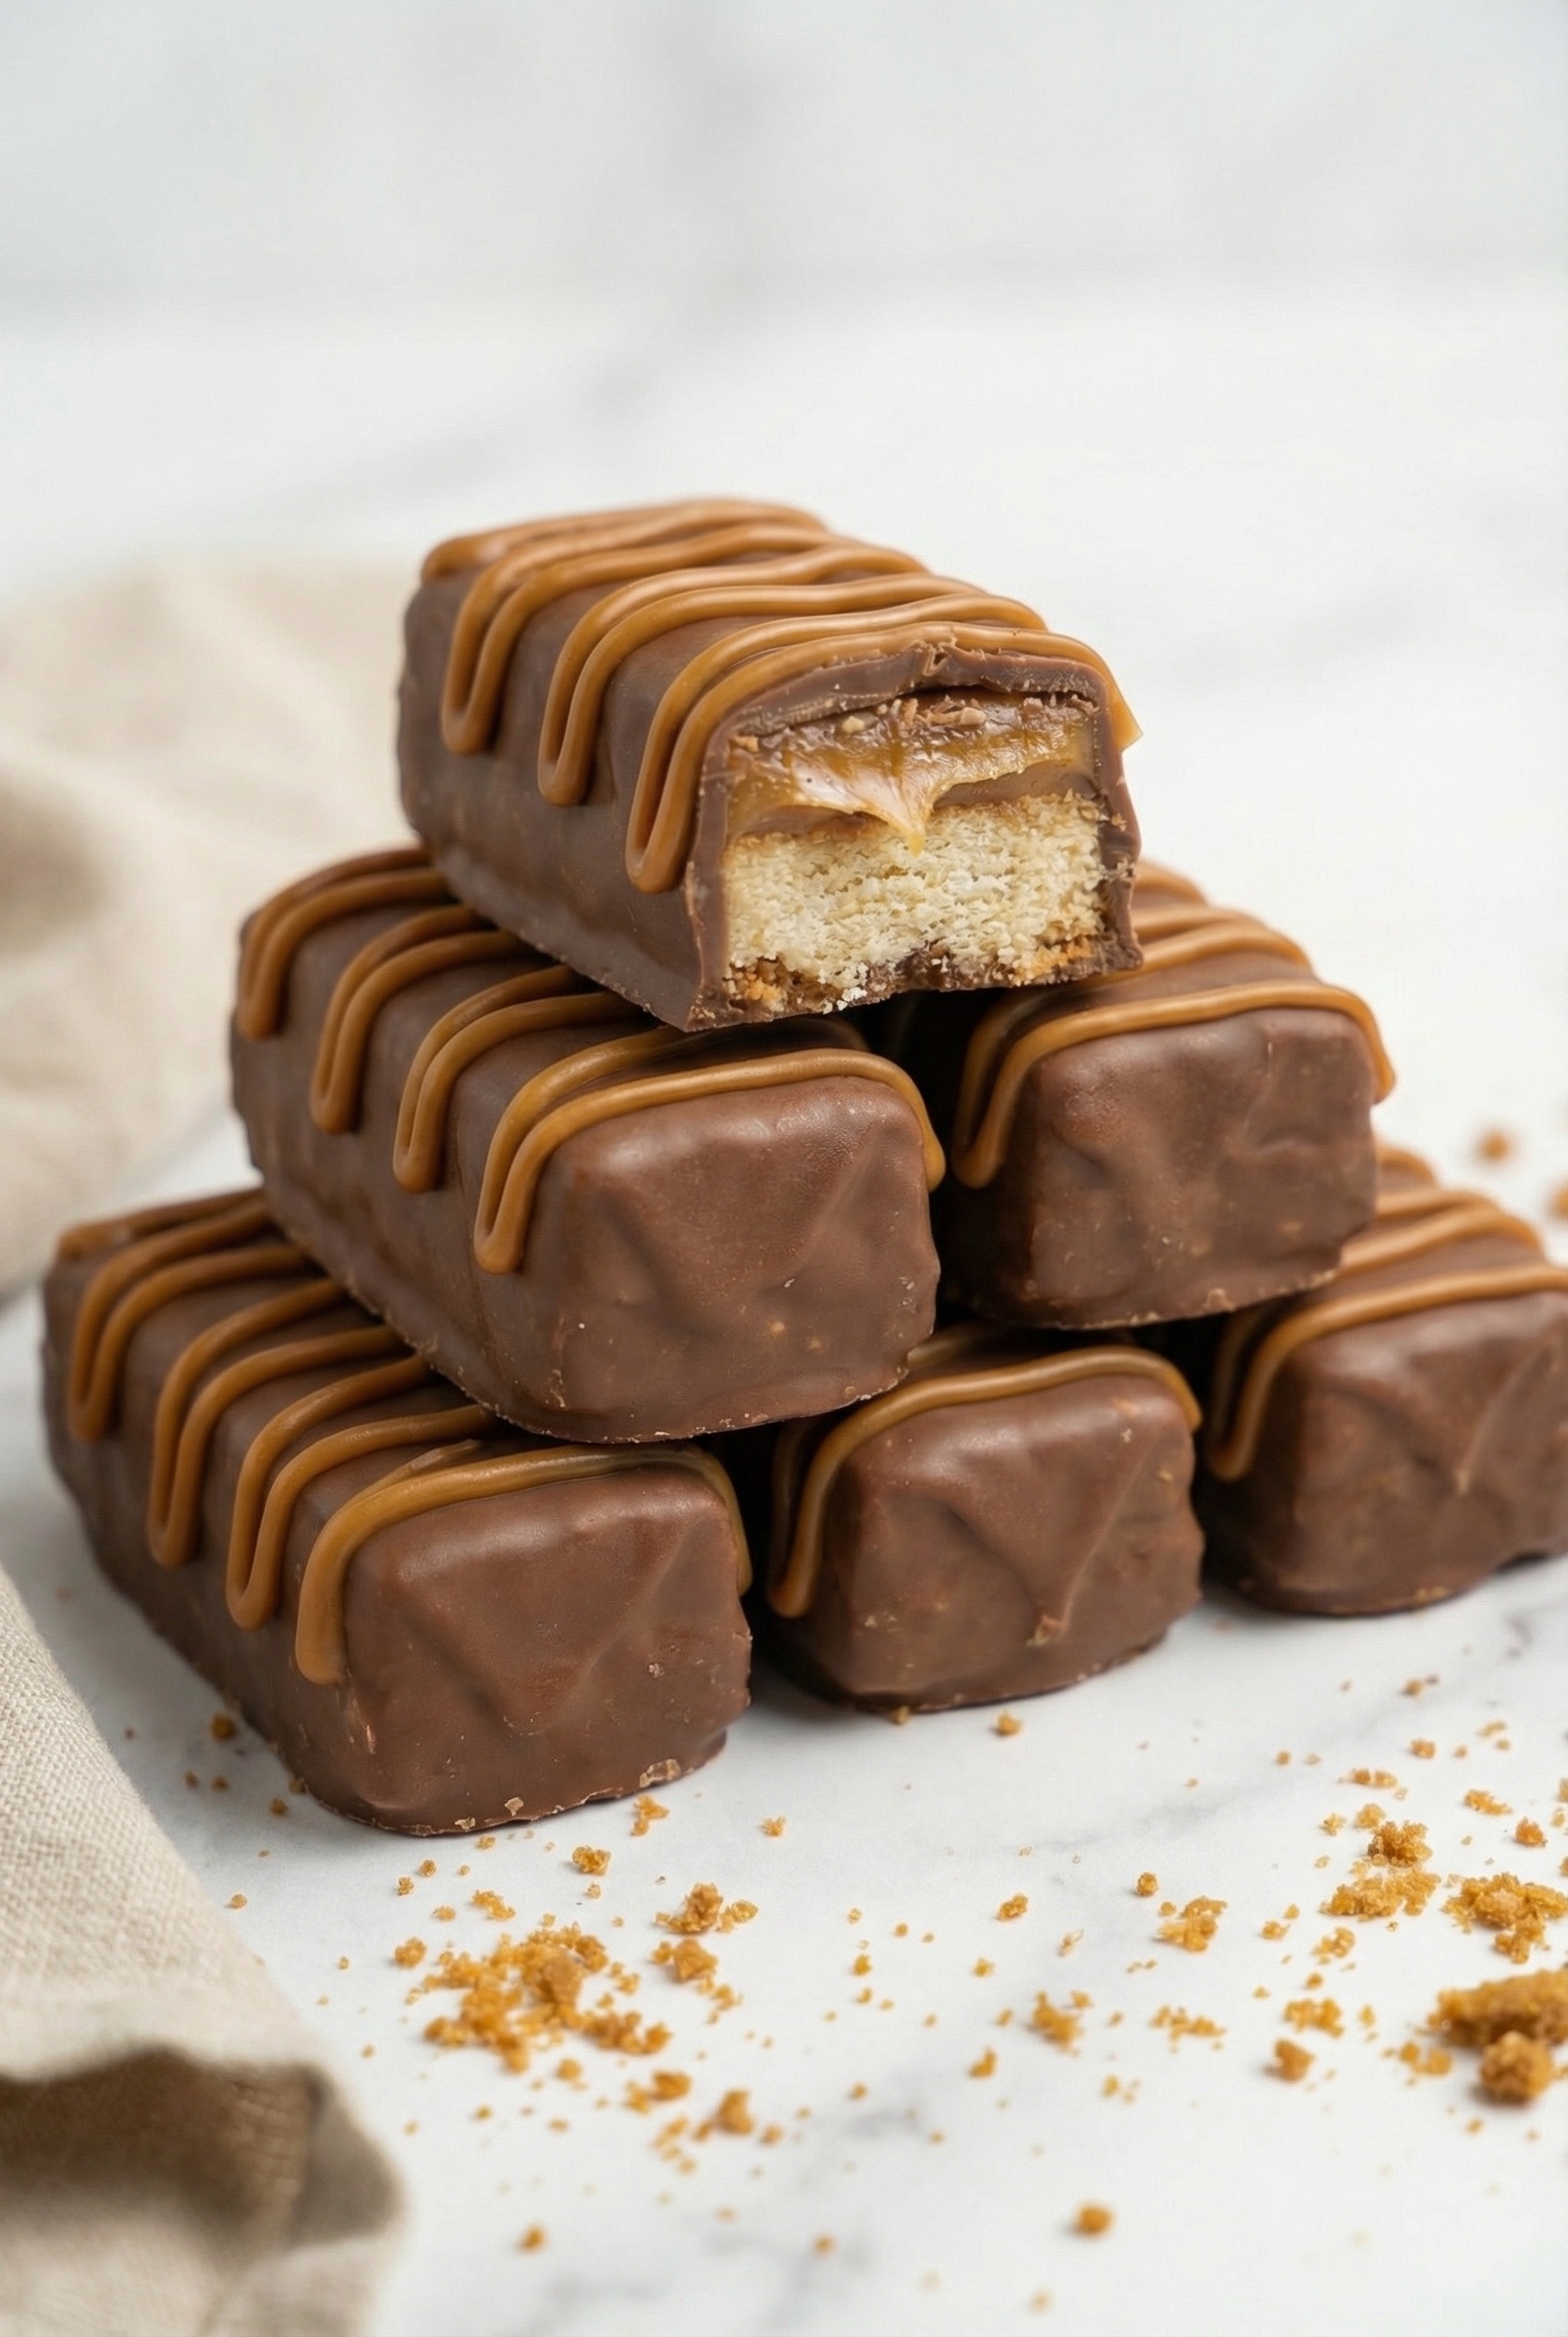
Buttery shortbread, gooey homemade caramel, and a glossy coat of bittersweet chocolate come together in these homemade salted caramel Twix bars. Just butter, sugar, cream, and chocolate—simple magic.
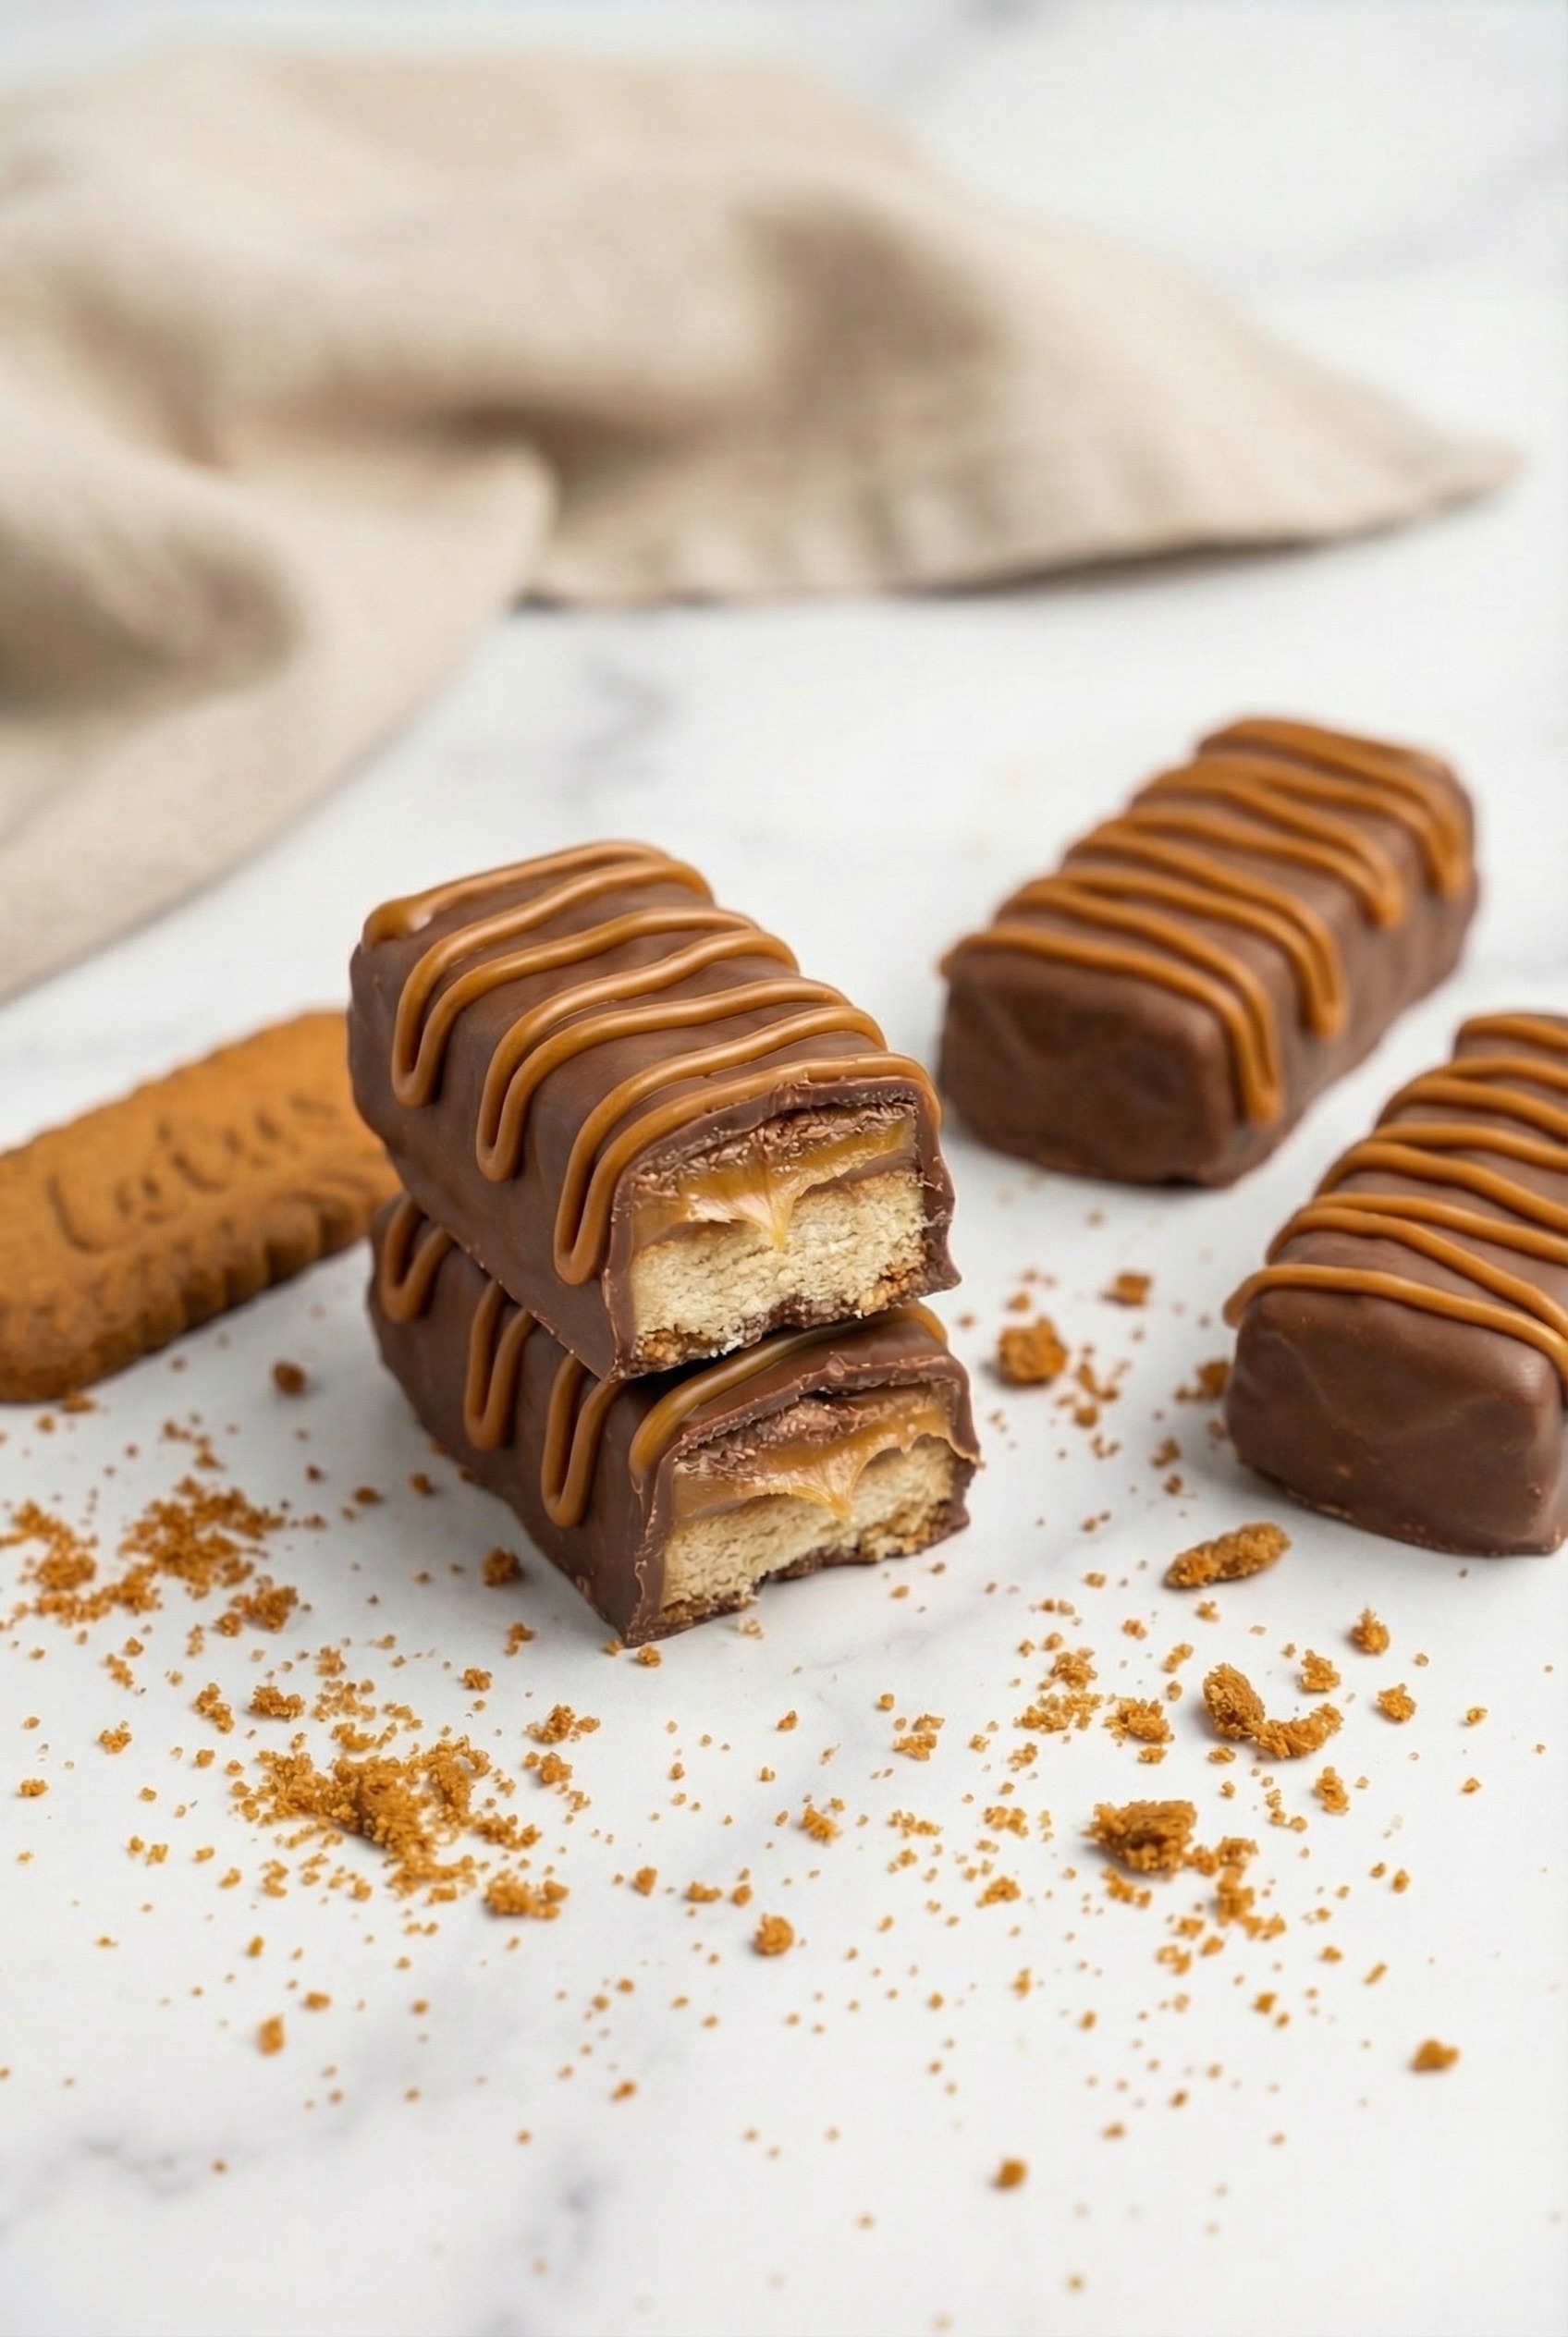
If you’ve ever wanted to smother a biscuit in salted caramel, then wrap it in chocolate and call it a “bar,” well, honestly, same. These Biscoff Twix Bars are crunchy at the base, all golden and toasty. The middle gets sticky and buttery with that salty caramel swirl, and the top? A sleek coat of dark chocolate with just the faintest snap. They’re a little indulgent, yes… but also weirdly easy to justify. Slice small. Eat two. Hide the rest (just a suggestion). Anyway, whether you’re in a let’s-hygge-and-chill mode or playing snack fairy for guests, these bars get the job done—and look cool doing it.

Quick Breakdown
Why You’ll Love this Homemade Salted Caramel Twix Bars Recipe
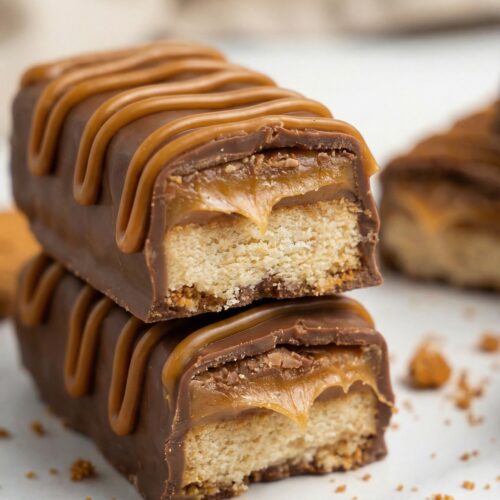
You know that feeling when your teeth sink into something crispy, then soft, then silky? It’s like edible magic. No tricks here, just layers doing their thing.
- Ridiculously simple to make: You just squish, smear, melt, and swirl your way to a tray of golden caramel happiness.
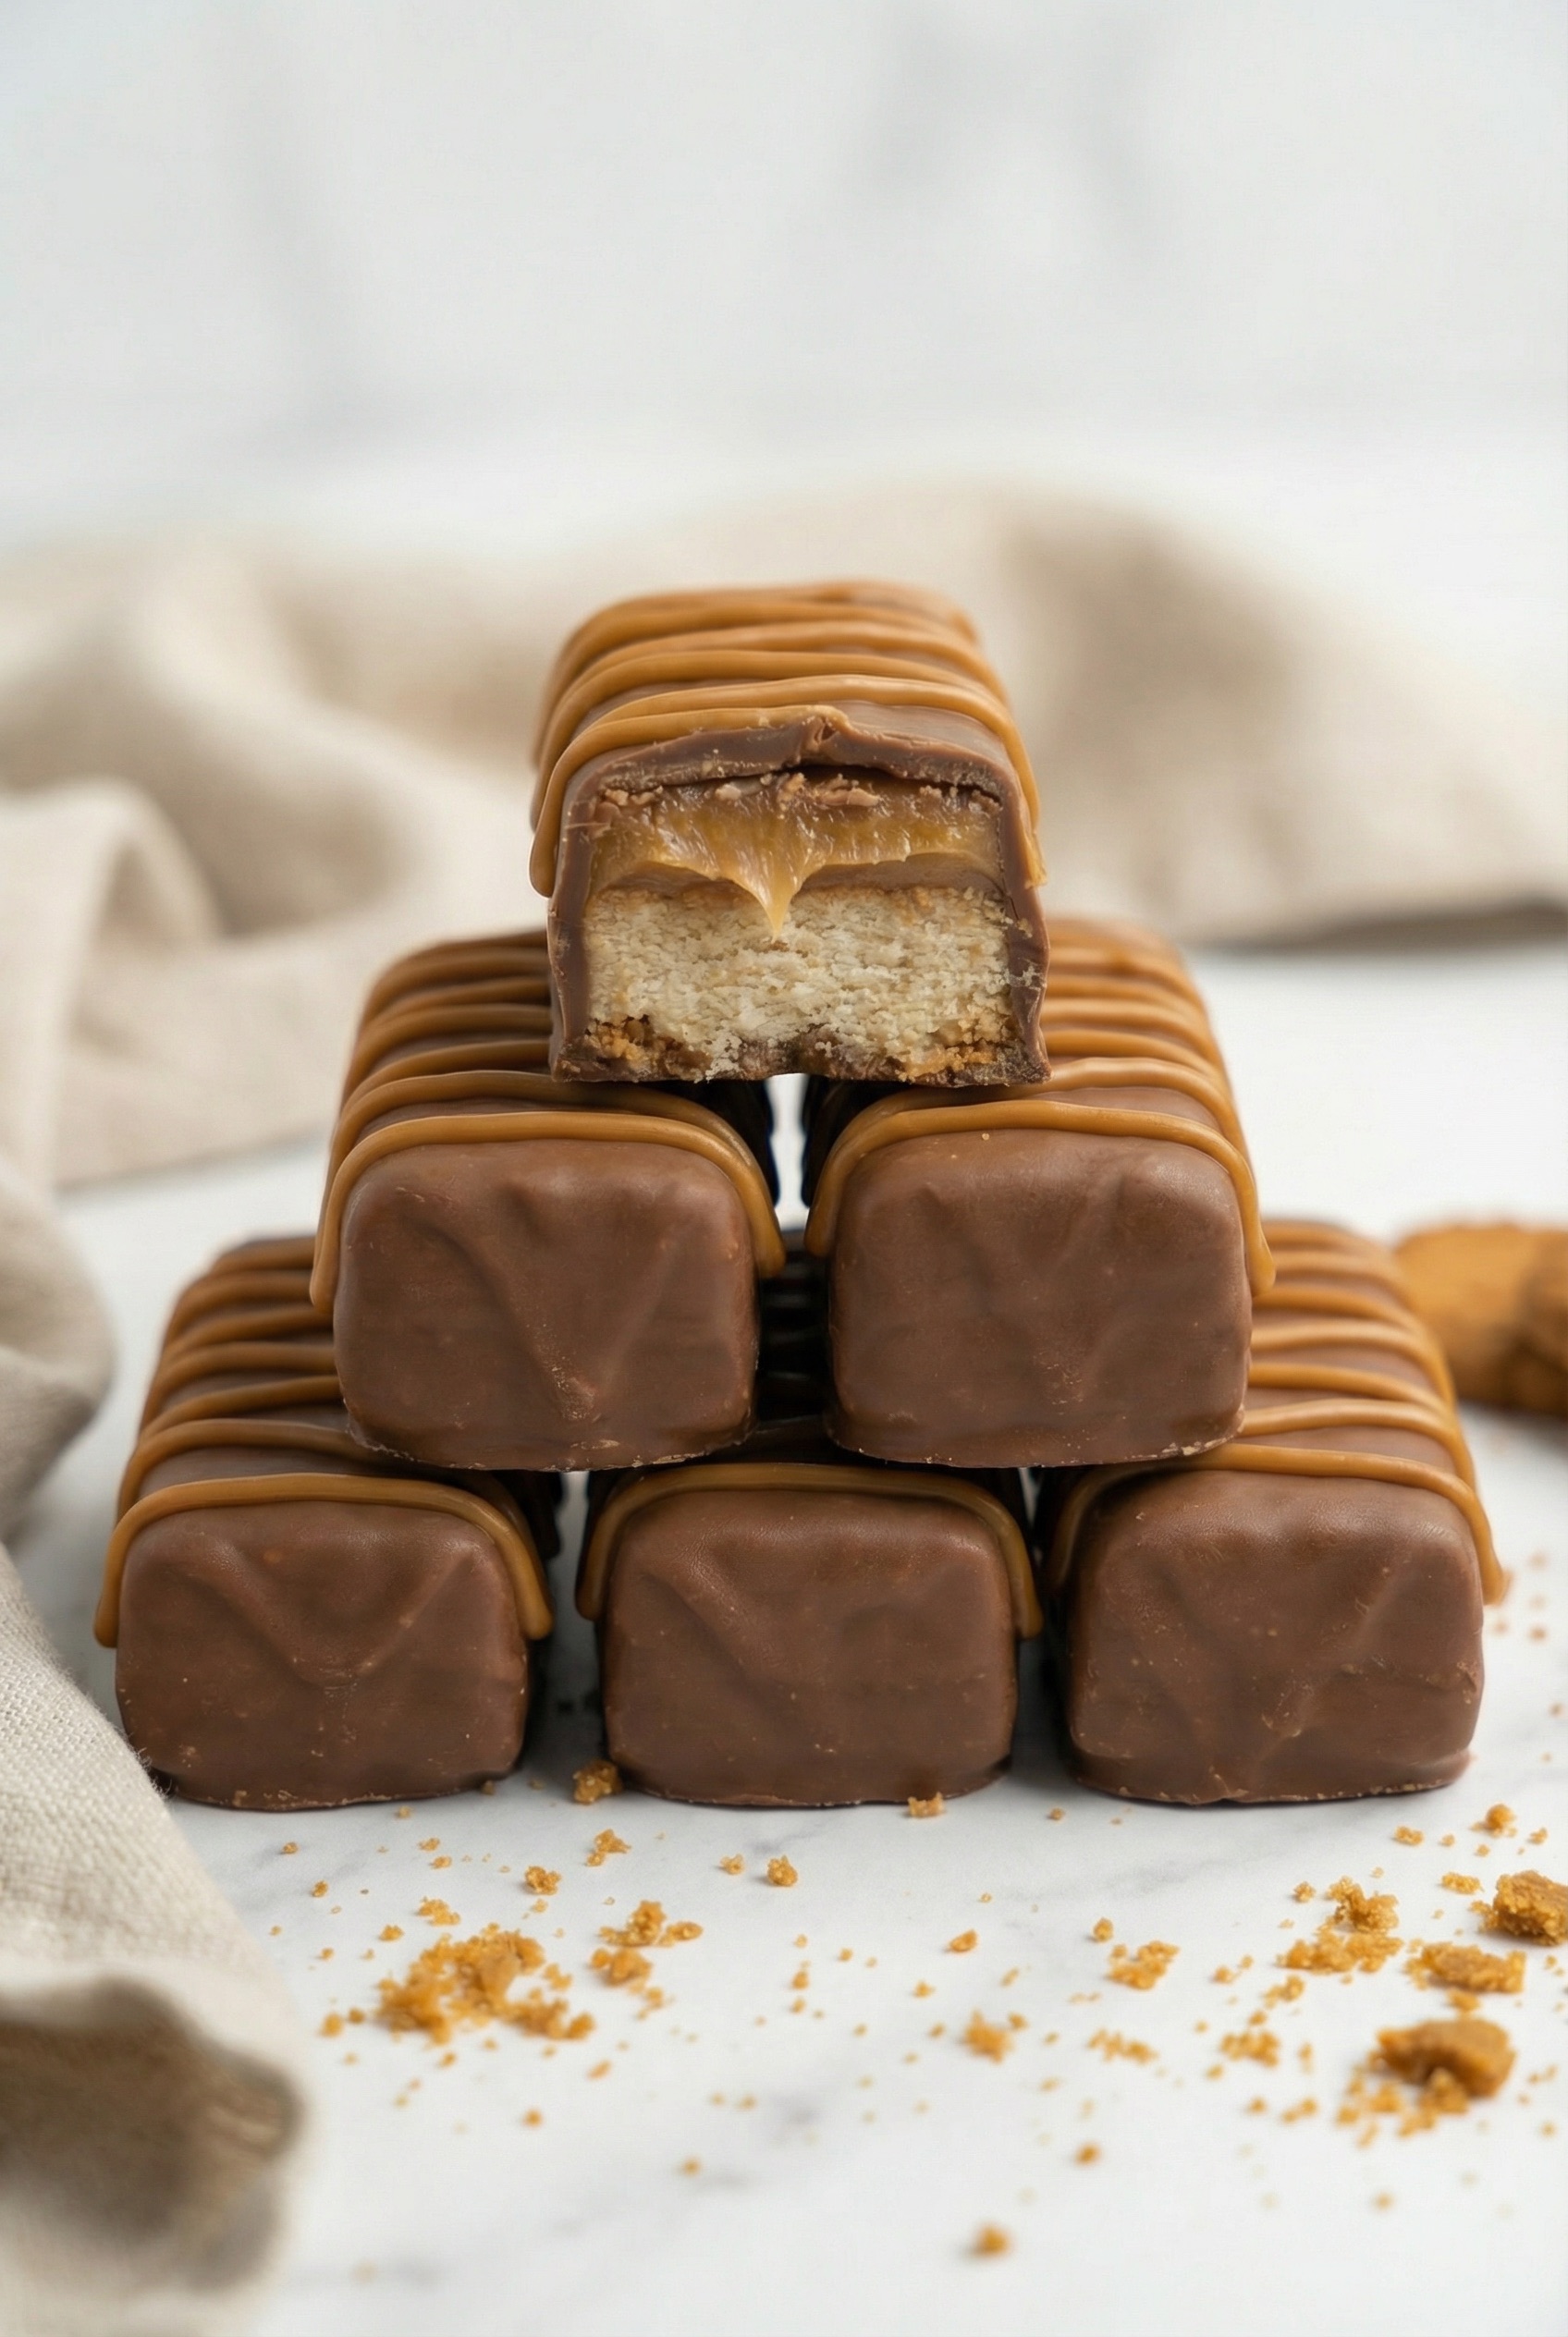
- All the textures: Buttery cookie crunch, chewy caramel, crackly chocolate top. I mean… come on.
- That homemade caramel? You might “accidentally” eat a few spoonfuls, and I support that.
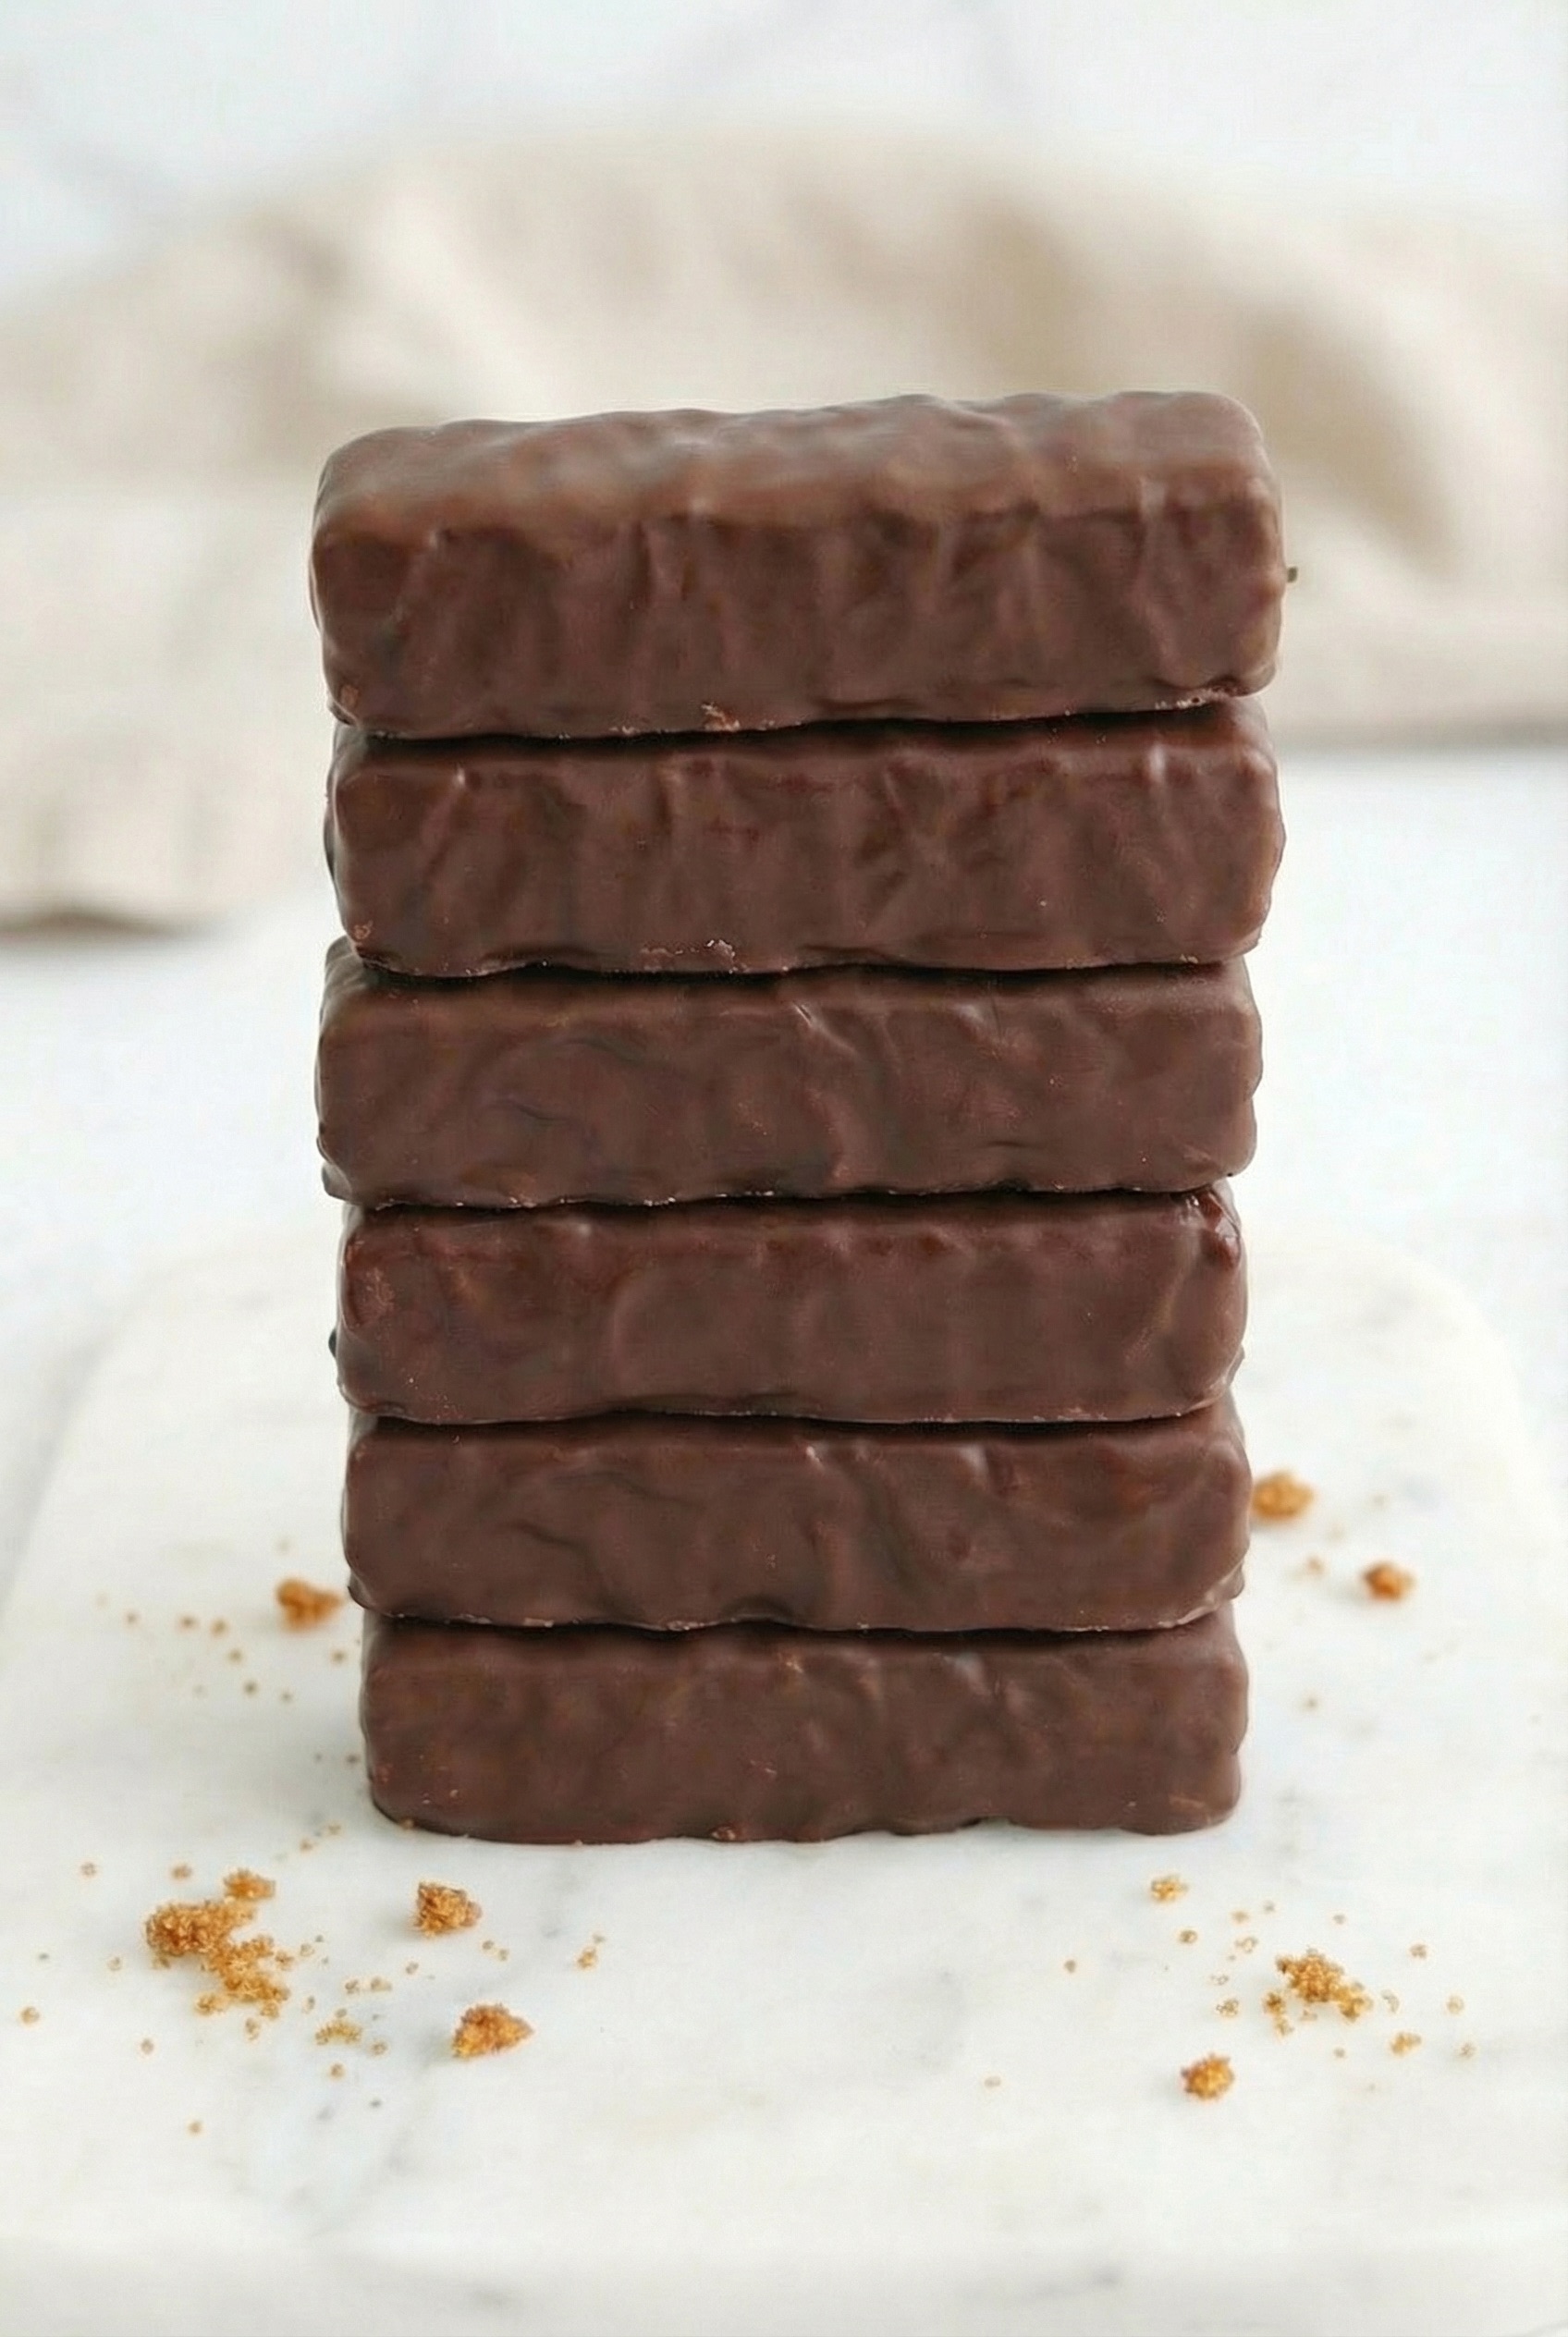
- Make-ahead friendly: These bars keep beautifully and even freeze like little dessert bricks of joy.
- Bittersweet chocolate + flaky salt: Just enough edge to balance the sweet. Fancy without trying too hard.
Ingredient Notes
Each layer is built on staples most of us already have on standby. That’s always a win—and honestly, they feel fancier than the ingredients let on.
- Unsalted butter: Used in both the shortbread and caramel. Keep it room temp for smoother creaming and melty caramel magic.
- Granulated white sugar: The star of our caramel layer. Yes, it gets dramatic when it melts, but it’s worth the flirtation with fire.
- Vanilla extract: Rounds out both the cookie and caramel layers with cozy vibes. I always say yes to more vanilla.
- All-purpose flour: Gives structure to the base. No need to sift. Just scoop, level if you’re being precise, and move on.
- Heavy whipping cream: Brings the caramel to life. Pour it slooowly into the hot sugar mix unless you like caramel eruptions.
- Salt: Just enough in the mix (and a sprinkle on top, if you’re feeling bold). It makes all the difference—trust it.
- Bittersweet chocolate: Go for real chocolate bars if you can instead of chips. They melt smoother and taste better.
- Coconut oil: A sneaky trick for glossy, snappy chocolate that coats evenly without drama.
How To Make This Homemade Salted Caramel Twix Bars Recipe
Take a deep breath, slap on an apron (or don’t, I won’t judge), and let’s get layering. This recipe is forgiving and kind, like a dessert that believes in you.
-
Preheat and prep your pan: Set your oven to 350ºF and line an 8×8 square pan with parchment, making sure it covers the sides too. This gives your bars a clean release and easy lift later. I like to clip mine with two binder clips until filled. Tiny kitchen win.
-
Make the shortbread base: Cream together the softened butter, sugar, vanilla, and salt in a medium bowl. You want it pale and fluffy-ish—this takes about 2 minutes with a hand mixer. Then add the flour and mix on low just until things come together. Don’t overthink it.
-
Bake the crust: Press the dough evenly into the lined pan. Pop it in the oven for 22 to 25 minutes, or until the top is lightly golden and kind of smells like toffee cookies. Let that cool completely before caramel time.
-
Start the caramel: Add the sugar to a clean, heavy-bottomed saucepan over medium-low heat. Whisk pretty much constantly, because sugar will clump, sulk, and then finally melt to that amber, syrupy goodness. It takes around 10 minutes, so be patient.
-
Add butter and cream: As soon as the sugar is fully melted (amber and beautiful but not scorched), add the butter all at once. It’ll puff up like it’s throwing a tantrum, but that’s normal. Once smooth, drip in the heavy cream slowly. Again, more sizzling. Whisk through it. Then add salt and vanilla and stir like you mean it.
-
Layer and chill: Pour the hot caramel straight onto your cooled shortbread. Tilt or use a spatula to spread it out evenly. Refrigerate for at least 2 hours (overnight is fine too) until firm enough to slice.
-
Cut and freeze bars: Slice into 16 bars. You can go rectangles or squares, but I vote for fingers—it feels Twix-y. Freeze for 15 minutes to make them easier to dip in chocolate.
-
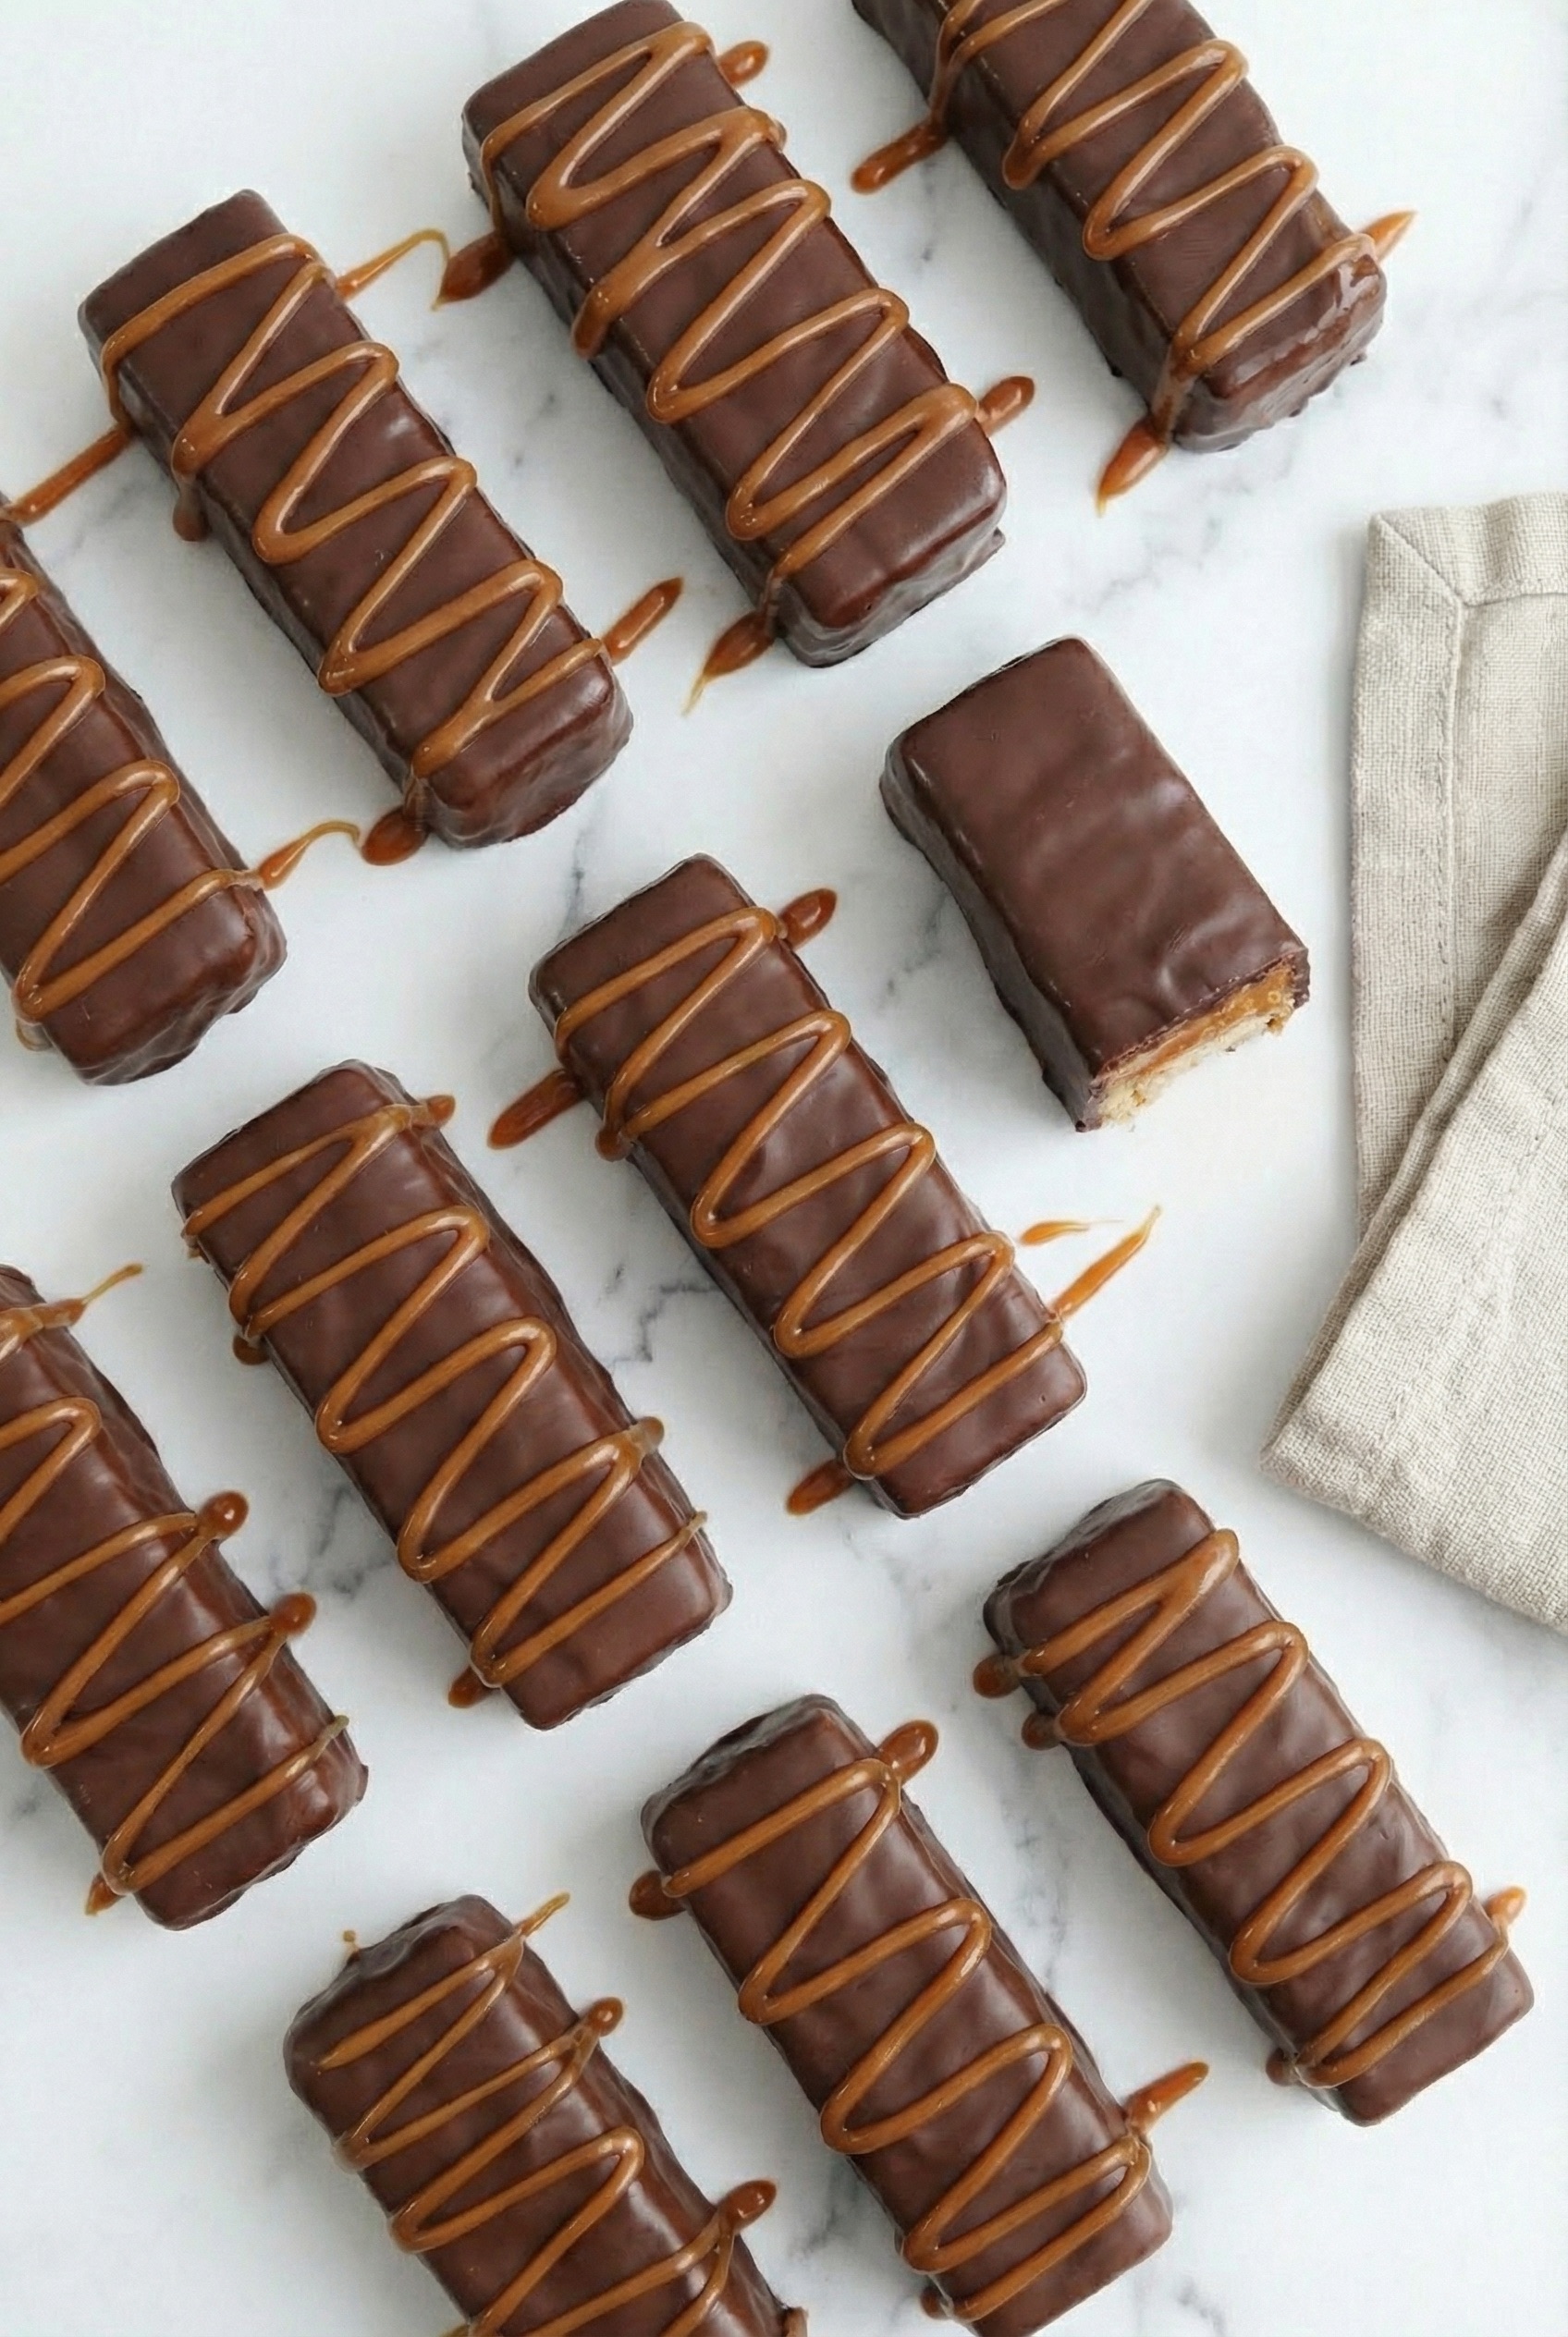
Melt chocolate & coat bars: Melt chocolate and coconut oil together until smooth (microwave or double boiler works). Let it cool slightly. Dip each bar into the chocolate, flipping with a fork to coat all sides evenly. Lay them out on a parchment-lined tray.
-
Final chill and serve: Pop the tray in the fridge for 15–20 minutes to set. Sprinkle with flaky sea salt at the end if you’re feeling fancy. Then bite into that gorgeous layered magic.
Storage Options
So… you’ve made these, and somehow resisted eating the whole batch in one go? Gold star. Here’s how to keep them around a little longer.
Keep any extras (good luck with that) in an airtight container in the fridge. They’ll stay fresh and snappy for up to 5 days. The caramel stays soft but gets a bit chewier when cold—personally, I love that texture contrast.
If you’re planning ahead or doing dessert prep for the month (go you!), these bars freeze beautifully. Just lay them out on a tray to freeze solid, then pop into a zip-top bag or sealed container with parchment between layers. They keep for up to 2 months. When you’re ready to eat, let them thaw in the fridge or just sneak a cold bite straight from the freezer. No judgment.
Reheating? Don’t. They’re meant to be eaten cold or at cool room temp. Warm them up and the caramel might get too oozy… unless that’s exactly what you’re going for.
Variations and Substitutions
Getting creative with bar desserts is practically a kitchen rite of passage. This base recipe plays nice with swaps, upgrades, and tiny experiments.
-
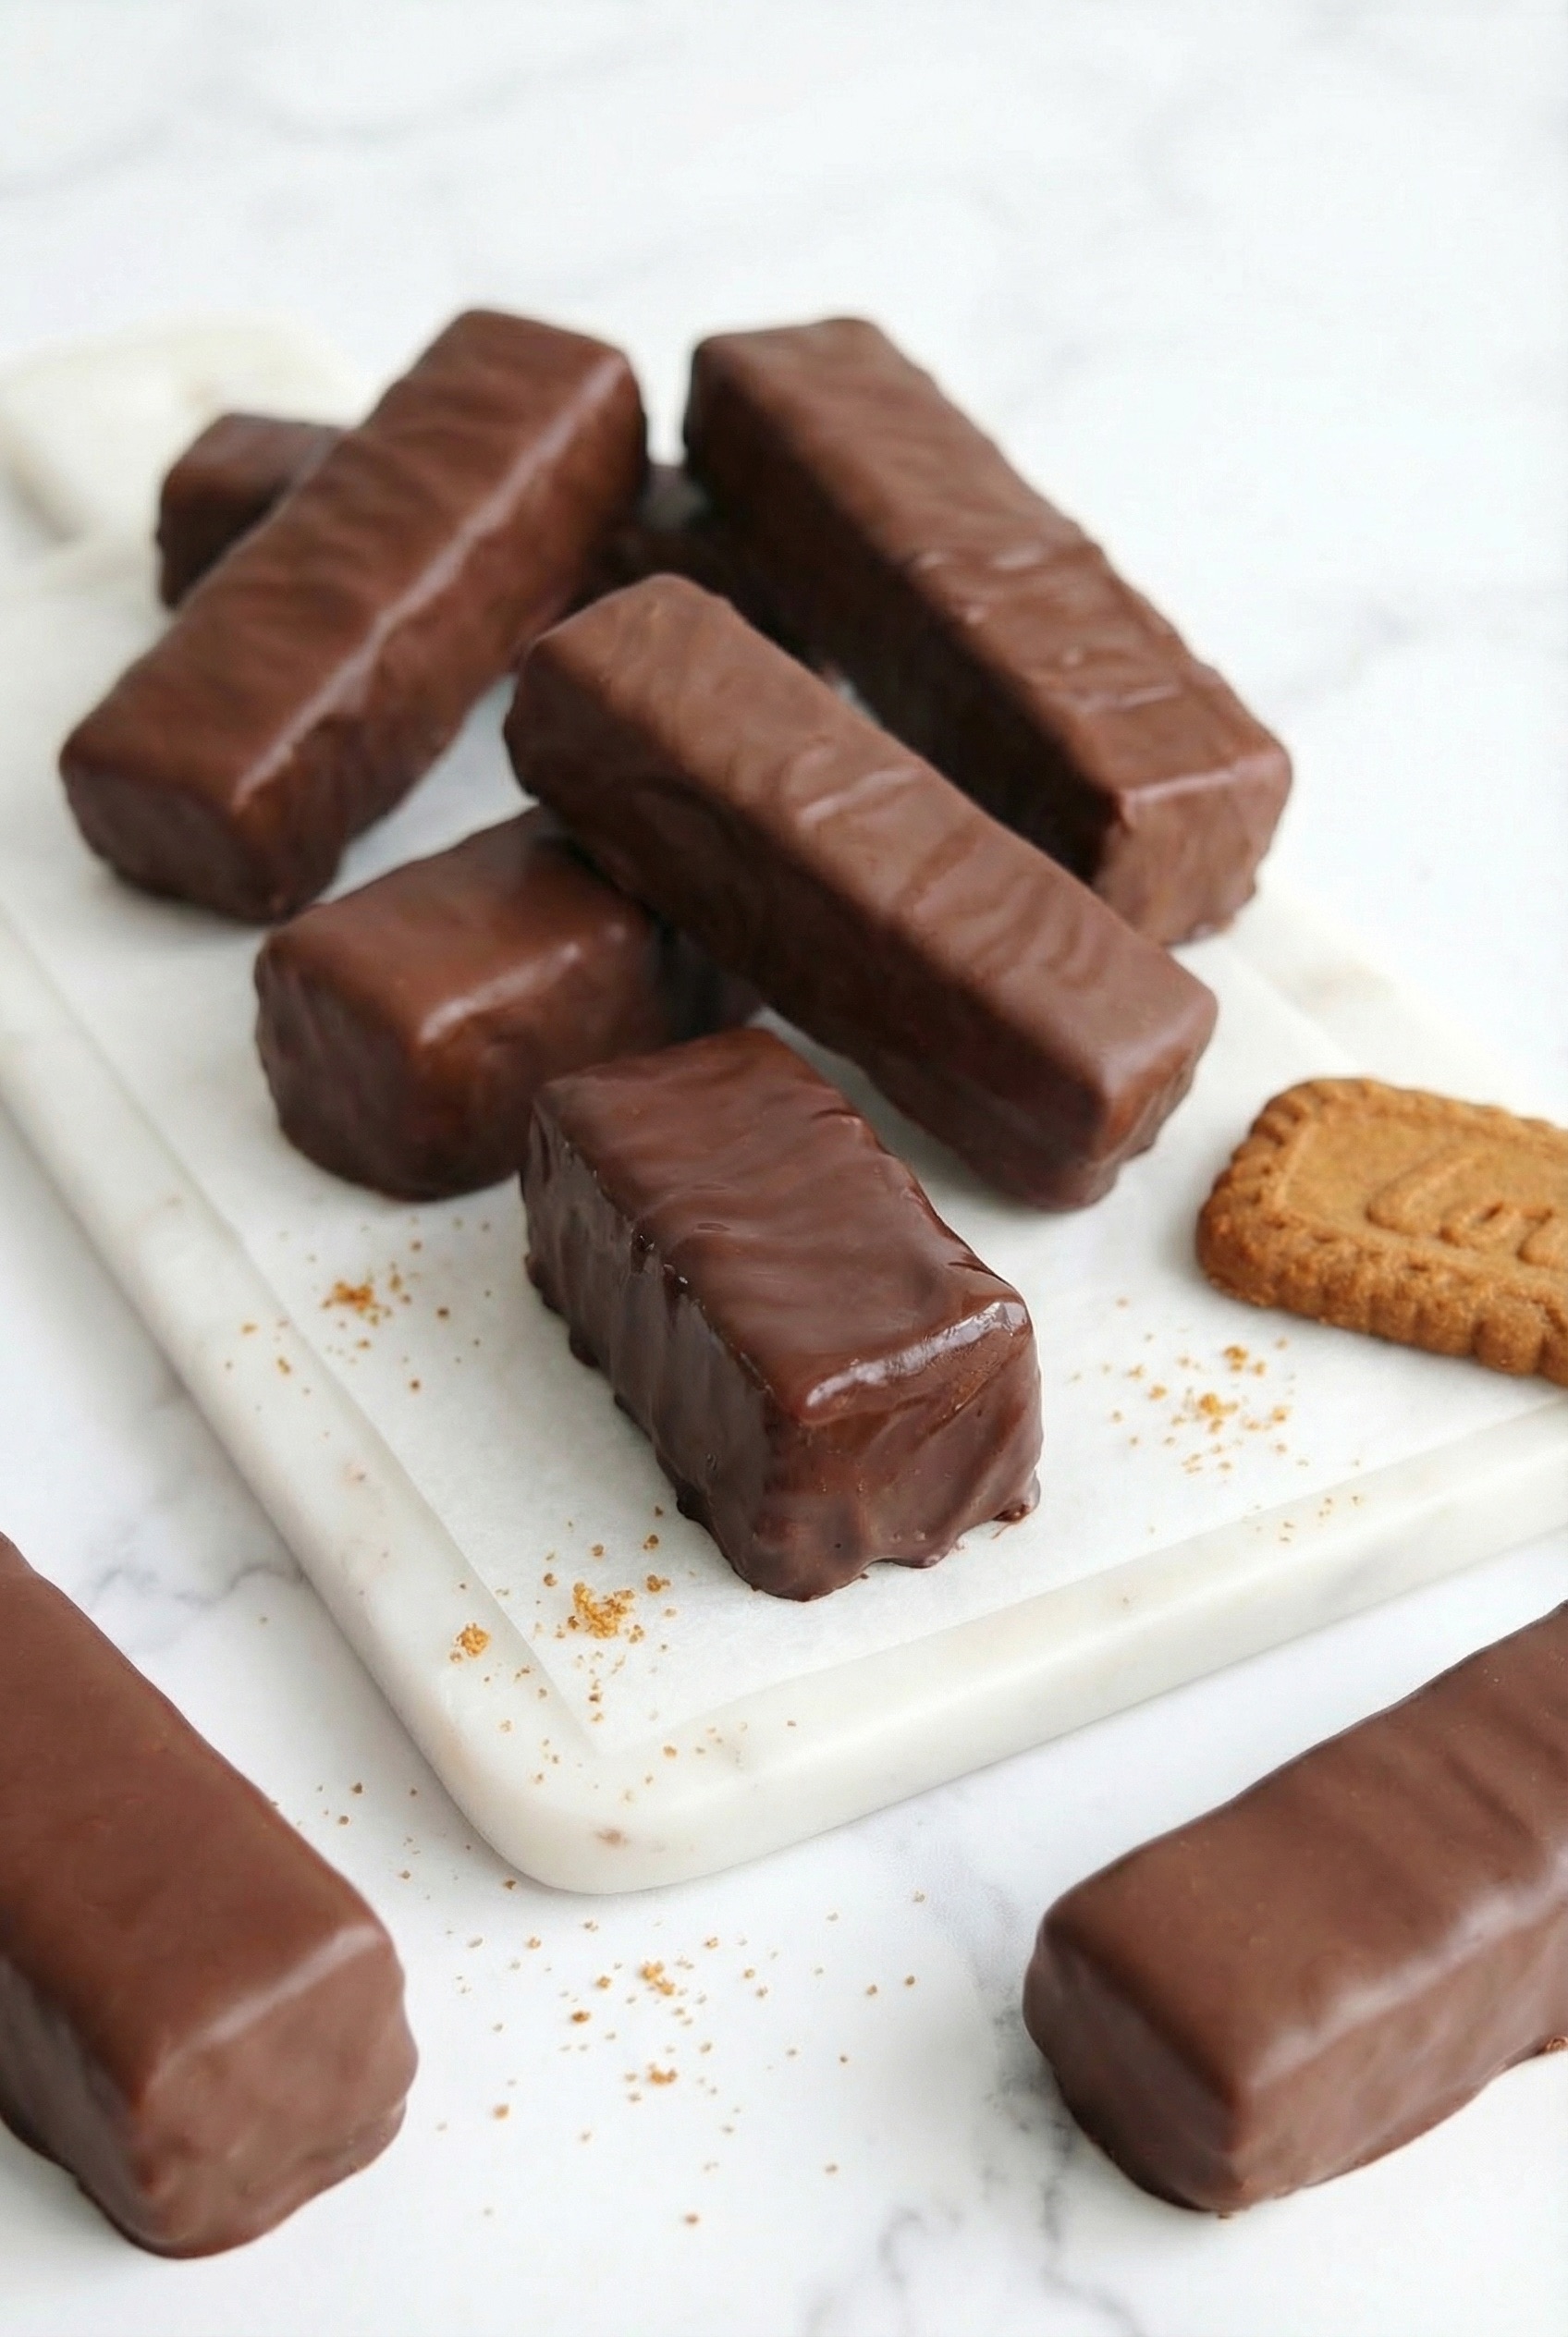
Biscoff cookie base: Feeling fancy or happen to have some Biscoff crumbs around? Swap the shortbread base with crushed Biscoff cookies mixed with melted butter for another layer of spiced sweetness.
-
Darker or milk chocolate: Bittersweet not your thing? Use milk chocolate for a sweeter bite or try 70–85% dark if you’re extra.
-
Nutty twist: Stir in crushed toasted pecans or hazelnuts into your caramel layer just before pouring. Adds crunch and depth.
-
Plant-based tweaks: Use a vegan butter and coconut cream in place of dairy components. Chocolate should be dairy-free, too.
-
Spiced caramel upgrade: Stir in a small pinch of cinnamon or cardamom with the salt and vanilla. Cozy holiday vibes, especially if you’re snacking while making gingerbread fudge nearby.
What to Serve with Homemade Salted Caramel Twix Bars
These bars are the main event, but even rockstars need a good opening act or sidekick.
-
A hot cup of coffee (or a holiday-style latte) really balances the sweet and salty here. The bitterness from your roast mixes so well with the caramel richness, it’s dreamy.
-
Plate these bars with fresh berries for a quick “look at me, I’m a composed dessert now” moment. The tartness of raspberries especially cuts through the richness.
-
Want to make it fancy-shmancy? Drizzle a little extra melted chocolate onto the plate, add a scoop of vanilla bean ice cream, and say it’s “deconstructed Twix.” People will believe you.
-
Serve these post-dinner with a small glass of tawny port, sherry, or even Irish cream over ice. That’s how you class up a candy bar, folks.
Frequently Asked Questions
Can I use store-bought caramel instead of making it?
Totally, but it won’t set quite the same. Most store-bought caramels are softer or a bit runny, so your layered bars might not hold up with that clean slice. That said, if you’re short on time, go ahead—just chill the bars extra well before dipping. I recommend using thicker “caramel dip” or wrapped soft caramels melted down with a splash of cream as a backup.
How do I prevent the caramel from getting grainy?
Ah, the sugar drama. The trick is low, slow heating and constant movement. When you melt sugar for caramel, don’t rush it. Start on medium-low, stir gently with a clean whisk (no wet utensils), and trust the process. If you see crystals forming up the side of the pot, you can gently brush them down with a wet pastry brush. And once it starts turning amber? Watch it like a hawk!
Can I double this recipe for a crowd?
Yes! You can double everything and press it into a 9×13 inch pan instead of an 8×8. You may need to bake the shortbread a few minutes longer—watch for a light golden top. The caramel and chocolate steps stay about the same, but be prepared to do some extra slicing (and maybe share one or two more than you planned).
Do I need a thermometer for the caramel layer?
Nope, just your eyeballs and a whisk. Since you’re not making a chewy stage caramel or a candy for wrapping, we’re working with the “looks like amber, smells like heaven” method. If your sugar is completely melted and golden brown, and your cream and butter mix in without separating, you’re good. Just don’t step away from the stove—you’ve been warned!
Homemade Salted Caramel Twix Bars
Equipment
- 8x8 inch square pan
- Parchment paper
- Hand Mixer
- Mixing bowls
- Saucepan
- Whisk
Ingredients
Shortbread Base
- 1 cup unsalted butter softened, room temperature
- 1/2 cup granulated white sugar
- 1 tsp vanilla extract
- 1/4 tsp salt
- 2 cups all-purpose flour
Salted Caramel Layer
- 1 cup granulated white sugar
- 6 tbsp unsalted butter cut into cubes, room temperature
- 1/2 cup heavy whipping cream room temperature
- 1/2 tsp salt plus extra for sprinkling
- 1 tsp vanilla extract
Chocolate Topping
- 8 oz bittersweet chocolate chopped (preferably chocolate bars, not chips)
- 2 tsp coconut oil
- flaky sea salt for sprinkling (optional)
Instructions
- Preheat and prep your pan: Preheat oven to 350ºF (175ºC) and line an 8x8 inch square pan with parchment paper, covering the sides for easy removal.
- Make the shortbread base: In a medium bowl, cream together the softened butter, sugar, vanilla, and salt using a hand mixer on medium speed until pale and fluffy, about 2 minutes.
- Add the flour and mix on low until just combined. Don’t over-mix.
- Press the dough evenly into the prepared pan. Bake for 22–25 minutes, or until lightly golden and fragrant. Let cool completely.
- Start the caramel: Place the sugar in a clean, heavy-bottomed saucepan over medium-low heat. Stir or whisk constantly until the sugar melts and turns amber, about 10 minutes.
- Add the butter all at once (be careful—it will bubble), stirring until smooth and melted. Slowly pour in the cream (more bubbling), continuing to whisk until fully combined and smooth.
- Remove from heat and stir in the salt and vanilla.
- Layer and chill: Pour the hot caramel evenly over the cooled shortbread crust. Tilt and spread as needed. Chill in the fridge for at least 2 hours, or until firm.
- Once the caramel is set, slice into 16 bars (rectangles or squares). Freeze bars for 15 minutes to firm up for easier chocolate coating.
- Melt the chocolate: Combine chopped chocolate and coconut oil in a microwave-safe bowl or over a double boiler. Heat and stir until smooth, then let cool slightly.
- Dip each bar into the melted chocolate, using a fork to help coat all sides. Place on a parchment-lined baking sheet.
- Chill bars for 15–20 minutes until the chocolate is set. Sprinkle with flaky sea salt if desired. Serve chilled or at cool room temperature.