
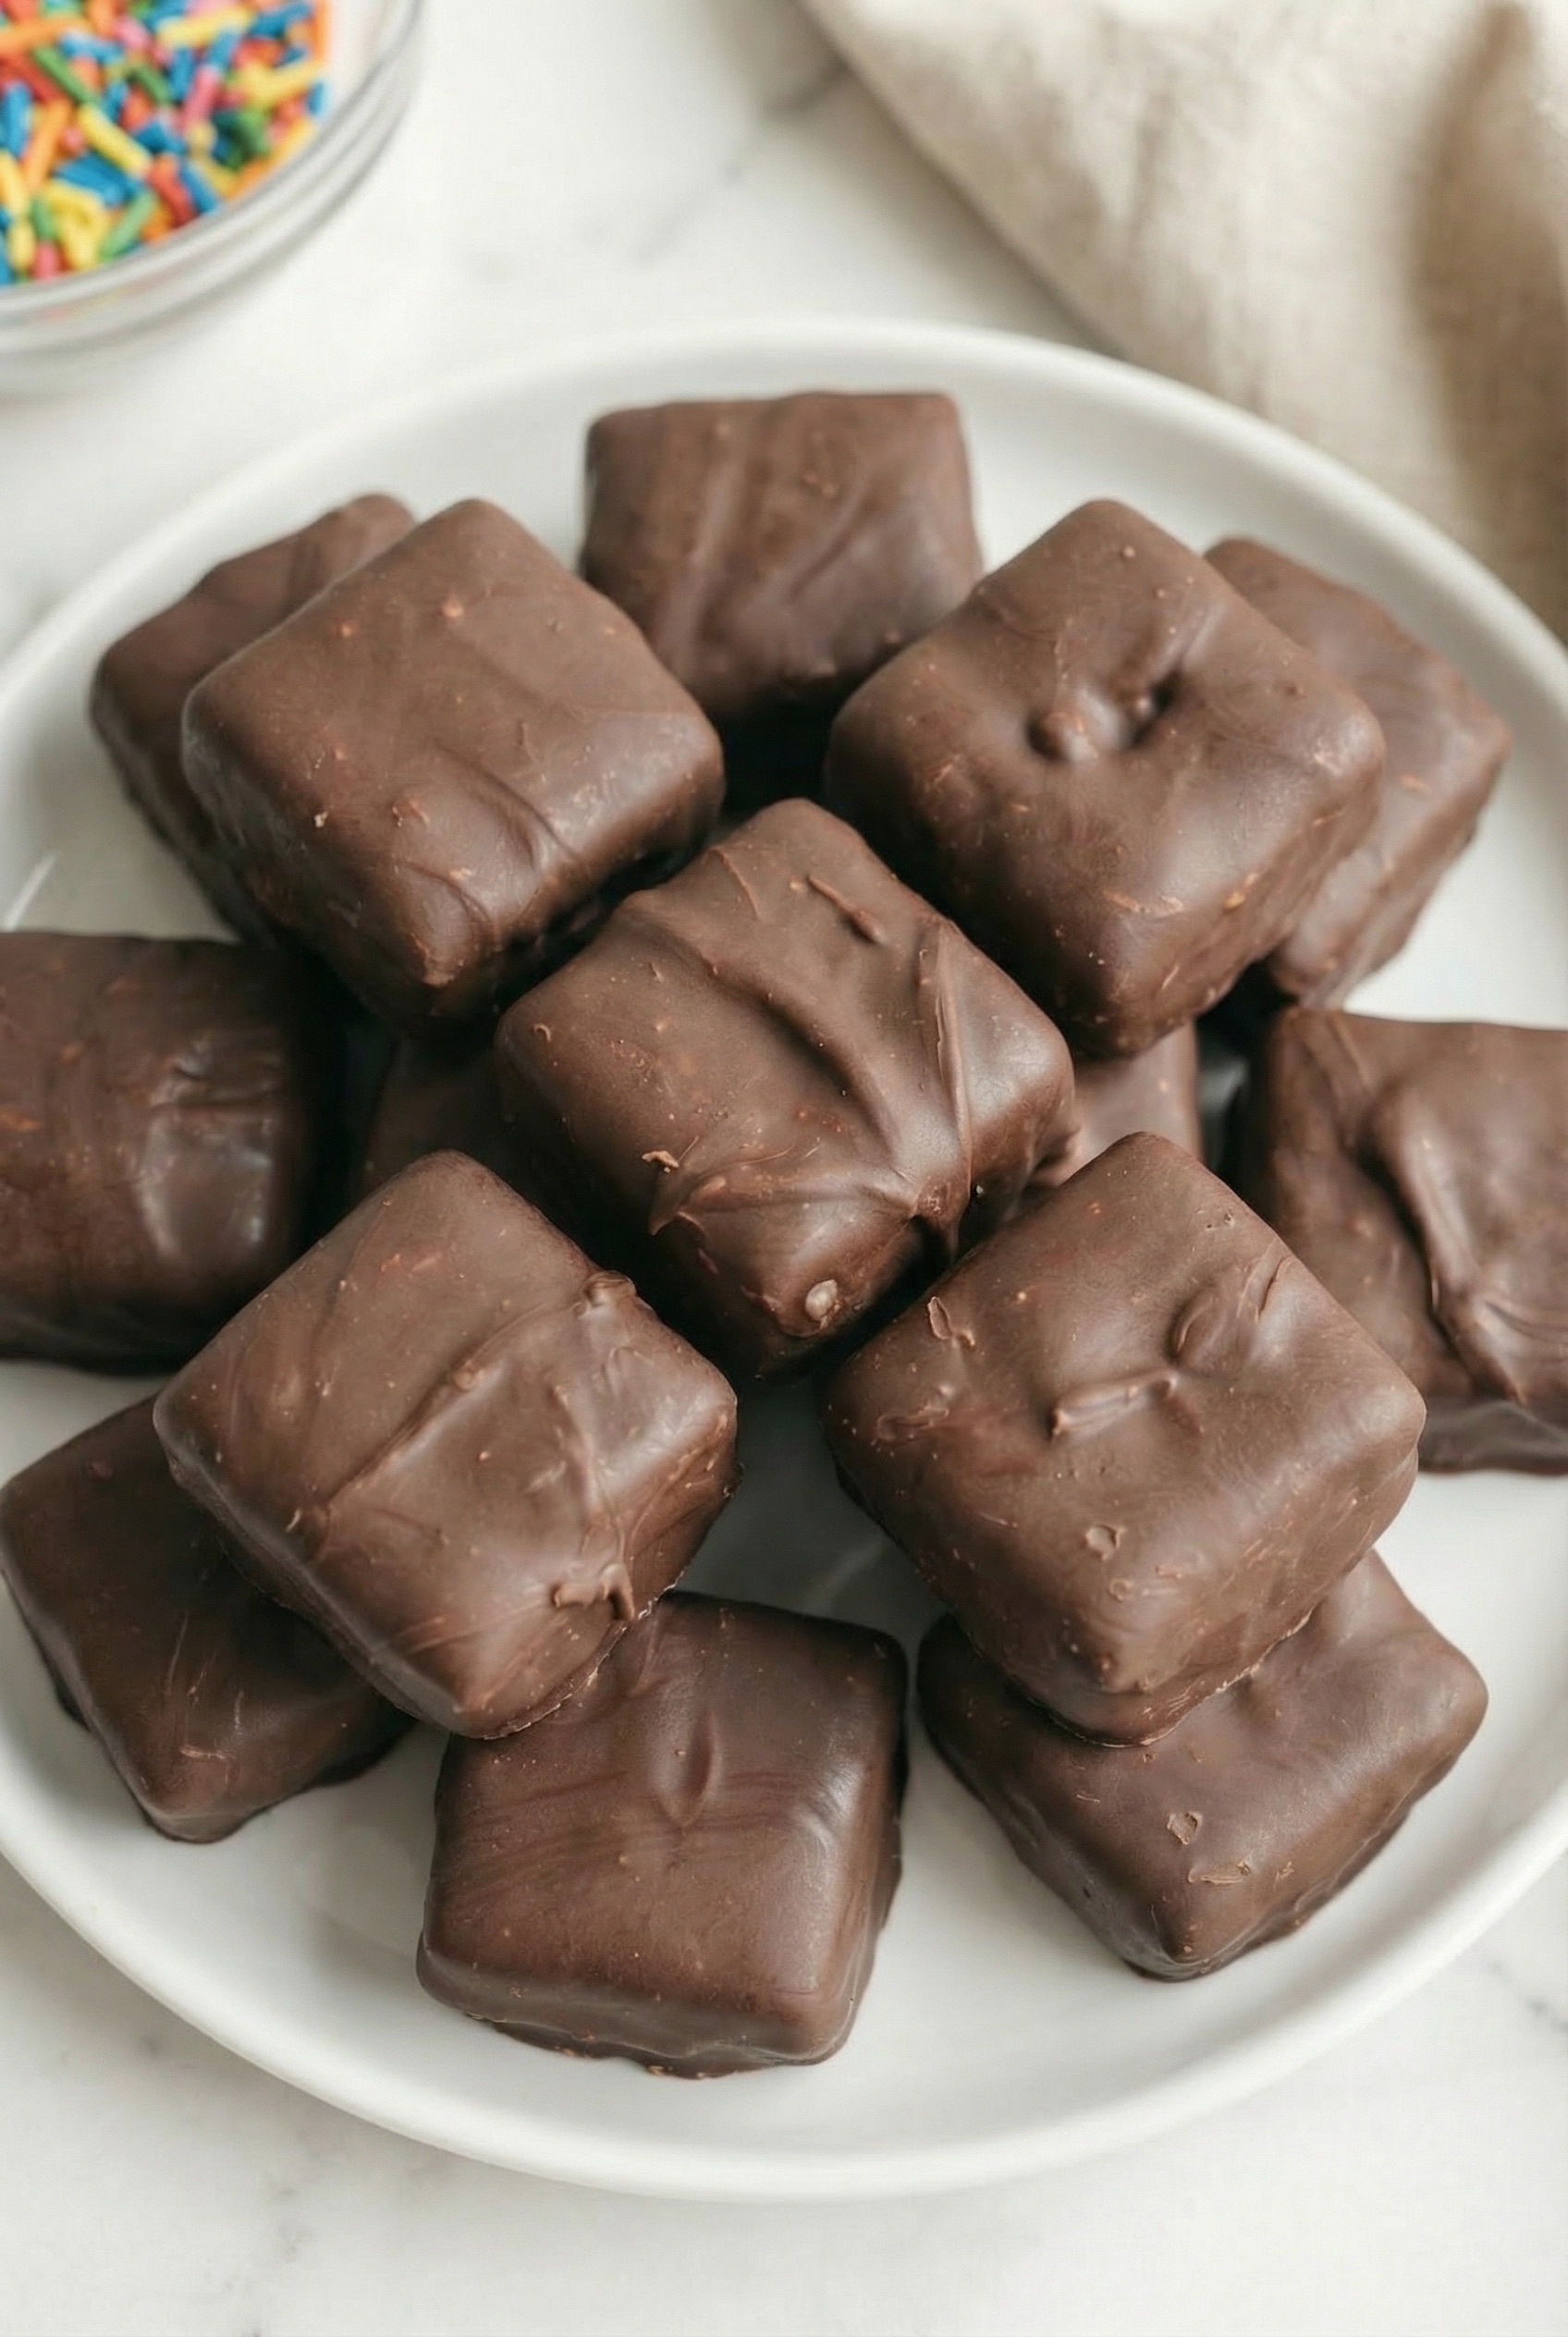
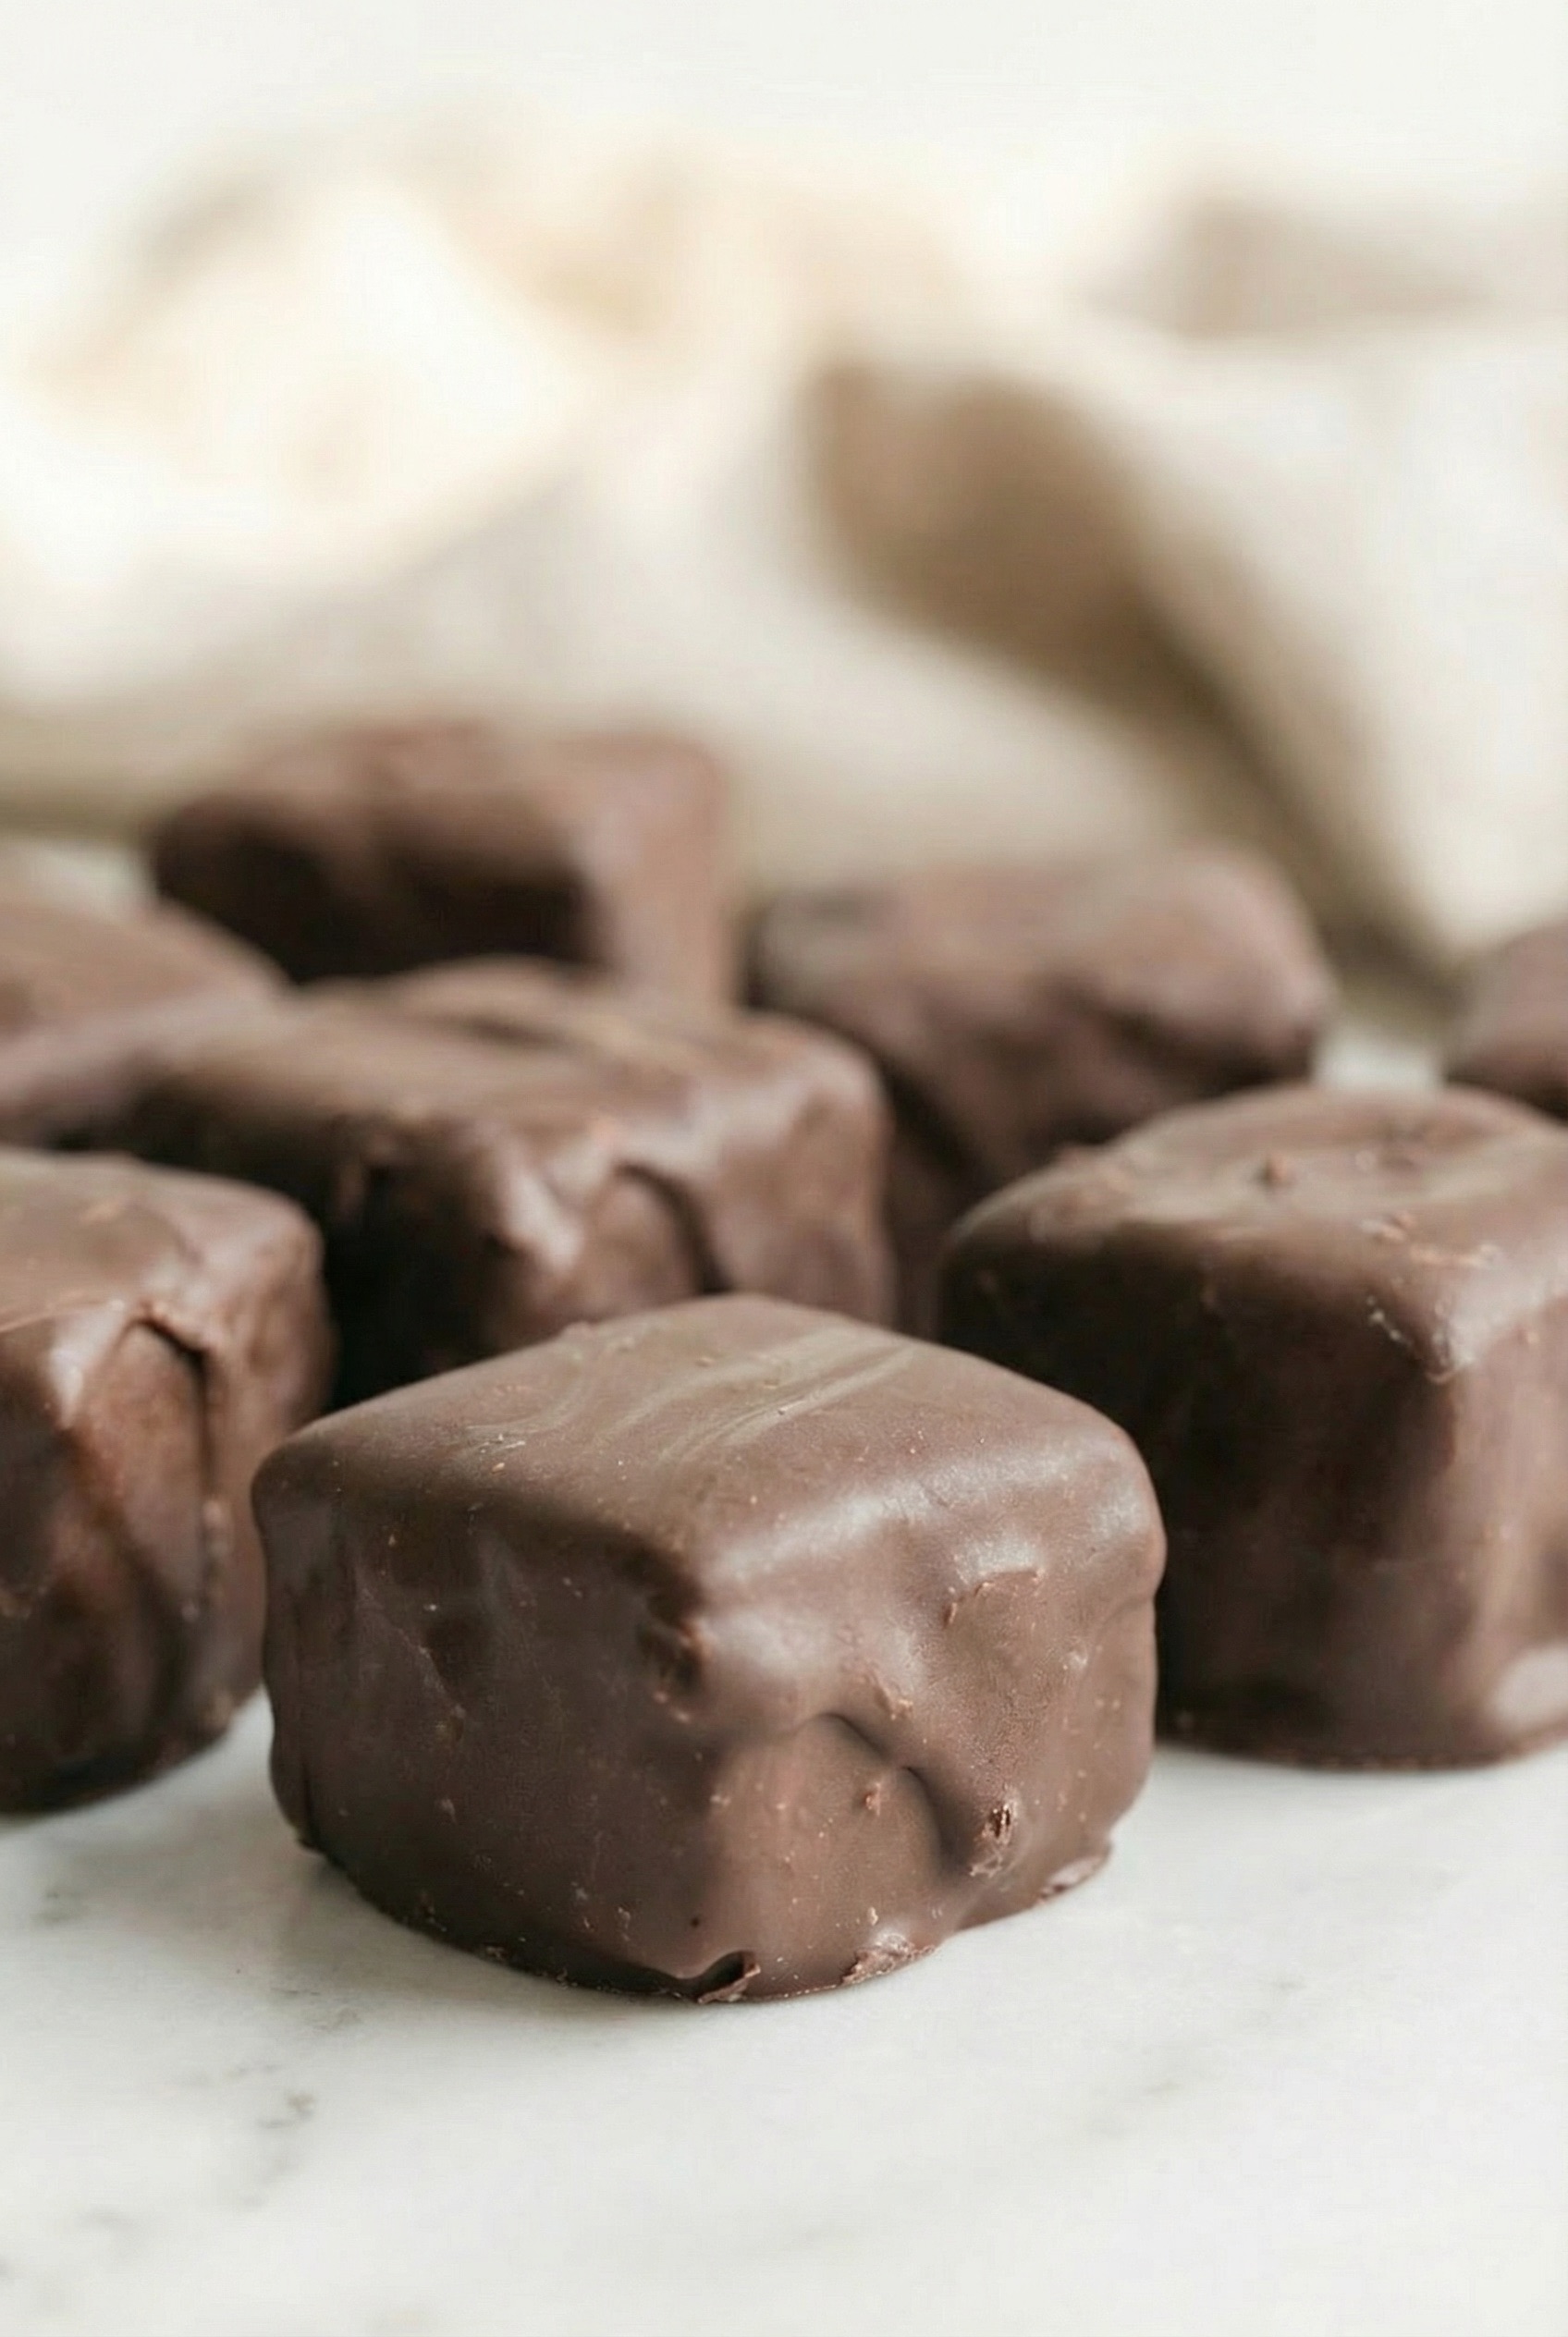
Melted milk chocolate meets fluffy Cool Whip in this playful twist on homemade candy. These cool whip candy bites have rich milk chocolate, airy whipped topping, and a crisp dark chocolate shell.
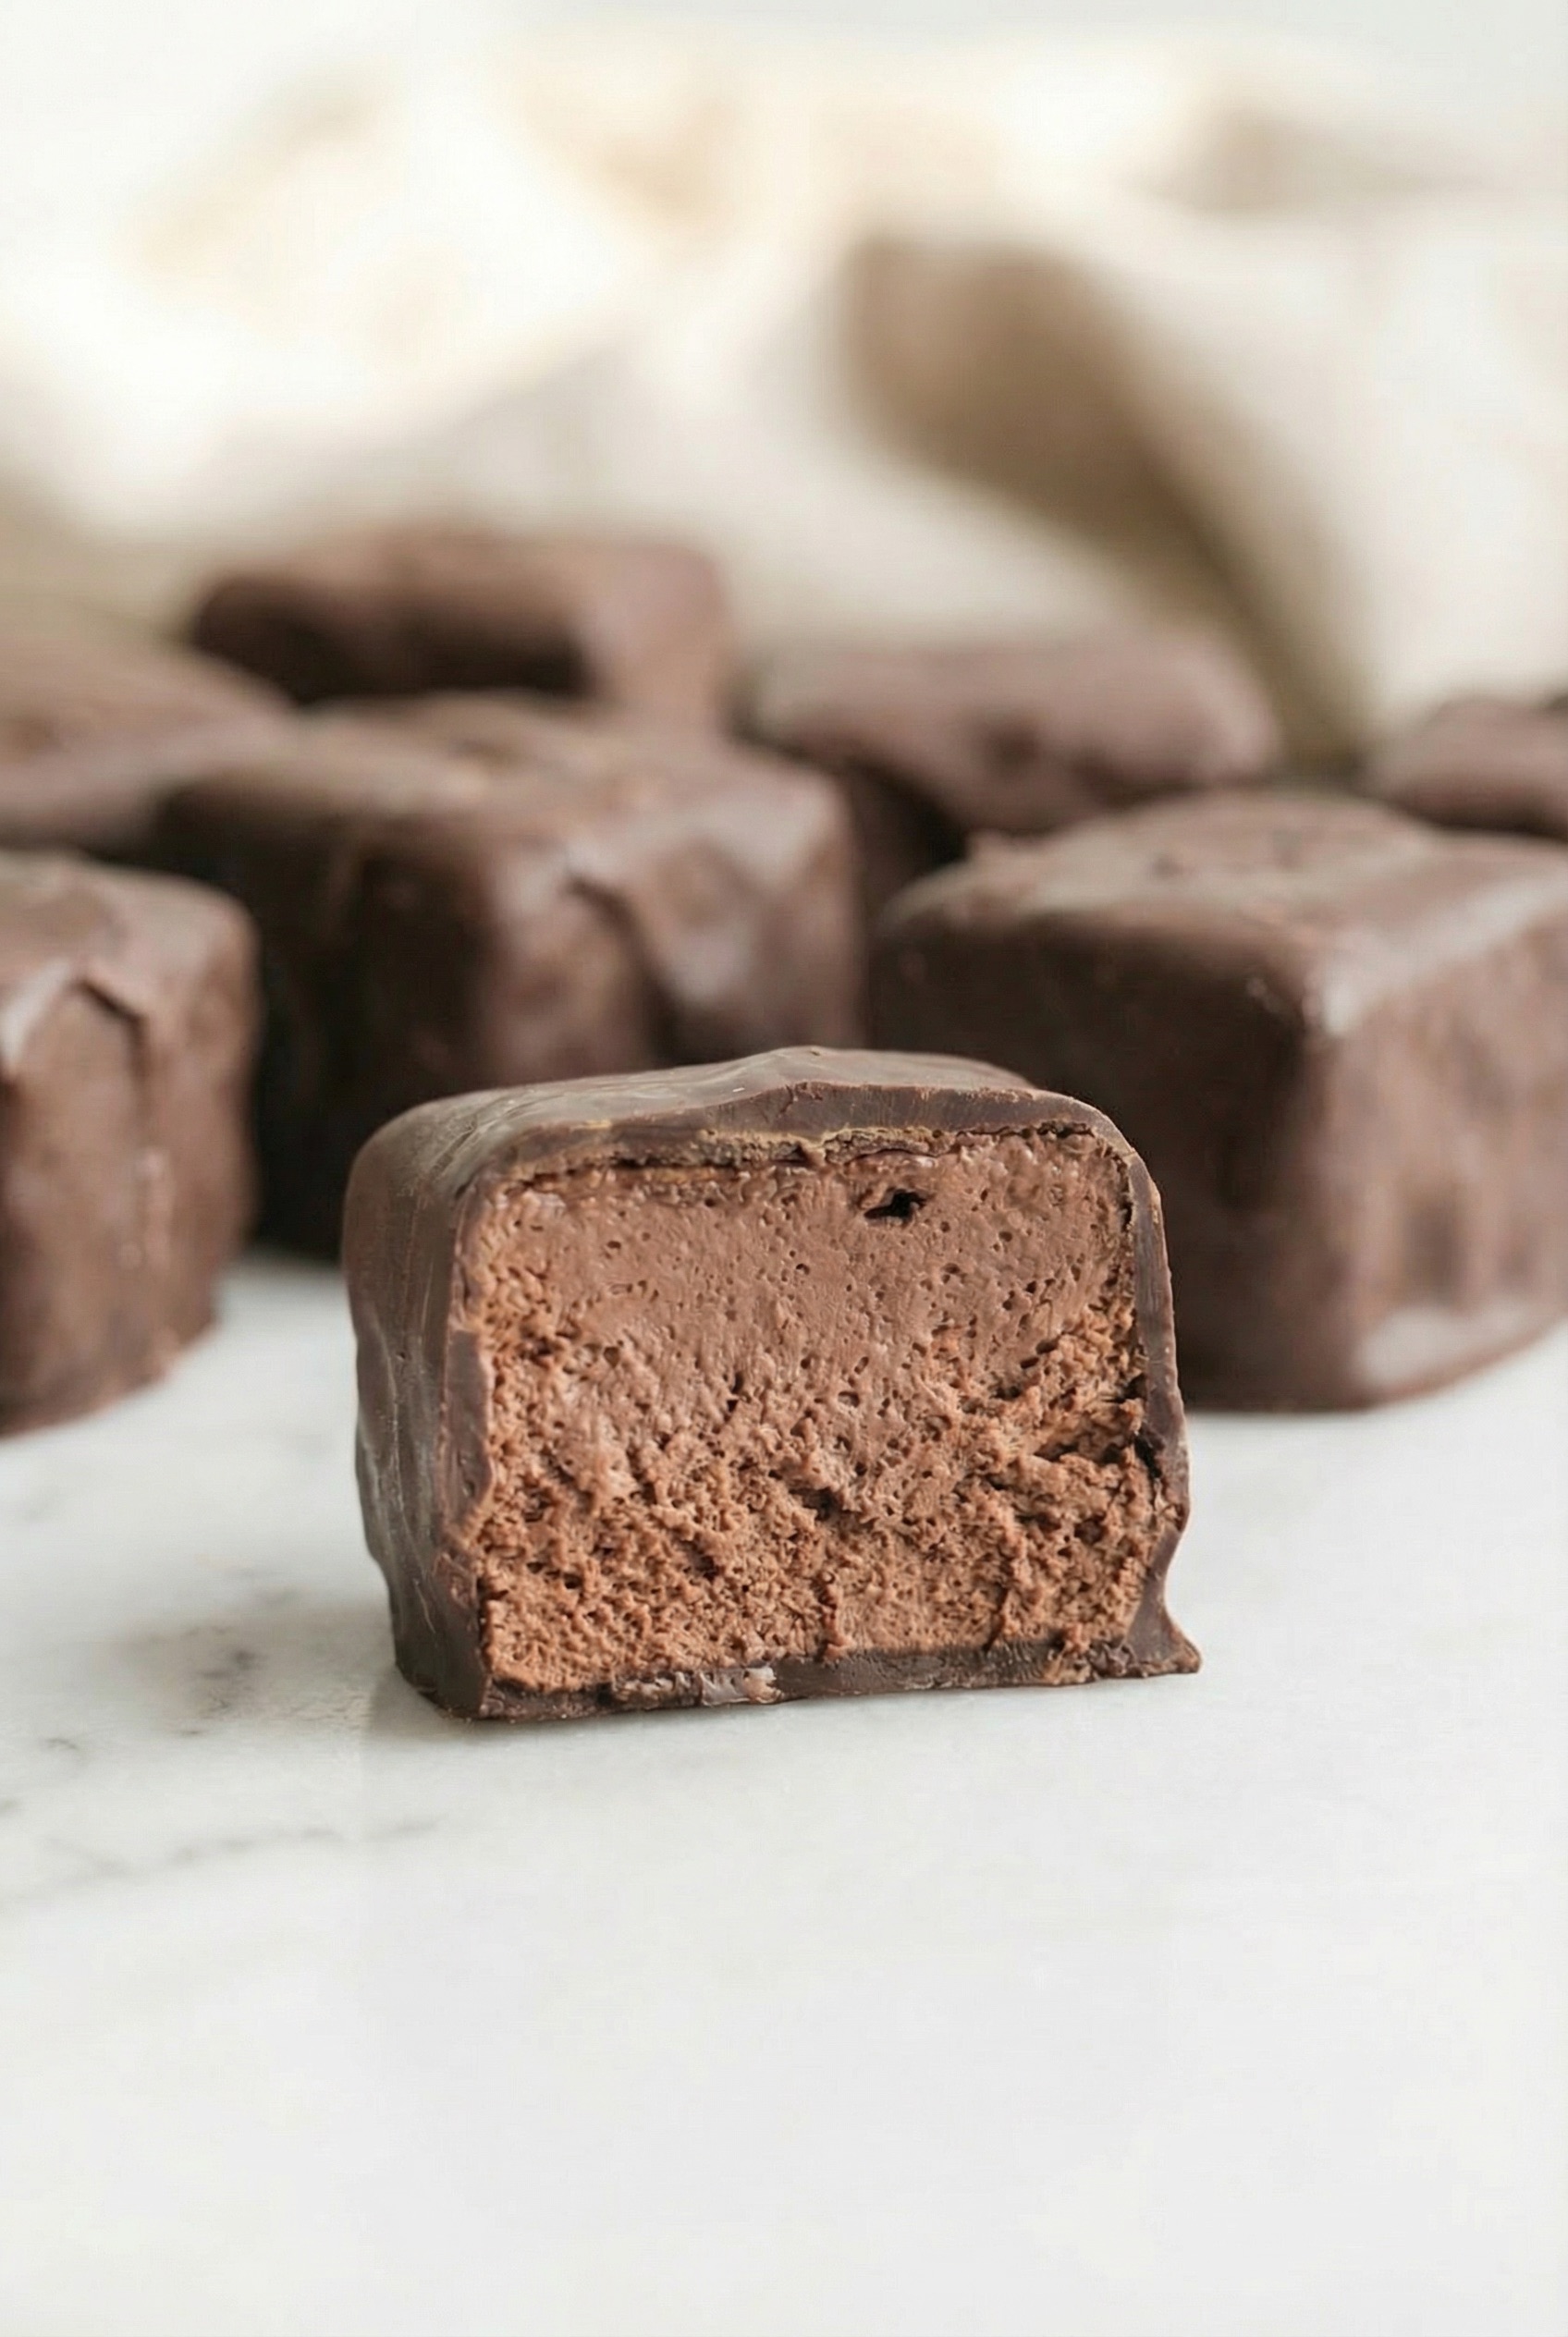
This is the kind of kitchen project that feels like crafting with sugar. Cool Whip Candy doesn’t need a candy thermometer or a sweet tooth PhD, just some chocolate, Cool Whip, and a little freezer space (ok, a lot of freezer space). It’s surprisingly simple and also kind of impressive: airy, mousse-like centers enrobed in shiny dark chocolate coating. They’re basically little chocolate pillows of joy with a crisp snap when you bite into them. Make a batch for movie night or tuck them away like a cozy secret freezer stash (I support candy hoarding).

Quick Breakdown
Why You’ll Love this Cool Whip Candy
No drama here, just a fun kitchen treat that feels kinda fancy but is secretly the easiest candy on earth.
- Ridiculously simple to make: You just melt, mix, freeze, and dip. No double-boilers or thermometers in sight.
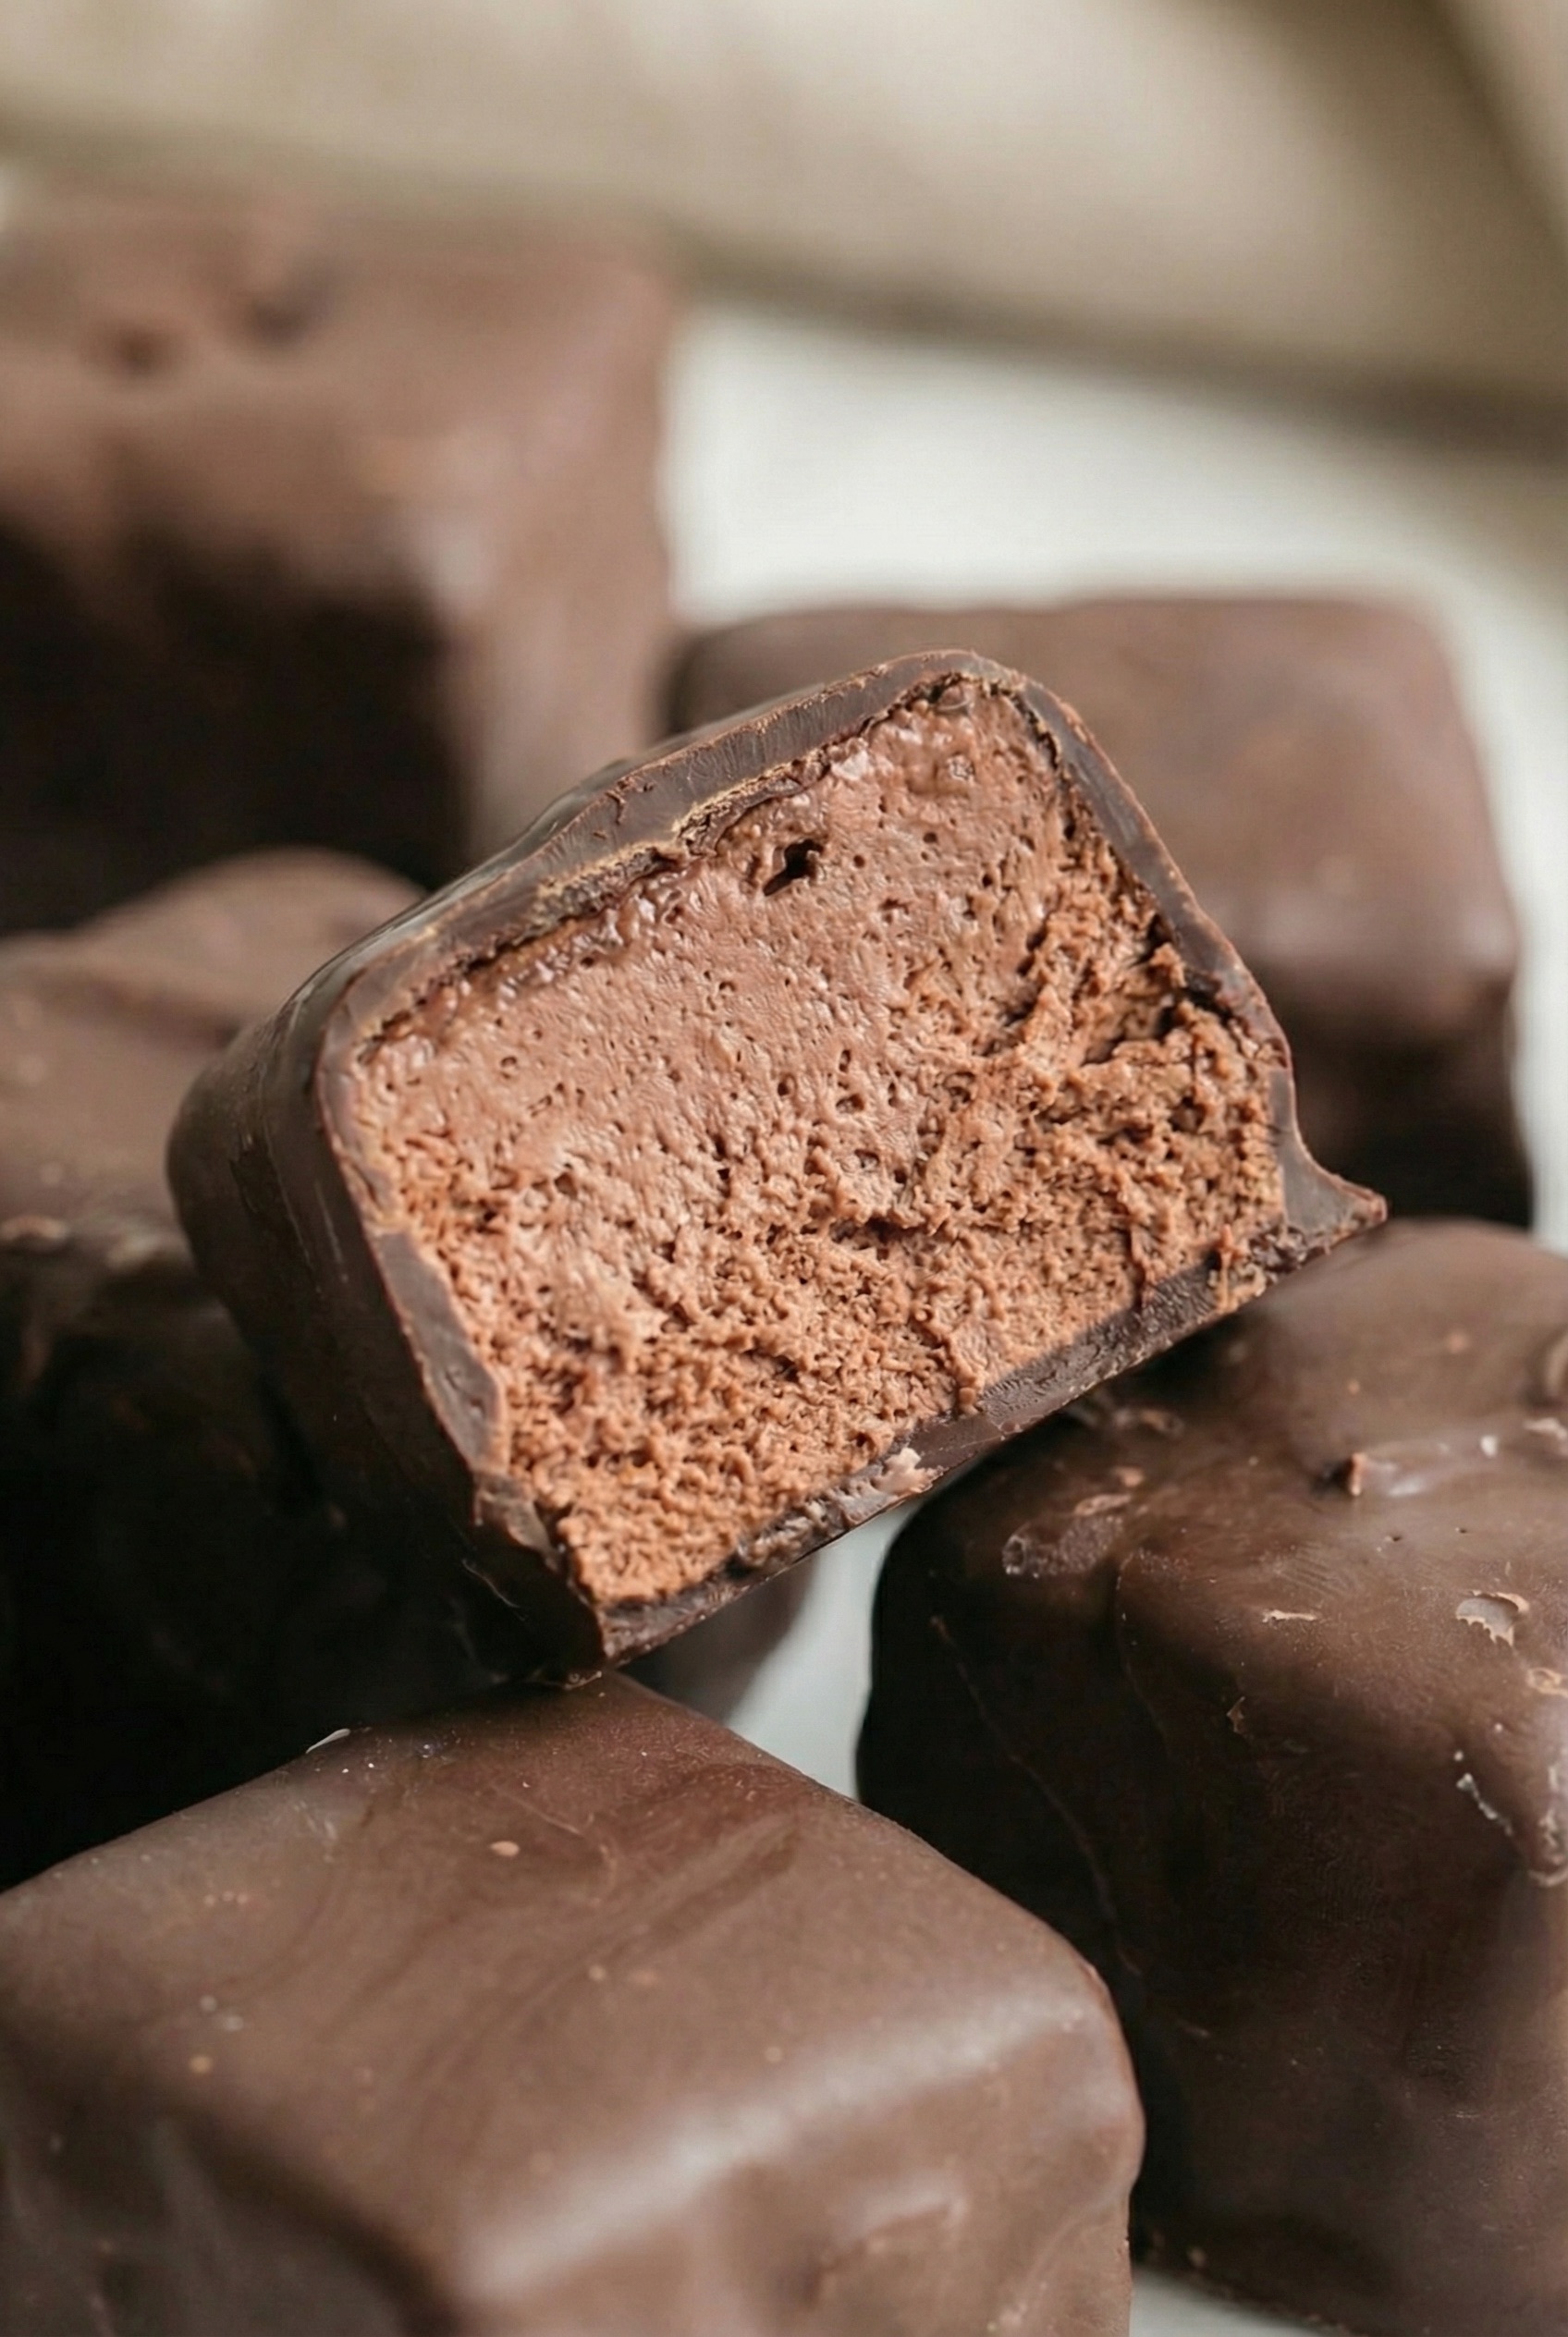
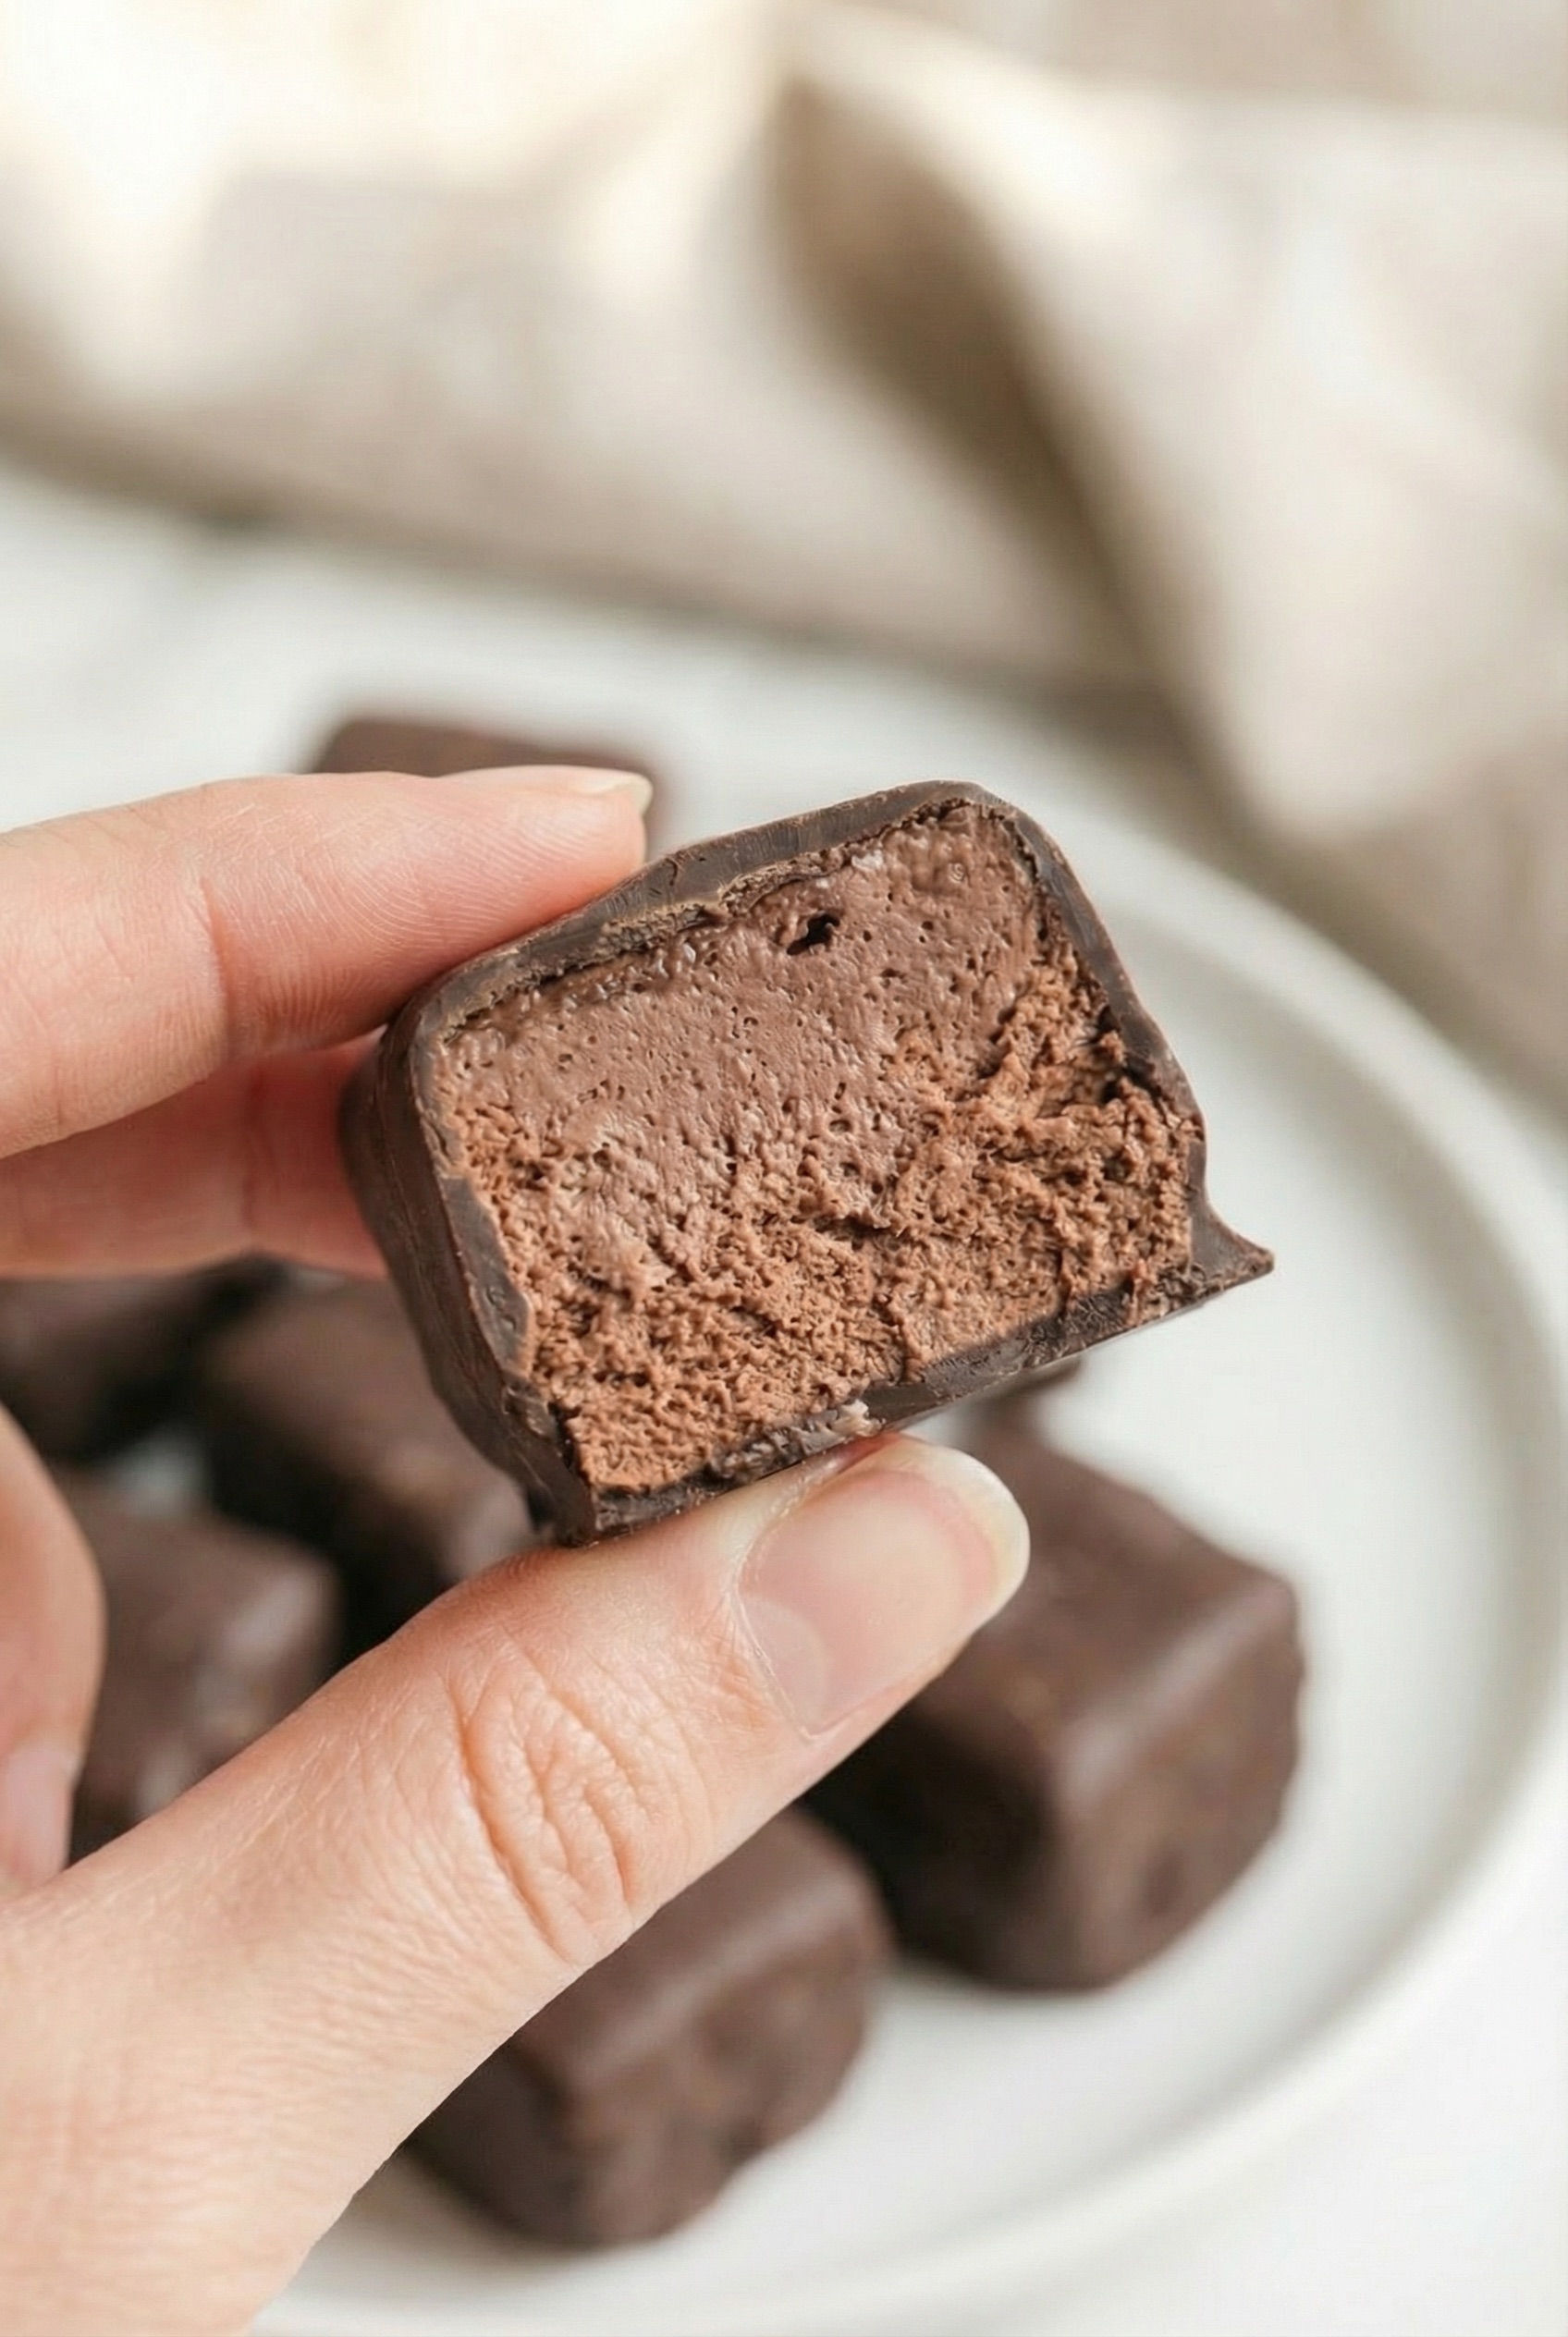
- Textural heaven: The inside is like chocolate mousse’s chill cousin, all fluffy and melt-in-your-mouth.
- Surprisingly addictive: They live in the freezer, but somehow four vanish every time I open the door.
- Perfect for sharing… or not: Makes a big batch, so you can stash some and gift the rest (maybe).
- Customizable coating: Switch up the chocolate on the outside if you’re feeling extra or festive.
- Freezer-friendly hero: They keep beautifully frozen and actually taste better that way, if you ask me.
Ingredient Notes
There are only three ingredients here, which feels like cheating. But as they say, if it works, it works.
- Milk chocolate (two 11-ounce packages): This is the gooey, melty base of the filling. Choose one you love to eat straight. I’d avoid chips here; bars melt more smoothly.
- Cool Whip (1 tub, 8 ounces): The star of the show. It turns the melted chocolate into something fluffy and soft without any extra effort. Let it thaw completely first, no shortcuts here, or you’ll end up wrestling it.
- Dark chocolate melting wafers (24 ounces): These coat the candy like a glossy jacket. Use melting wafers because they’re fuss-free and harden like a charm. You can use semisweet or white chocolate instead if that’s your thing.
How To Make This Cool Whip Candy
Okay, let’s get cozy. This recipe feels like a crafty little afternoon project, but without glue or glitter. Chocolate cleanup is way more fun.
- Melt the milk chocolate: Grab a big-ish glass bowl and microwave the milk chocolate for 1 minute. Stir it gently. If it’s not smooth yet, go another 30 seconds. You don’t want to scorch it, so keep an eye on things. Let it cool for 15–20 minutes; otherwise, it’ll melt the Cool Whip and throw off everything.
- Mix in Cool Whip: Once the chocolate is at room temp (you can touch the bowl without saying “ow”), gently fold in the thawed Cool Whip. It might firm up slightly and look a little like chocolate mousse having a mood swing. That’s normal.
- Line and pour: Line an 8-inch baking dish with parchment paper—this’ll make popping the candies out much easier. Pour in your chocolate-whip mix and spread it into a nice even layer. Doesn’t have to be perfect; gravity’s your friend.
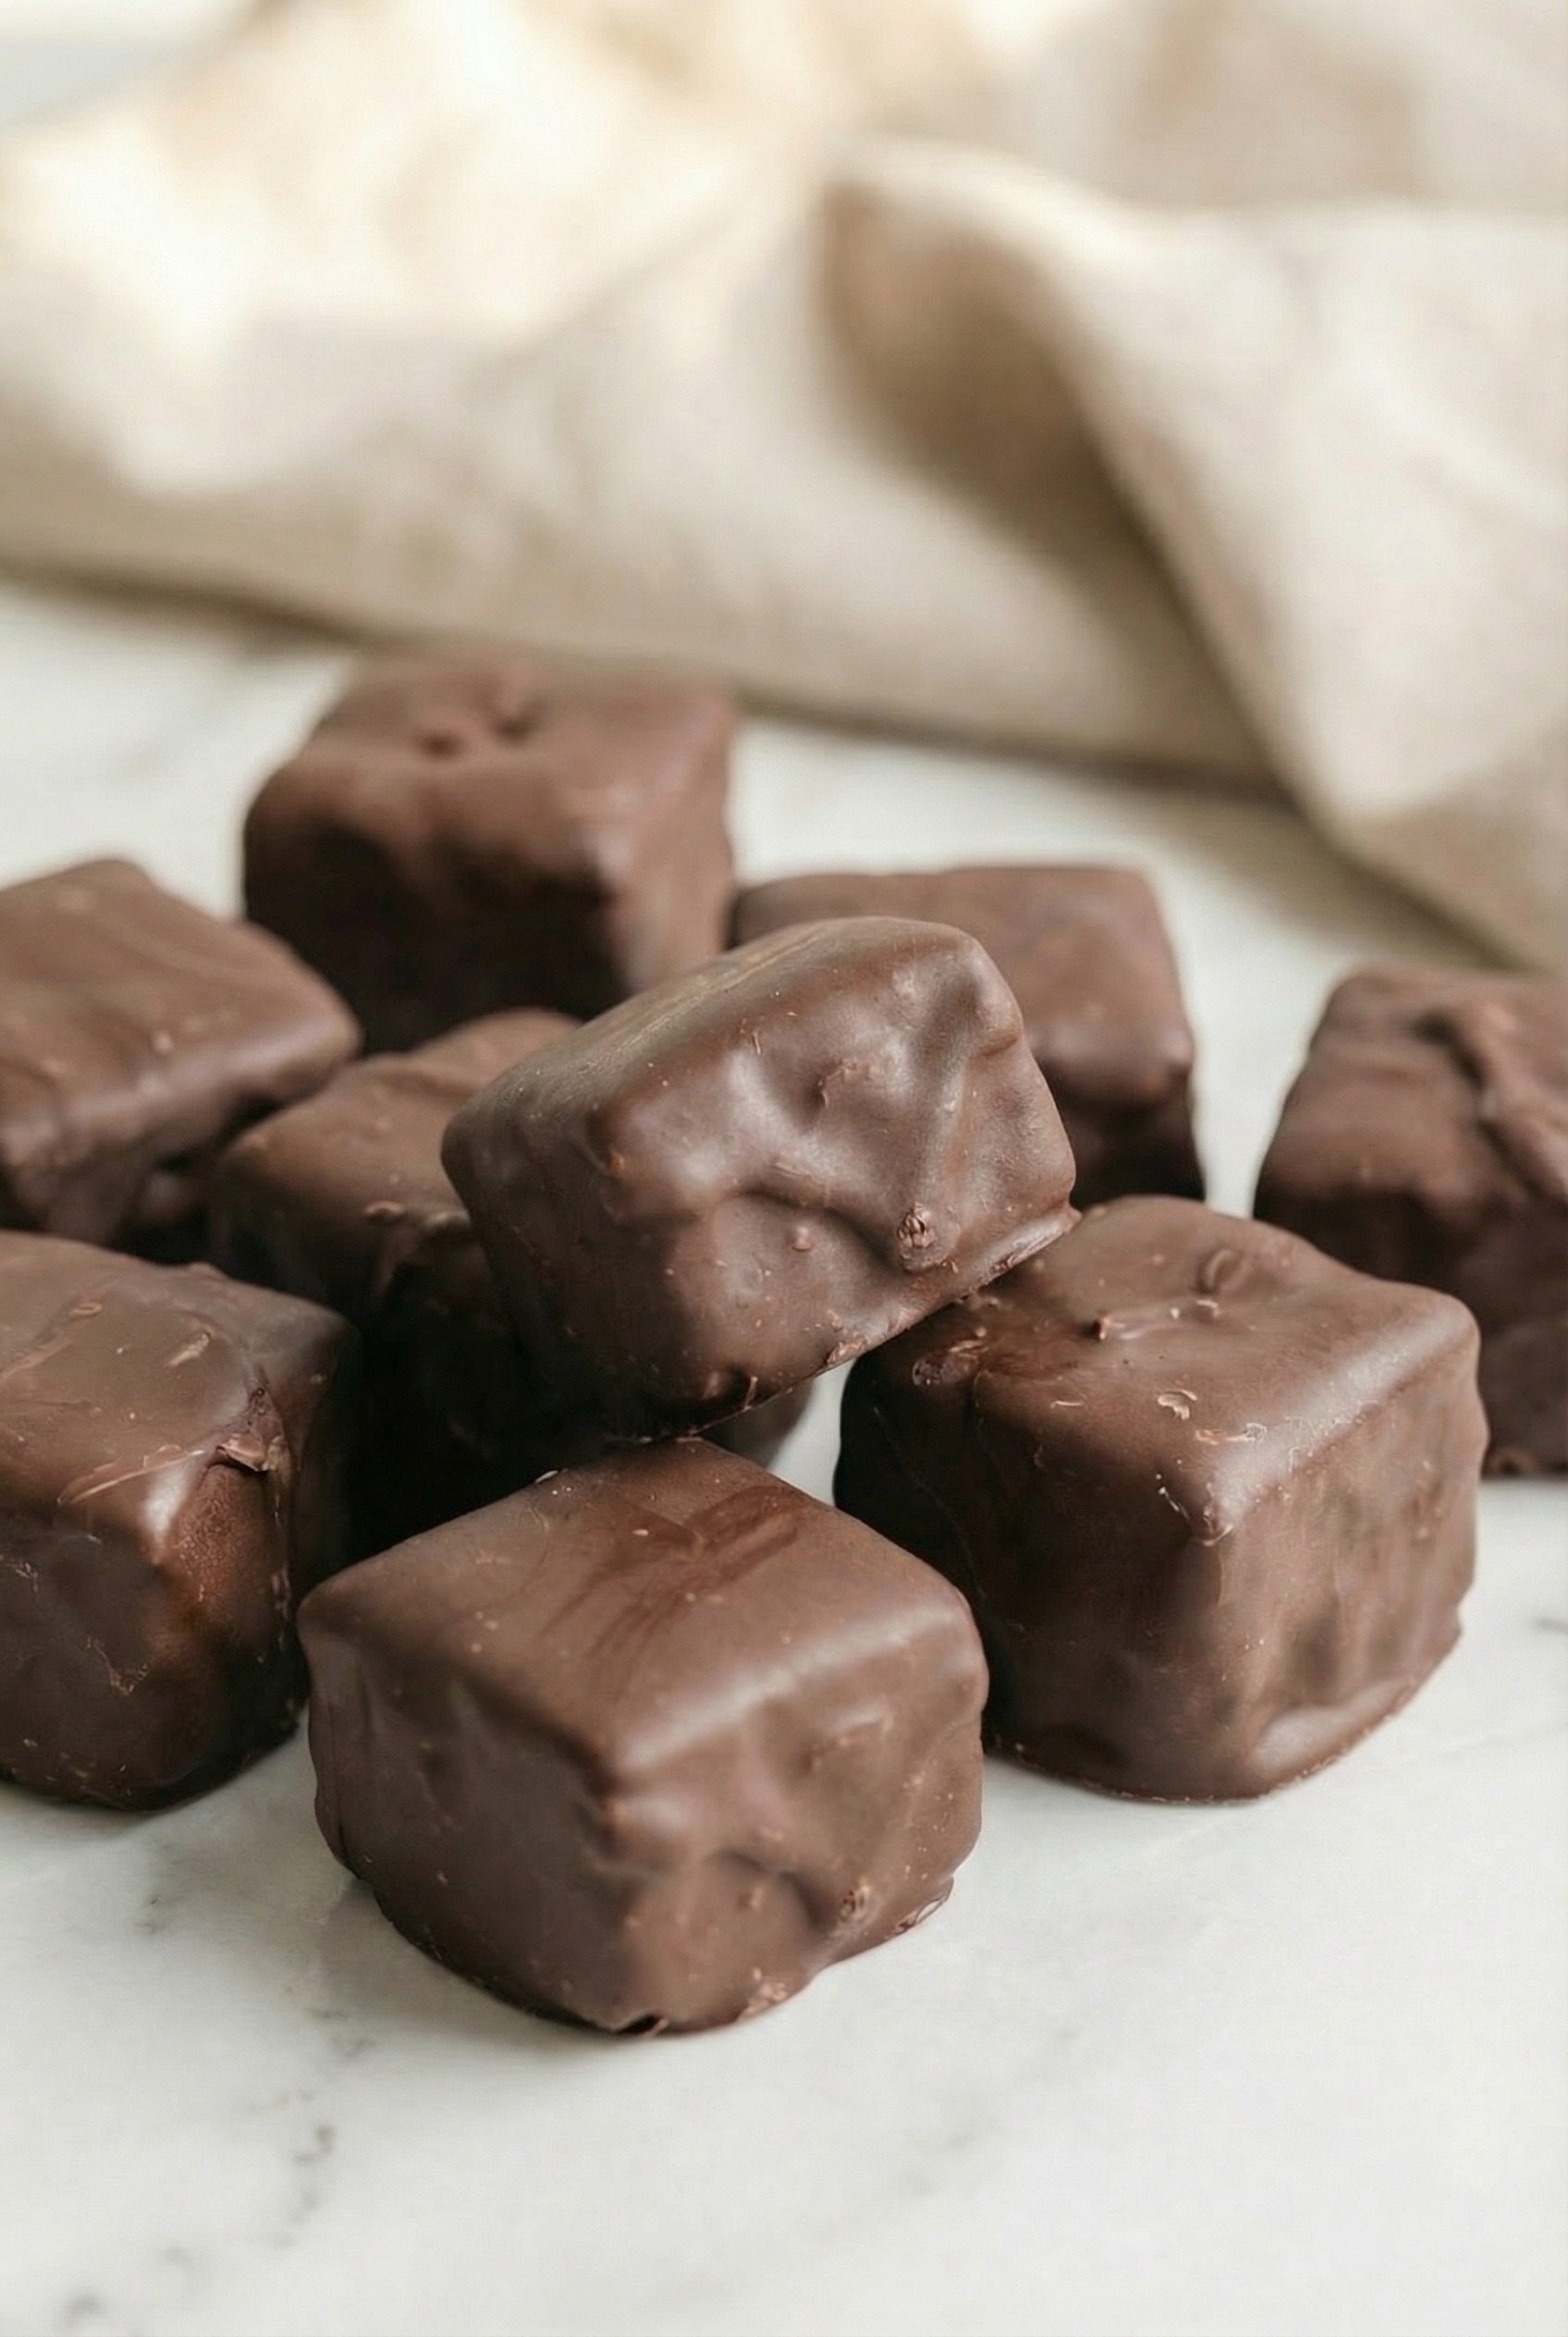
- Freeze and cut: Slide the dish into the freezer for 30 minutes. Once it’s firm, lift it out, peel off the paper, and cut into bite-sized squares. I aim for about 36 little cubes, but no one’s counting (except maybe your snacky kids).
- Freeze again: Space out the squares on a parchment-lined baking sheet and return to the freezer for another 30 minutes. You want them solid before the chocolate dip.
- Melt the dark chocolate wafers: Follow the instructions on the bag. Usually, a couple of 30-second microwave bursts and some stirring do the trick.
- Dip and dry: One by one (yes, slightly tedious but kinda meditative), dunk each frozen square into the melted dark chocolate. Let the excess drip off, then place on parchment and let them set. Work fastish so they don’t start to thaw mid-dipping.
- Freeze until ready to serve: Once they’re set, back into the freezer they go. You can nibble on them frozen, or let them soften slightly for 5–10 minutes before serving.
Storage Options
Let’s talk candy logistics. These little squares are born to live in the freezer. Every texture and bite sings when they’re well chilled, and the structure holds beautifully frozen.
You can absolutely store them in an airtight container in the freezer for weeks. I recommend layering with parchment so they don’t stick together in one happy candy clump. If you forget the layering, you’ll just have to eat two at a time. Oops.
Now, technically, you can store them in the fridge too, but they’ll soften quite a bit. The texture turns more fudge-like, and the coating may get a little sticky. If you want them to hold their snappy exterior, stick with freezer storage.
Reheating? Ha! You don’t need to. Just set them on the counter for 5 minutes before eating if you want a softer bite. I like mine straight from the freezer, though, no patience, no regrets.
Variations and Substitutions
Since the base is so simple, you’ve got all sorts of wiggle room to play around with flavors and textures.
- White chocolate instead of milk chocolate: The result is sweeter, and the color is fun, especially if you’re doing themed holiday batches.
- Peanut butter swirl: Drop in a spoonful (or three) of peanut butter before freezing the filling. Stir it gently, don’t fully mix, to get those dreamy swirls.
- Mint extract: Add a small splash to the melted milk chocolate before mixing with Cool Whip. Think frozen Thin Mint vibes.
- Crushed cookies on top: Sprinkle crushed Oreos or graham crackers over the dipped candies before they set. Adds a bit of crunch and flavor flair.
- Try almond bark coating: For a sweet vanilla exterior that pairs surprisingly well with milk chocolate centers.
What to Serve with Cool Whip Candy
Cool Whip Candy is kind of the solo-star type. But give it a little supporting cast, and it shines even brighter.
- A warm mug of coffee or hot cocoa is my go-to. The frozen candy slowly melts on your tongue while the drink warms your hands, talk about balance. It also makes it slightly more acceptable to eat three candies in a row.
- Pair them with a scoop of vanilla ice cream or frozen yogurt. They suddenly feel like part of a fancy dessert plate, even though you just raided your freezer.
- Serve them alongside other freezer-friendly no-bake treats, like these easy cream cheese mints. They make the cutest little dessert board or party platter together.
- Honestly, they also work great as a sneaky midnight snack. Grab one during a commercial break, and you’ve got an instant hit of sweet chocolatey bliss with zero prep.
Frequently Asked Questions
Can I use whipped cream instead of Cool Whip?
Technically, you can, but things get a little tricky. Cool Whip is more stable and holds up to mixing and freezing much better. Homemade whipped cream might deflate or separate, especially when folded into cooled chocolate. If you’re feeling brave, stabilize it first with a bit of gelatin, but honestly, it’s easier to just grab a tub of Cool Whip.
How long do these candies last in the freezer?
They’re good for up to 3 months if stored properly. Just keep them in an airtight container and layer with parchment paper to prevent sticking. That said, if they last more than two weeks in your freezer without disappearing, you might be superhuman. Or you forgot they were there. Either way, they keep beautifully.
The filling got lumpy. What went wrong?
Ah yes, the mysterious chocolate-curl situation. If your melted chocolate was too warm when you added the Cool Whip, it probably shocked it and seized up a little. It can still be saved; keep gently folding until it evens out, but next time, let your chocolate cool fully before mixing. Room temp is your friend here.
Can I use silicone molds instead of cutting squares?
Absolutely! Silicone candy molds work great if you want consistent shapes with less knife work. Just pipe or spoon the mixture into your molds, freeze, pop out, then dip. Just make sure whatever shape you choose isn’t too thick, or the coating step gets a bit trickier. Bonus: Hearts and stars are very cute for gifting.


Cool Whip Candy
Equipment
- Microwave-safe glass bowl
- Rubber spatula
- 8-inch baking dish
- Parchment paper
- Knife
- Baking sheet
Ingredients
Chocolate Filling
- 22 oz milk chocolate bars Two 11-ounce packages, chopped; do not use chocolate chips, bars melt better
- 8 oz Cool Whip 1 regular tub, thawed completely
Chocolate Coating
- 24 oz dark chocolate melting wafers or semisweet or white chocolate wafers
Instructions
- Melt the milk chocolate: In a large microwave-safe glass bowl, microwave the milk chocolate bars for 1 minute. Stir gently, then microwave in 30-second increments, stirring after each, until fully melted and smooth. Let the chocolate cool for 15–20 minutes to room temperature (so it won’t melt the Cool Whip).
- Mix in Cool Whip: Gently fold in the thawed Cool Whip with a rubber spatula until fully combined and mousse-like. The mixture may thicken and look a little ruffled—that’s perfect.
- Line and pour: Line an 8-inch baking dish with parchment paper. Pour in the chocolate-Cool Whip mixture and spread into an even layer.
- Freeze and cut: Freeze the baking dish for 30 minutes, until firm. Lift out the mixture using the parchment, peel off the paper, and cut into 36 squares using a sharp knife.
- Freeze again: Arrange the squares on a parchment-lined baking sheet and freeze for another 30 minutes, until completely solid.
- Melt chocolate wafers: Melt the dark (or semisweet/white) chocolate melting wafers in a bowl according to package instructions (usually in the microwave in 30-second bursts, stirring until smooth).
- Dip and dry: Using a fork or dipping tool, dip each frozen square into the melted chocolate, letting excess drip off. Place back on parchment. Repeat with all candies, working quickly so they don’t thaw.
- Freeze until ready to serve: Return dipped candies to the freezer to set fully. Serve straight from the freezer or let soften for 5–10 minutes for a softer bite.